Continuous beam over column connection design (EN) - version 24.1 and older
1 Starting a new project
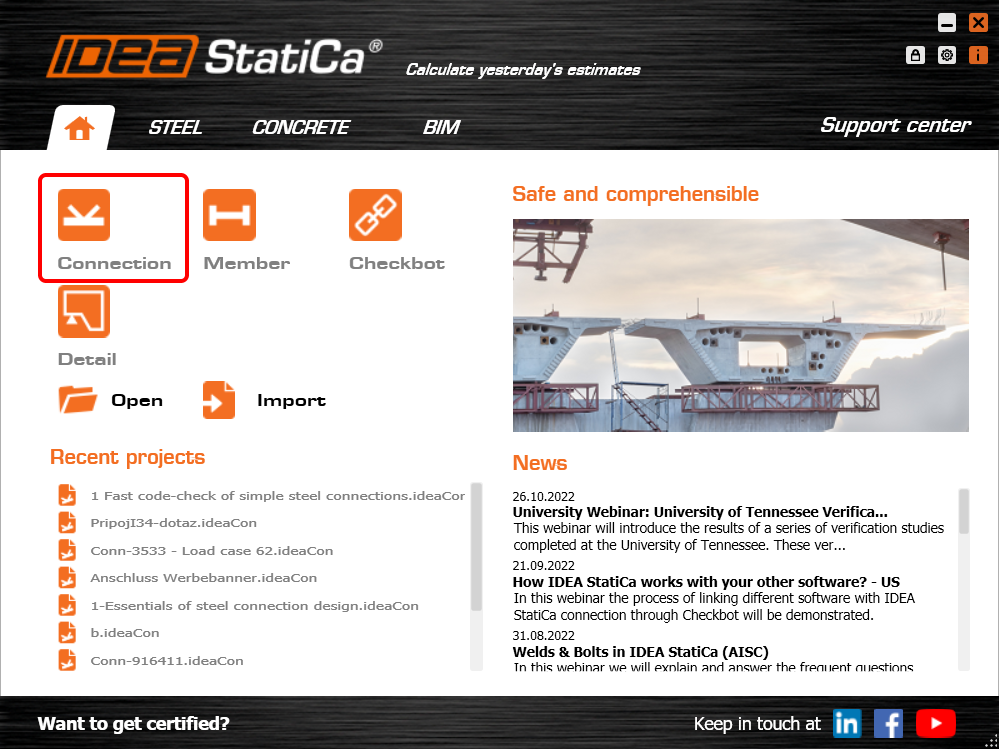
Let’s launch the IDEA StatiCa Connection application (download the newest version). In the main window of IDEA StatiCa, open the Connection application to define a new project.
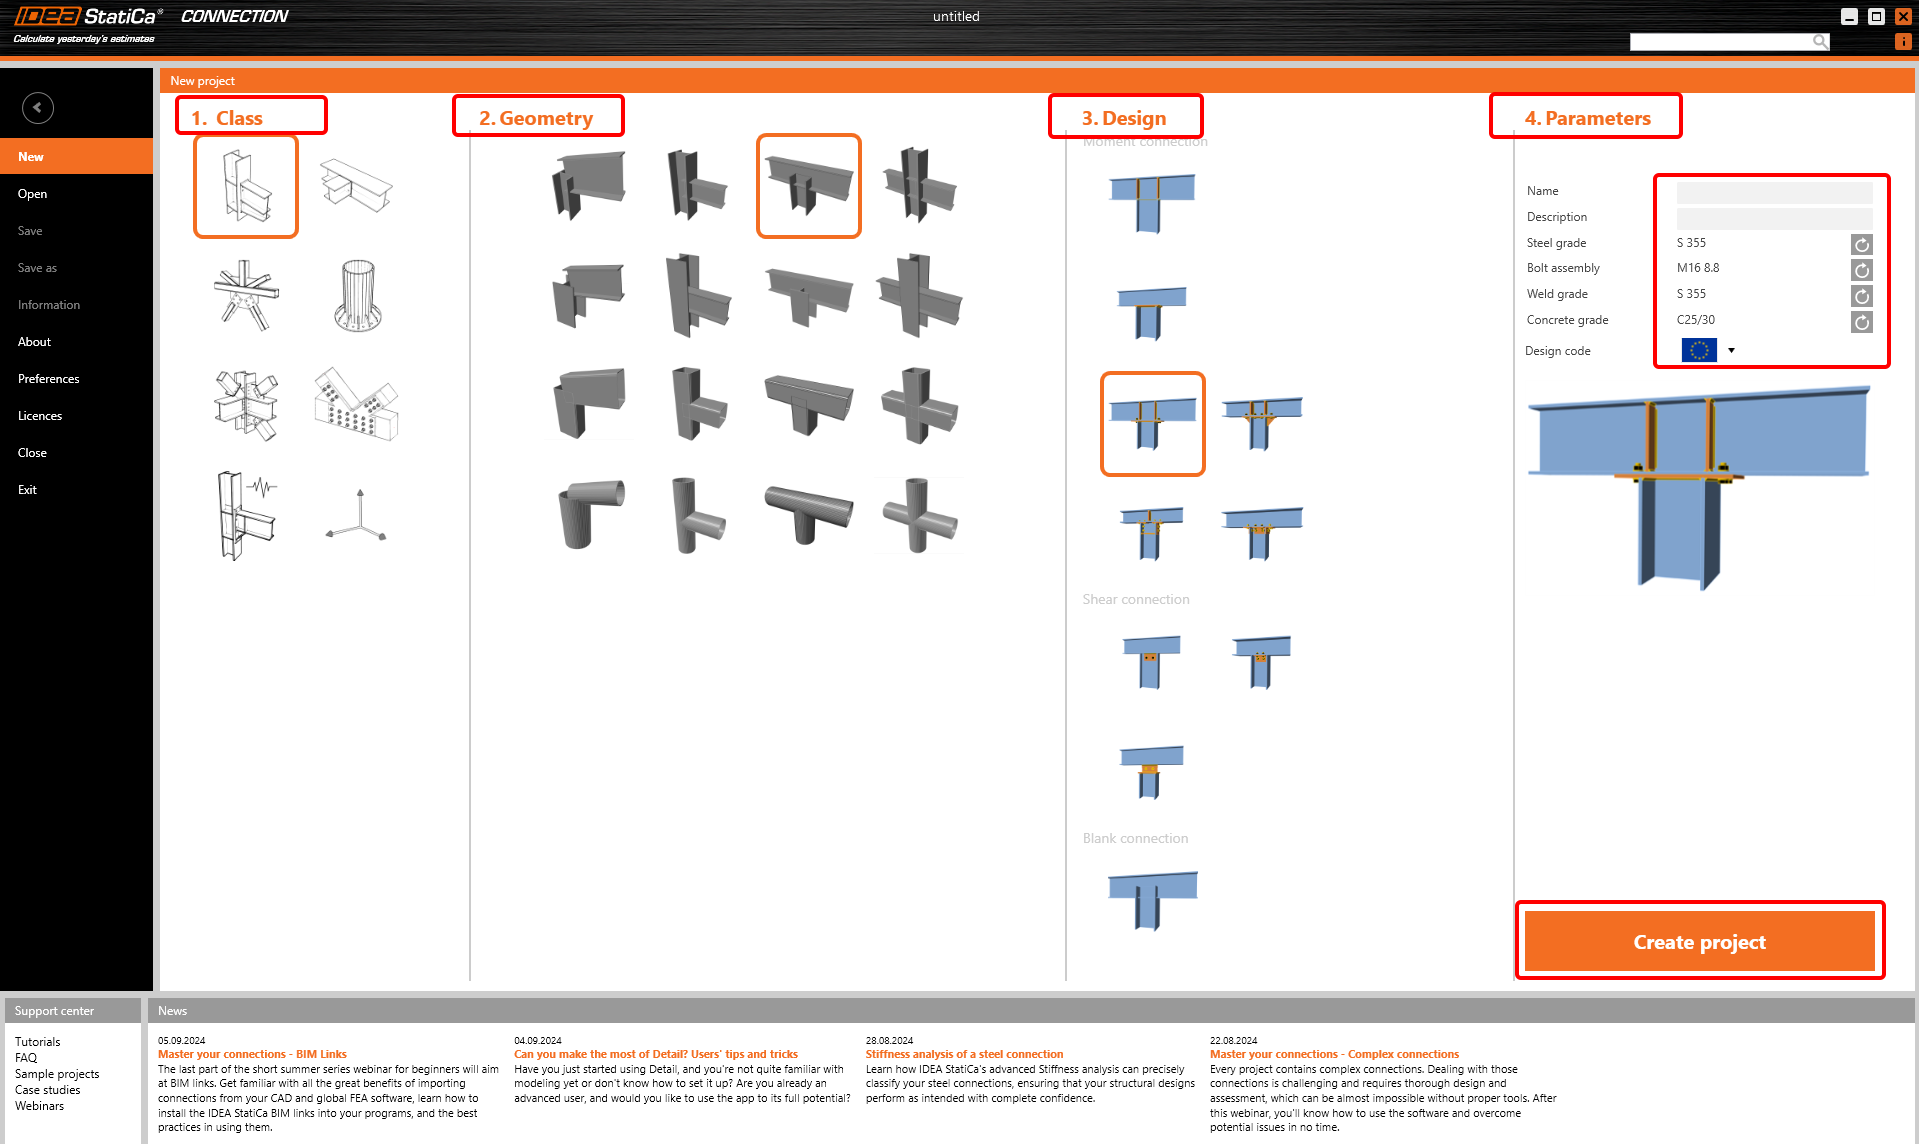
In the first step, you can find your desired simple connection among our templates based on the Class, Geometry and Design.
In Parameters, you can name your project, and it is here where you define the default material (use S275 steel) and national standard. You can change your choice of material (or add another one) later, nevertheless, the design code can be chosen only in this first step of the project. Select Eurocode (EN).
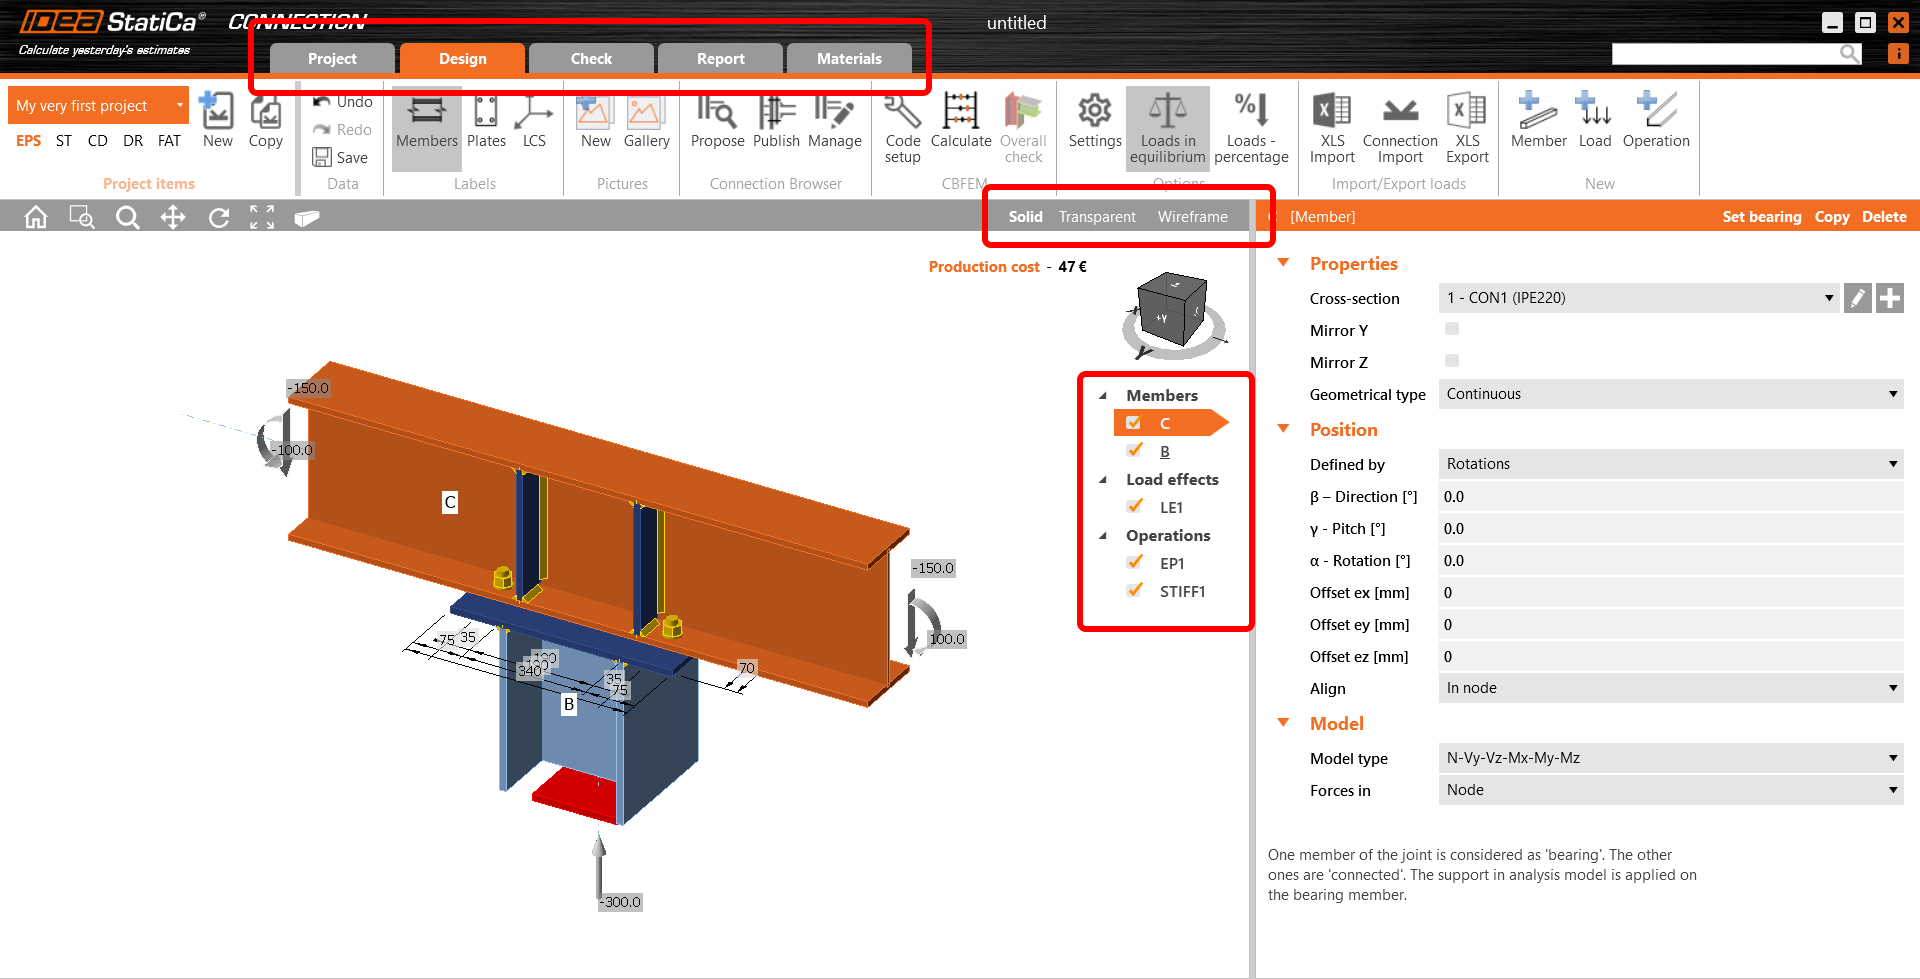
A new project was created based on the selected templates. In the top ribbon, you will see different tabs that will lead you through the whole process. You can also change the view in the grey strip above the 3D scene with the model.
Start in the Design tab, and here follow the "tree" in the 3D scene.
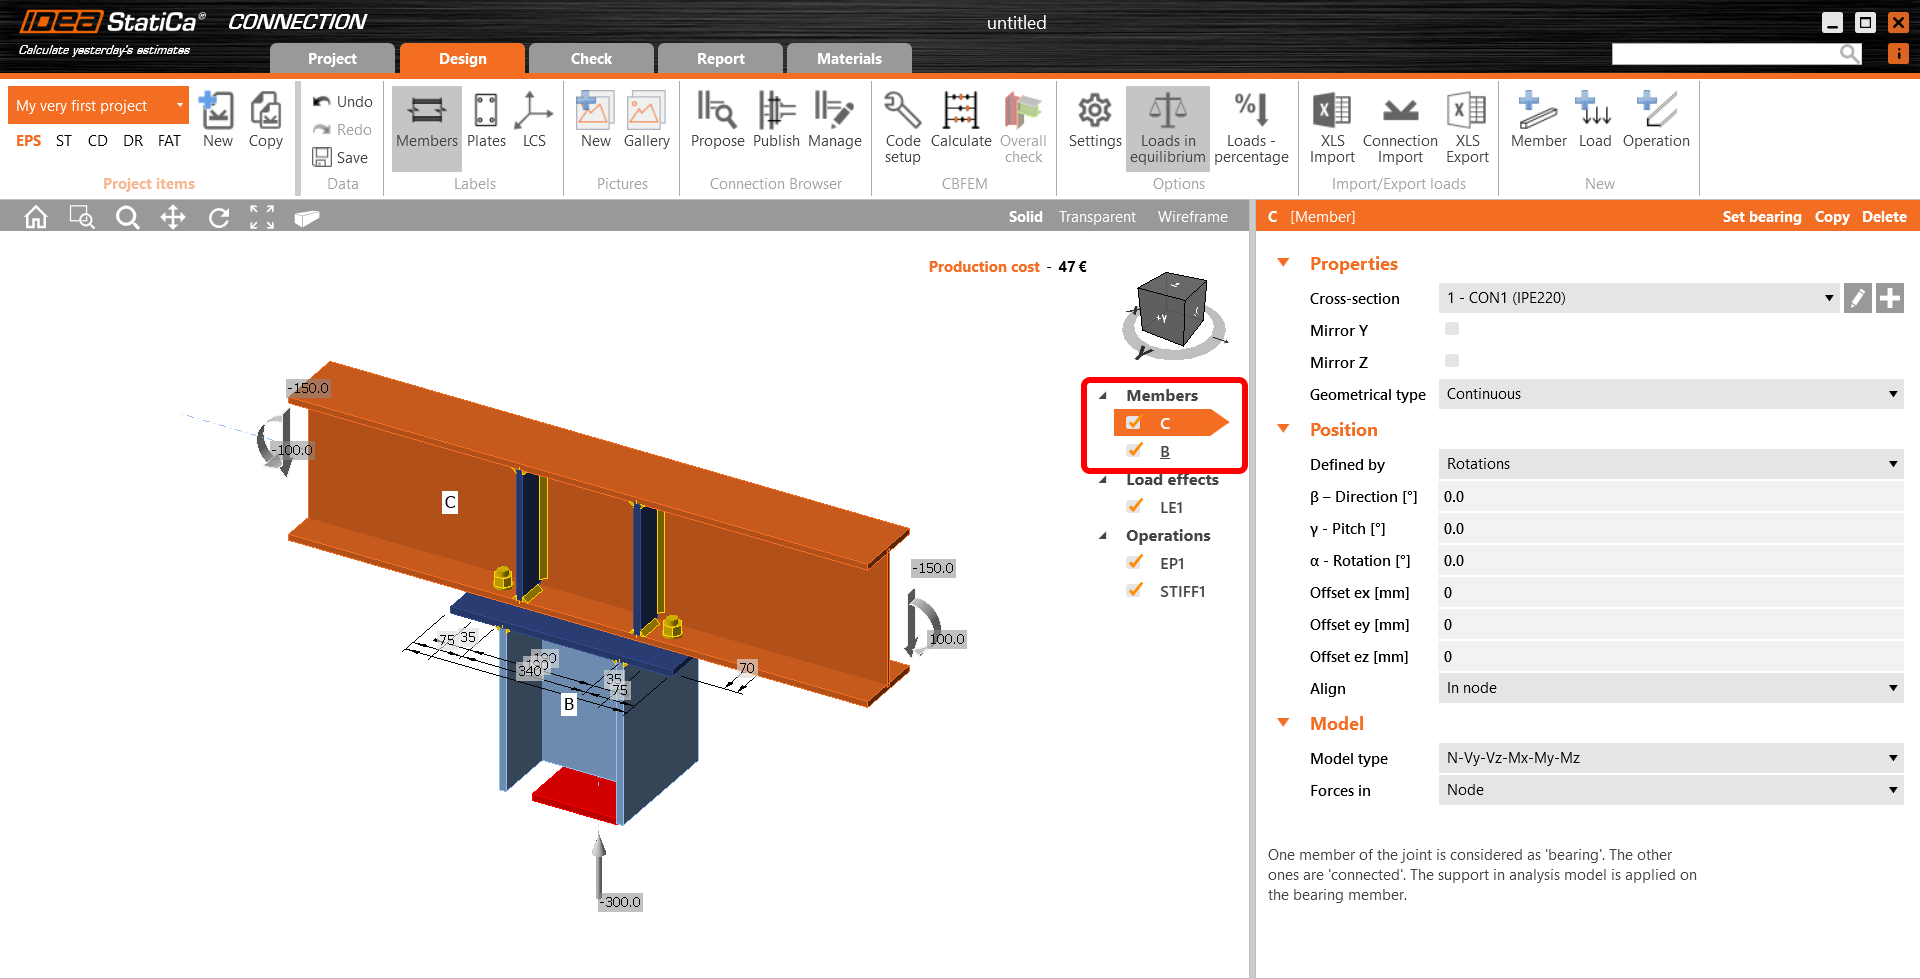
In Members, you can adjust the parameters of your connected structural members (such as their orientation, cross-section, material, geometrical type, etc.).
- Read more about the Ended and Continuous geometrical type and the bearing member in Equilibrium and supporting member.
- Read more about the Model type in How to model a single bolt connection (Model type).
- Read more about the Forces in option in How to define correct load position (Forces in).
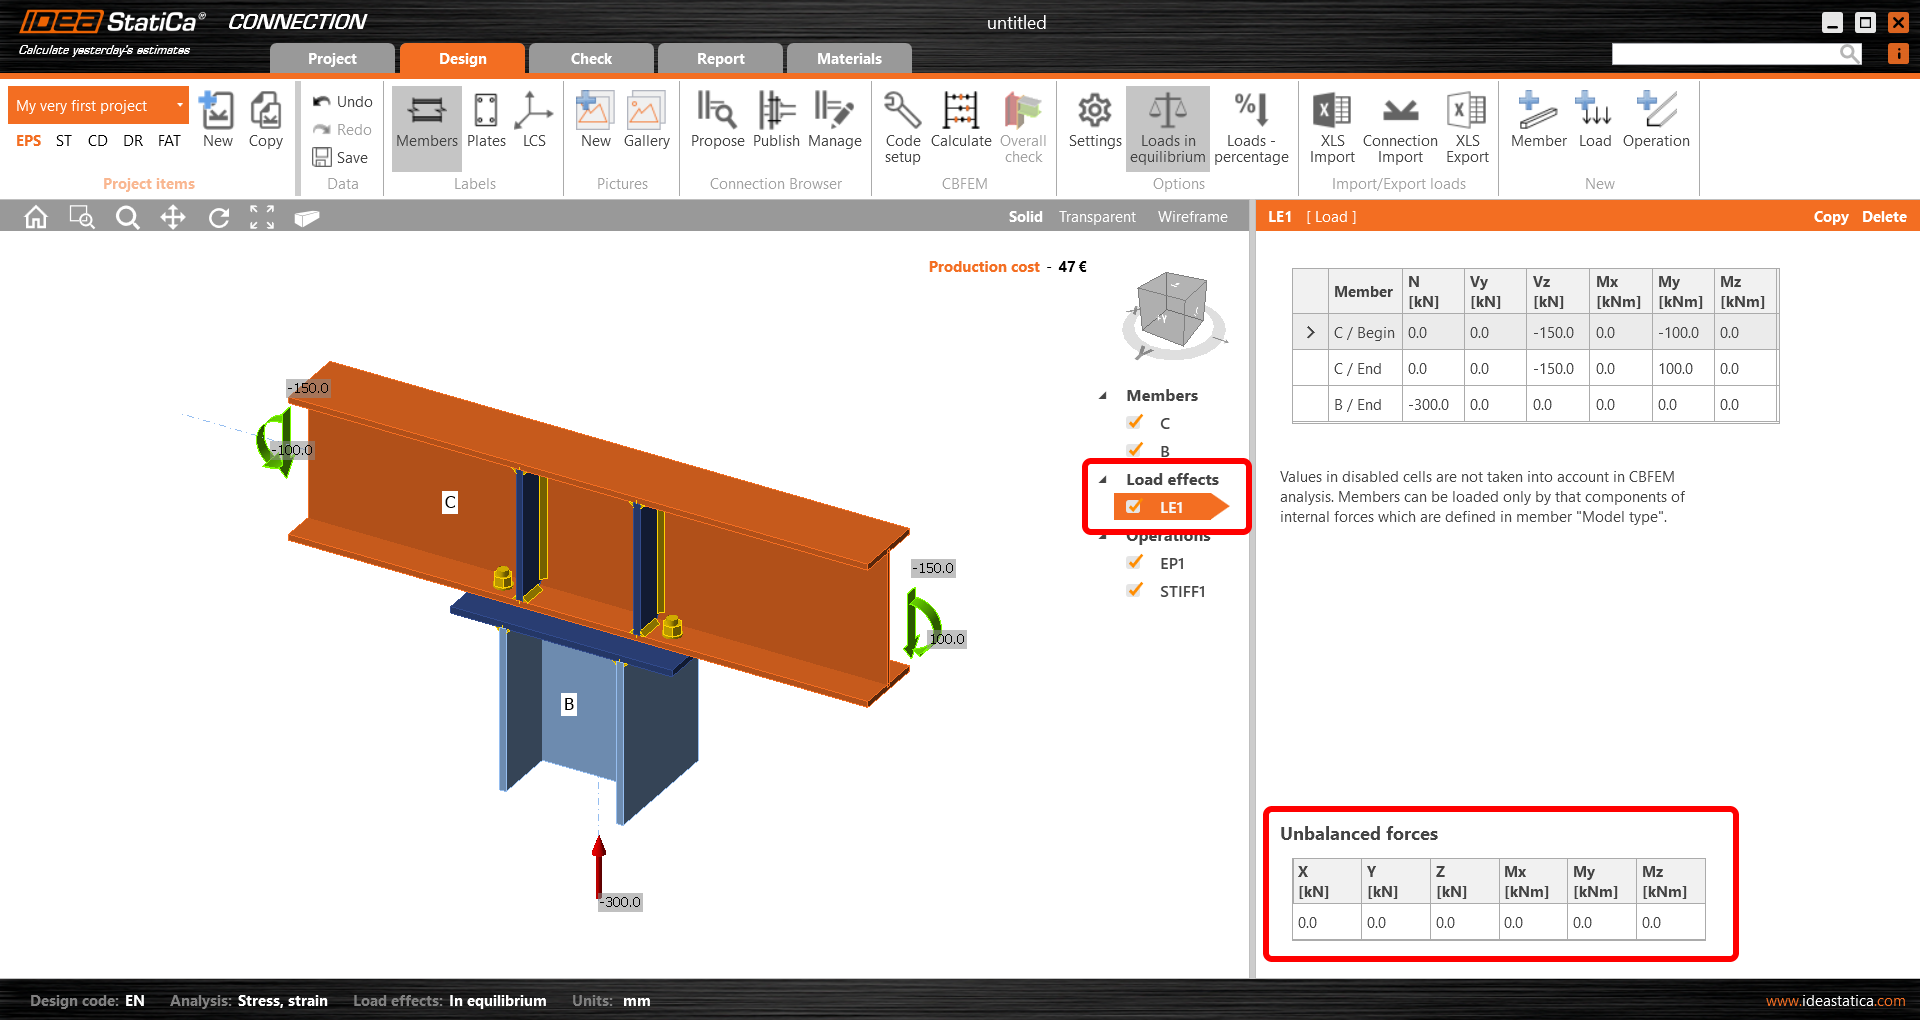
The second part belongs to the definition of load. It is important to keep the defined loads in equilibrium. More on this can be found in Equilibrium and supporting member.
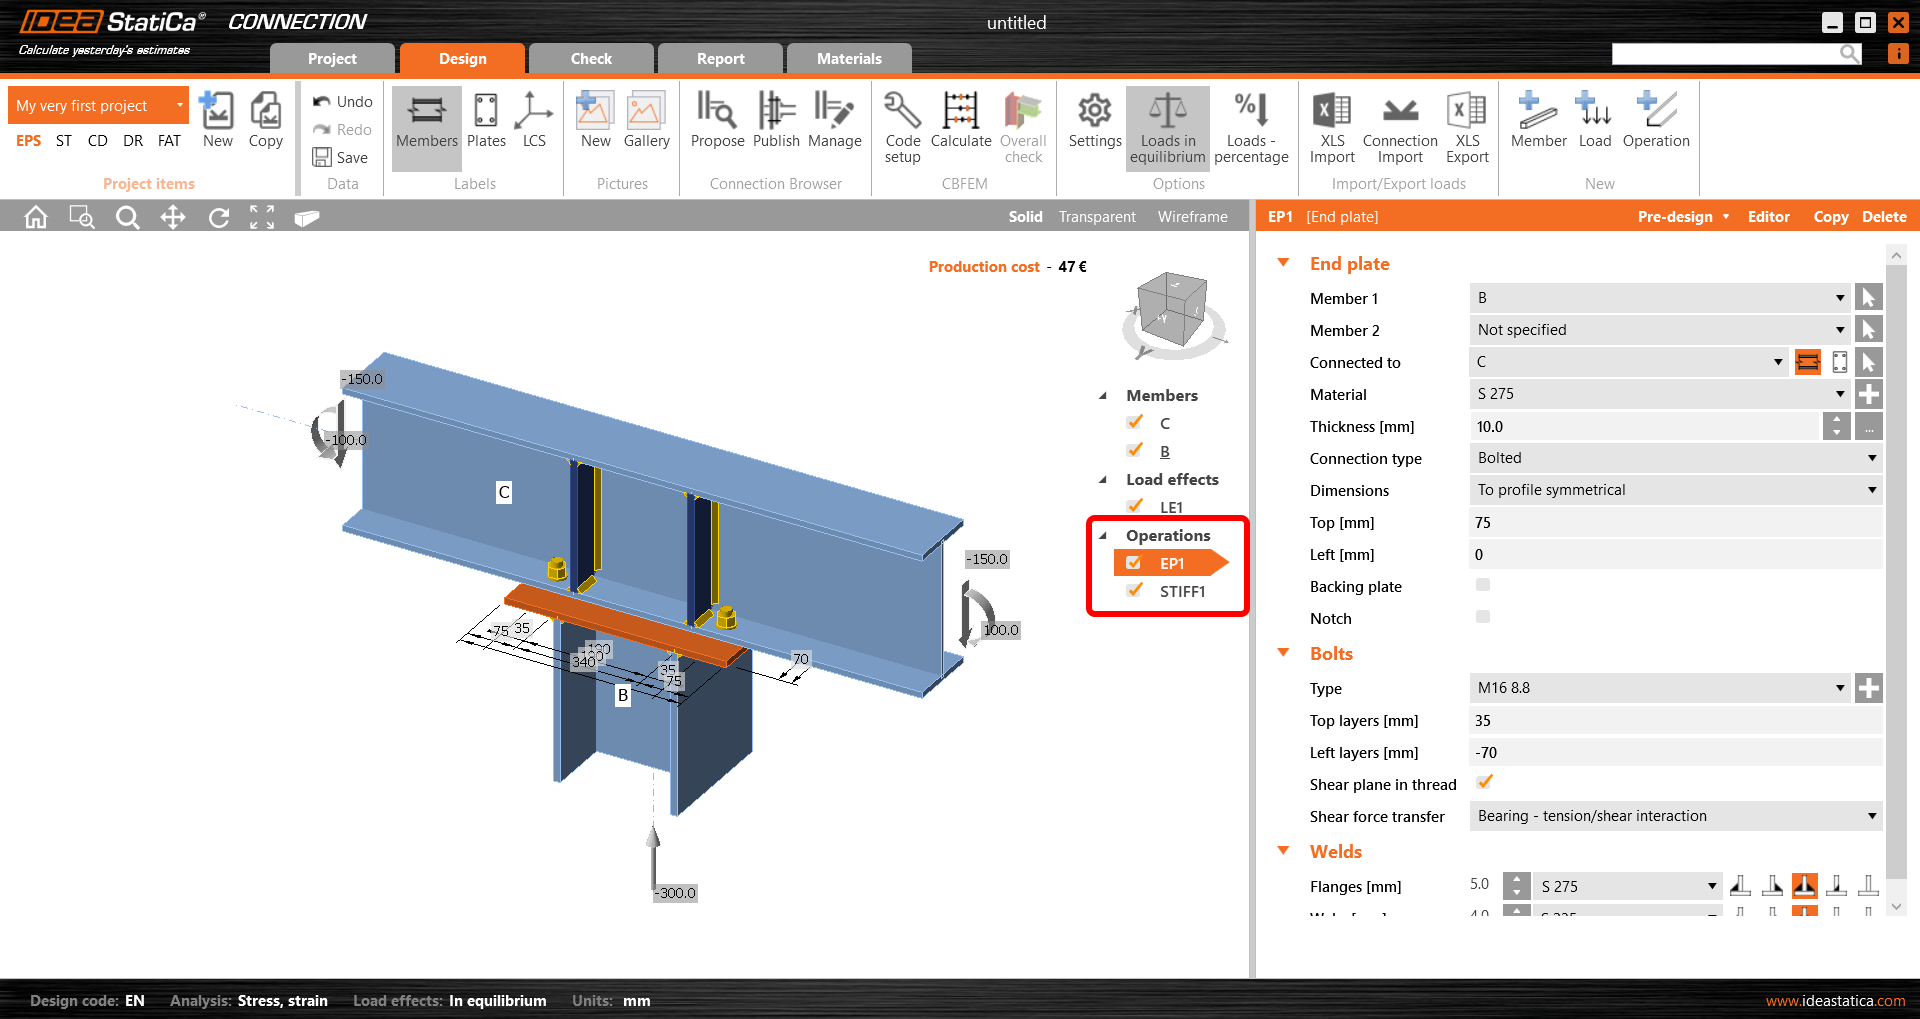
In the third section of the tree, there are manufacturing operations defined. In the selected connection, there is an EP1 operation of the endplate and STIFF1 operation defining the stiffeners on beam C. Again, you can change any parameter of the selected operations or delete/add another one.
2 Getting the results
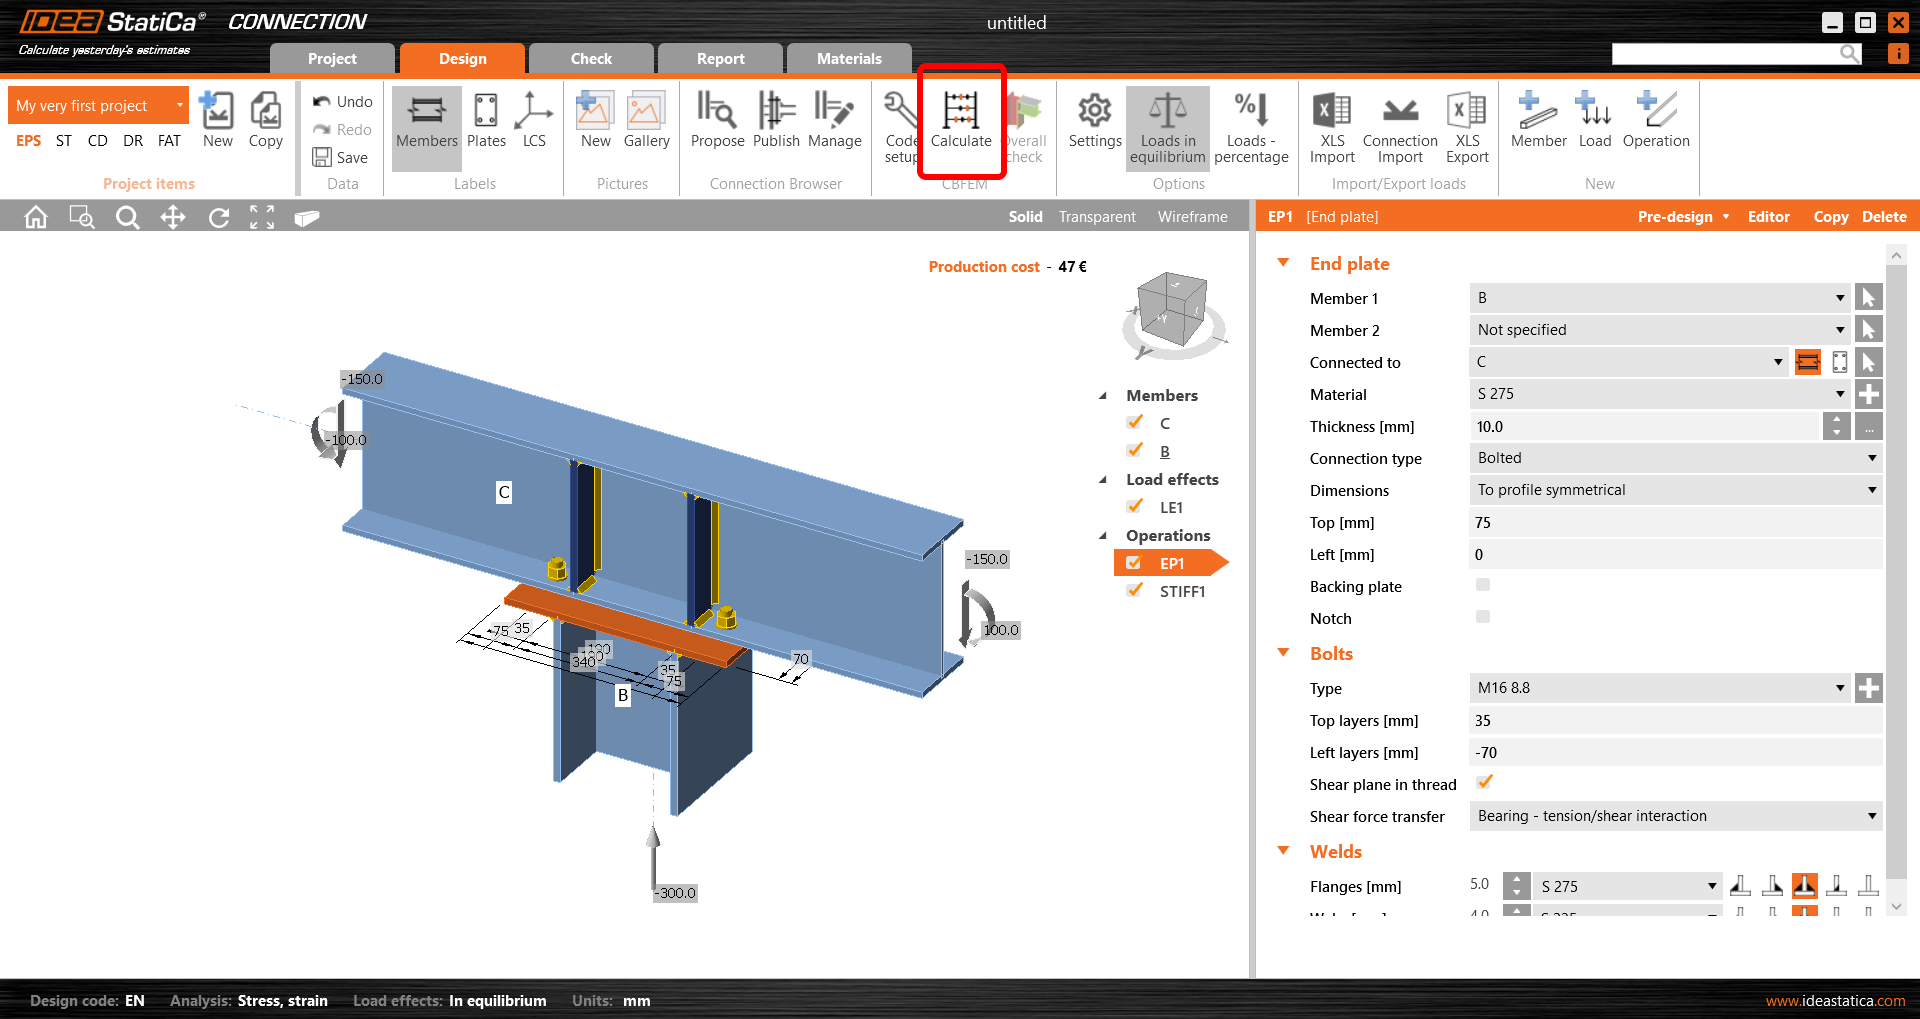
To start the calculation, press Calculate on the top ribbon.
You immediately have the overall results showing the utilization level of each component (grey for utilization under 60 %, green for 60 - 95 %, orange for 95 - 100 %, and red for utilization over 100 %, i.e. for failing components).
To see the results in detail, go to the Check tab in the top ribbon.
You can go through the results on each component of the connection. Let's start with Plates and investigate the Equivalent stress picture with Mesh and Deformed shape displayed.
Select the endplate in the scene, and the corresponding line in the table gets highlighted while the plate is also displayed in the detailed window under the table.
Bolts' results are the next to read. Change the table tab and turn the Bolt forces on in the top ribbon. This will display the tensile forces in the 3D scene. Select one bolt directly in the scene to see the corresponding results in the table with the real direction of the shear force displayed in the bottom figure.
To see all the equations required by the standard, open the line in the table with the + button. To see it in a larger view, use the right mouse button to Print Preview.
The same can be done for welds. Again, selecting the weld in the 3D scene will show you the corresponding results and the stress distribution along the selected weld in the bottom figure.
3 Printing report
Now it is time to print a report of your calculations. You can do that in the Report tab.
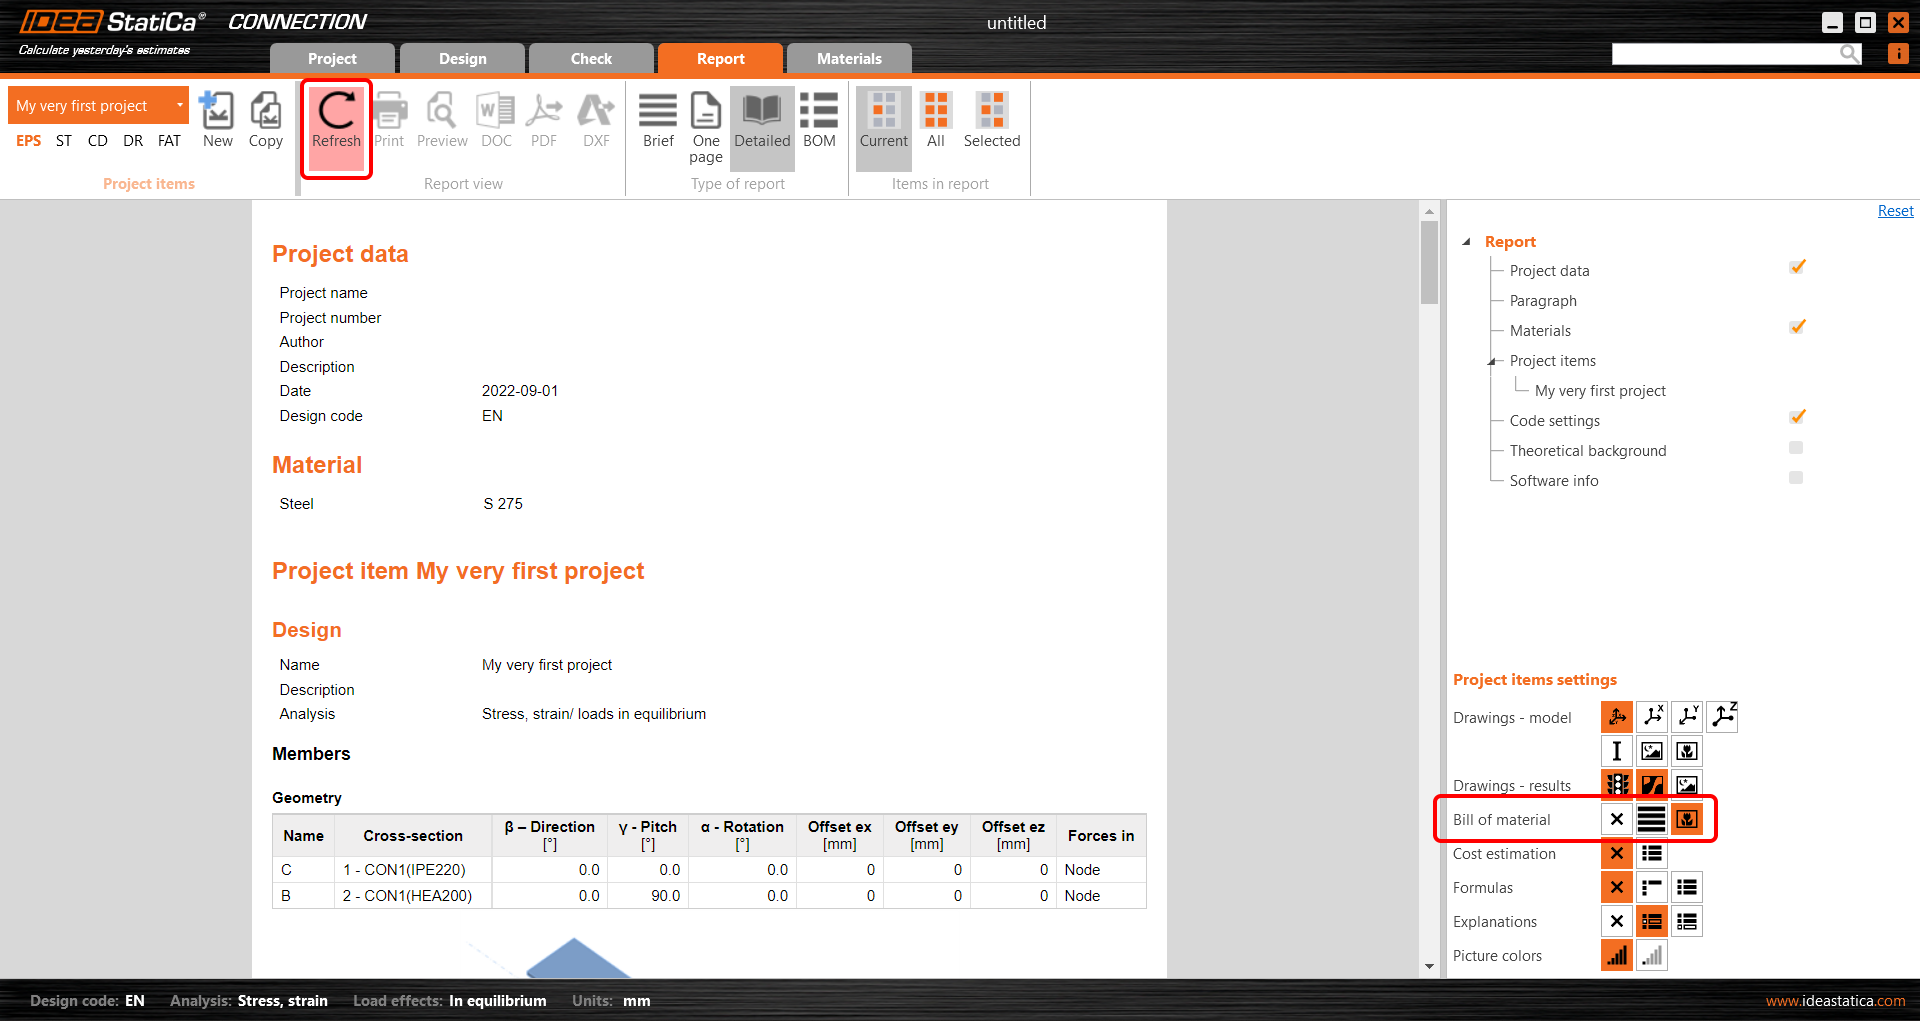
On the right site, you can adjust the report based on your needs. E.g., let's include the Bill of material in the report. Select this option and click Refresh in the top ribbon.
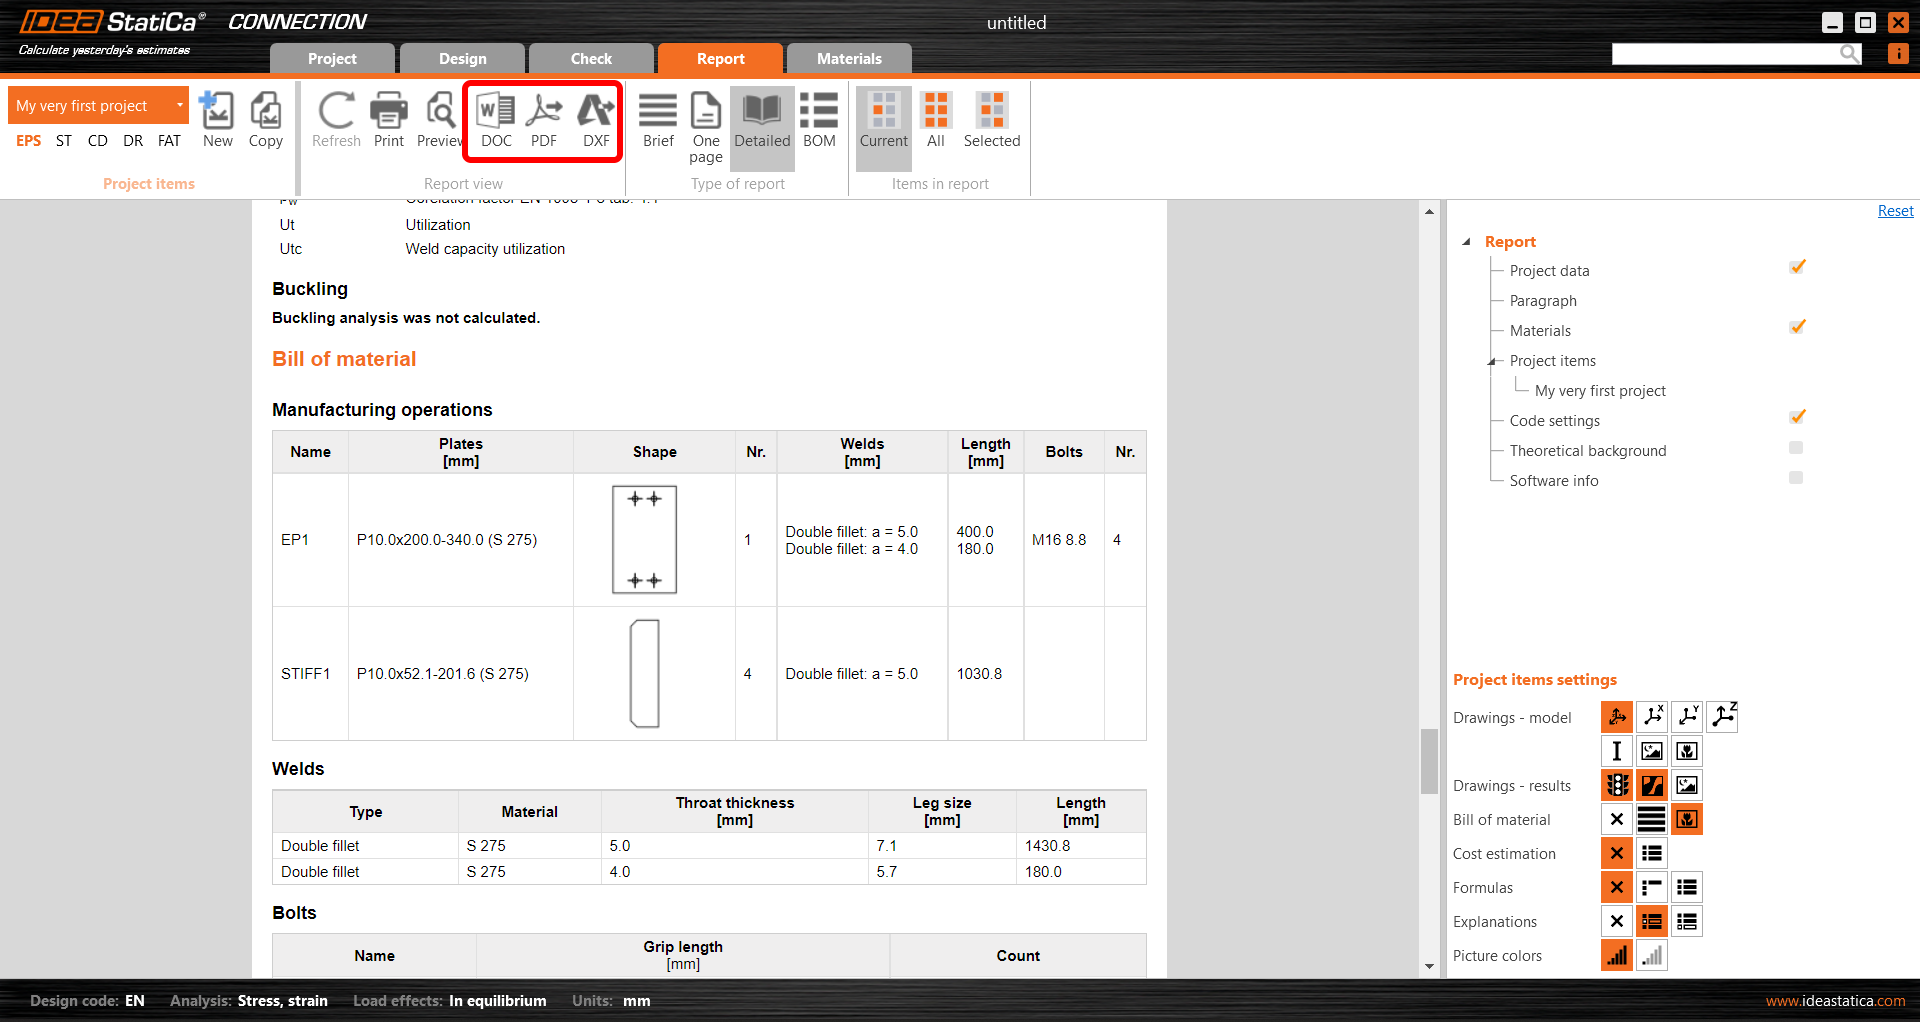
The bill of material was added to the report, and you can print it into a PDF or Microsoft Word file. You can also get the 2D drawings of your plates by pressing the DXF button. (The 3D model of your connection can be downloaded via online Viewer.)
To change the header of the report, go to the Project tab.
Here, you can add the name, author, date, and description either to the whole project or to the individual project items.
Don't forget to Save your project and you are done!
You can continue learning IDEA StatiCa with many more tutorials in our Support center.


