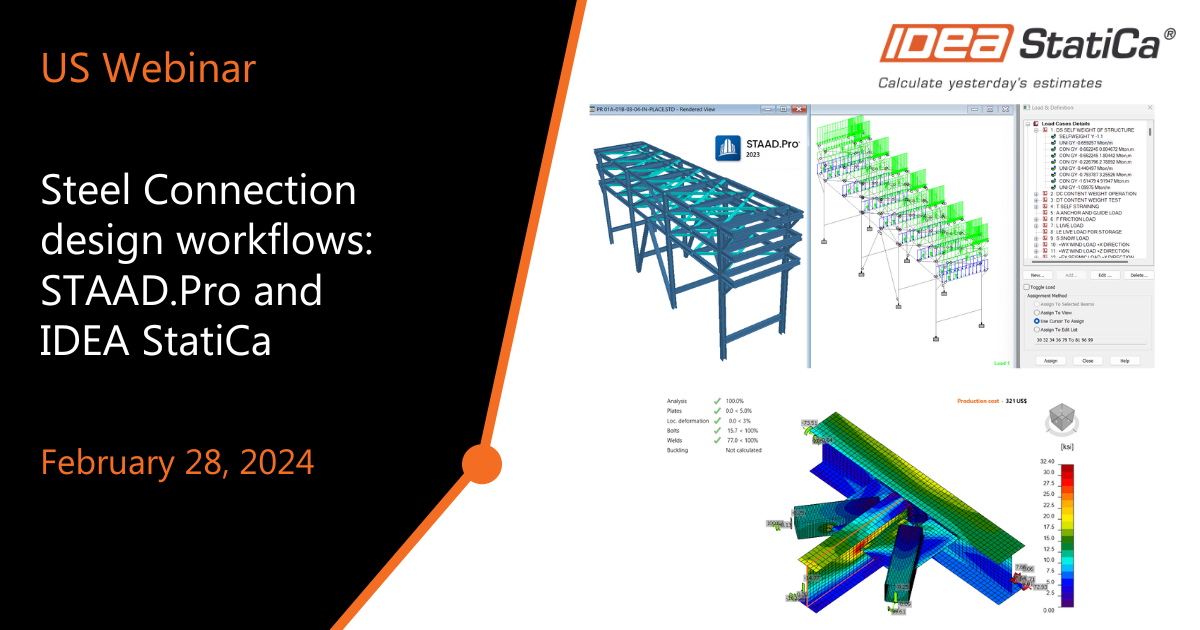
Steel Connection design workflows: STAAD.Pro and IDEA StatiCa
-
2024-02-28T17:00:00.0000000Z
Datum webináře:
Obsah webináře
- Install the IDEA StatiCa Checkbot link within the STAAD.Pro Interface
- Import geometry and load combinations from STAAD.Pro into Checkbot
- Use Checkbot to manage the joints of the global structure
- Design specific connections from Checkbot in IDEA StatiCa Connection
- Share one or multiple connections with other people via Online viewer
Přednášející

IDEA StatiCa US

IDEA StatiCa US

IDEA StatiCa US
Structural Engineering design processes involve different specialties and people. As a result, several solutions are used. This webinar will help you to understand our connection design process, which starts with the structural analysis of the global structure within STAAD.Pro and continues with the design of the steel connections in IDEA StatiCa.
The objective of this workflow is to:
- Increase the efficiency of collaboration
- Mitigate risk
- No duplication of data
During the one-hour session, you will see the detailed workflow in a live demonstration, and we will have time to take questions from the attendees.
If you want to learn more about this interoperability, you can read the following article.
The session covered the process of the Steel Connection design. See the following videos used in the webinar. At the end of this article, you will find the webinar recording.
1. Global Structural Analysis
2. Share a Checkbot file
3. Connection design process in Checkbot
4. Design iterations when you have many load combinations
During the design process in Checkbot and IDEA Connection, you get joints with many load combinations. In the video I showed you before, the analysis time was cut off from the recording. However, I want to share some tips to reduce the design time. One tip is to use the stop-at-limit strain under the Code setup. That will help you to stop the analysis whenever one component is near failure.
Let's watch the recommended process when you have connections with more than ten load combinations, like in this case.
5. Deliverables
In Checkbot, once you have some connections designed, you will see a checkmark for the connections that passed all the design checks or a red X mark for the ones failing the design. Now, you can multi-select connections. For that, I am changing to the wireframe view, making it easier to select the cubes. Click on the cubes that have a connection designed already, which can also be selected from the list, and later click on this icon to export the selected connection to a single idea FILE and share it via the preferred cloud.
Here, you are unlinking these connections from the Checkbot file. That way, you can directly open that file in the IDEA StatiCa connection.
There, you can handle the connection and modify the member's properties. However, I am showing you this process mainly because you can pull the reports of all these connections at once. Here, I demonstrate three types of reports: brief, one-page, and Bill of materials.
Also, you can share this file with other people who are not IDEA users, and they can drag and drop the file into our online viewer. They can review the connection details, like the plates and geometry. They can download the IFC files from here—or 3D Drawings.


