Structural design leveraging the Connection Library (EN)
1 New project
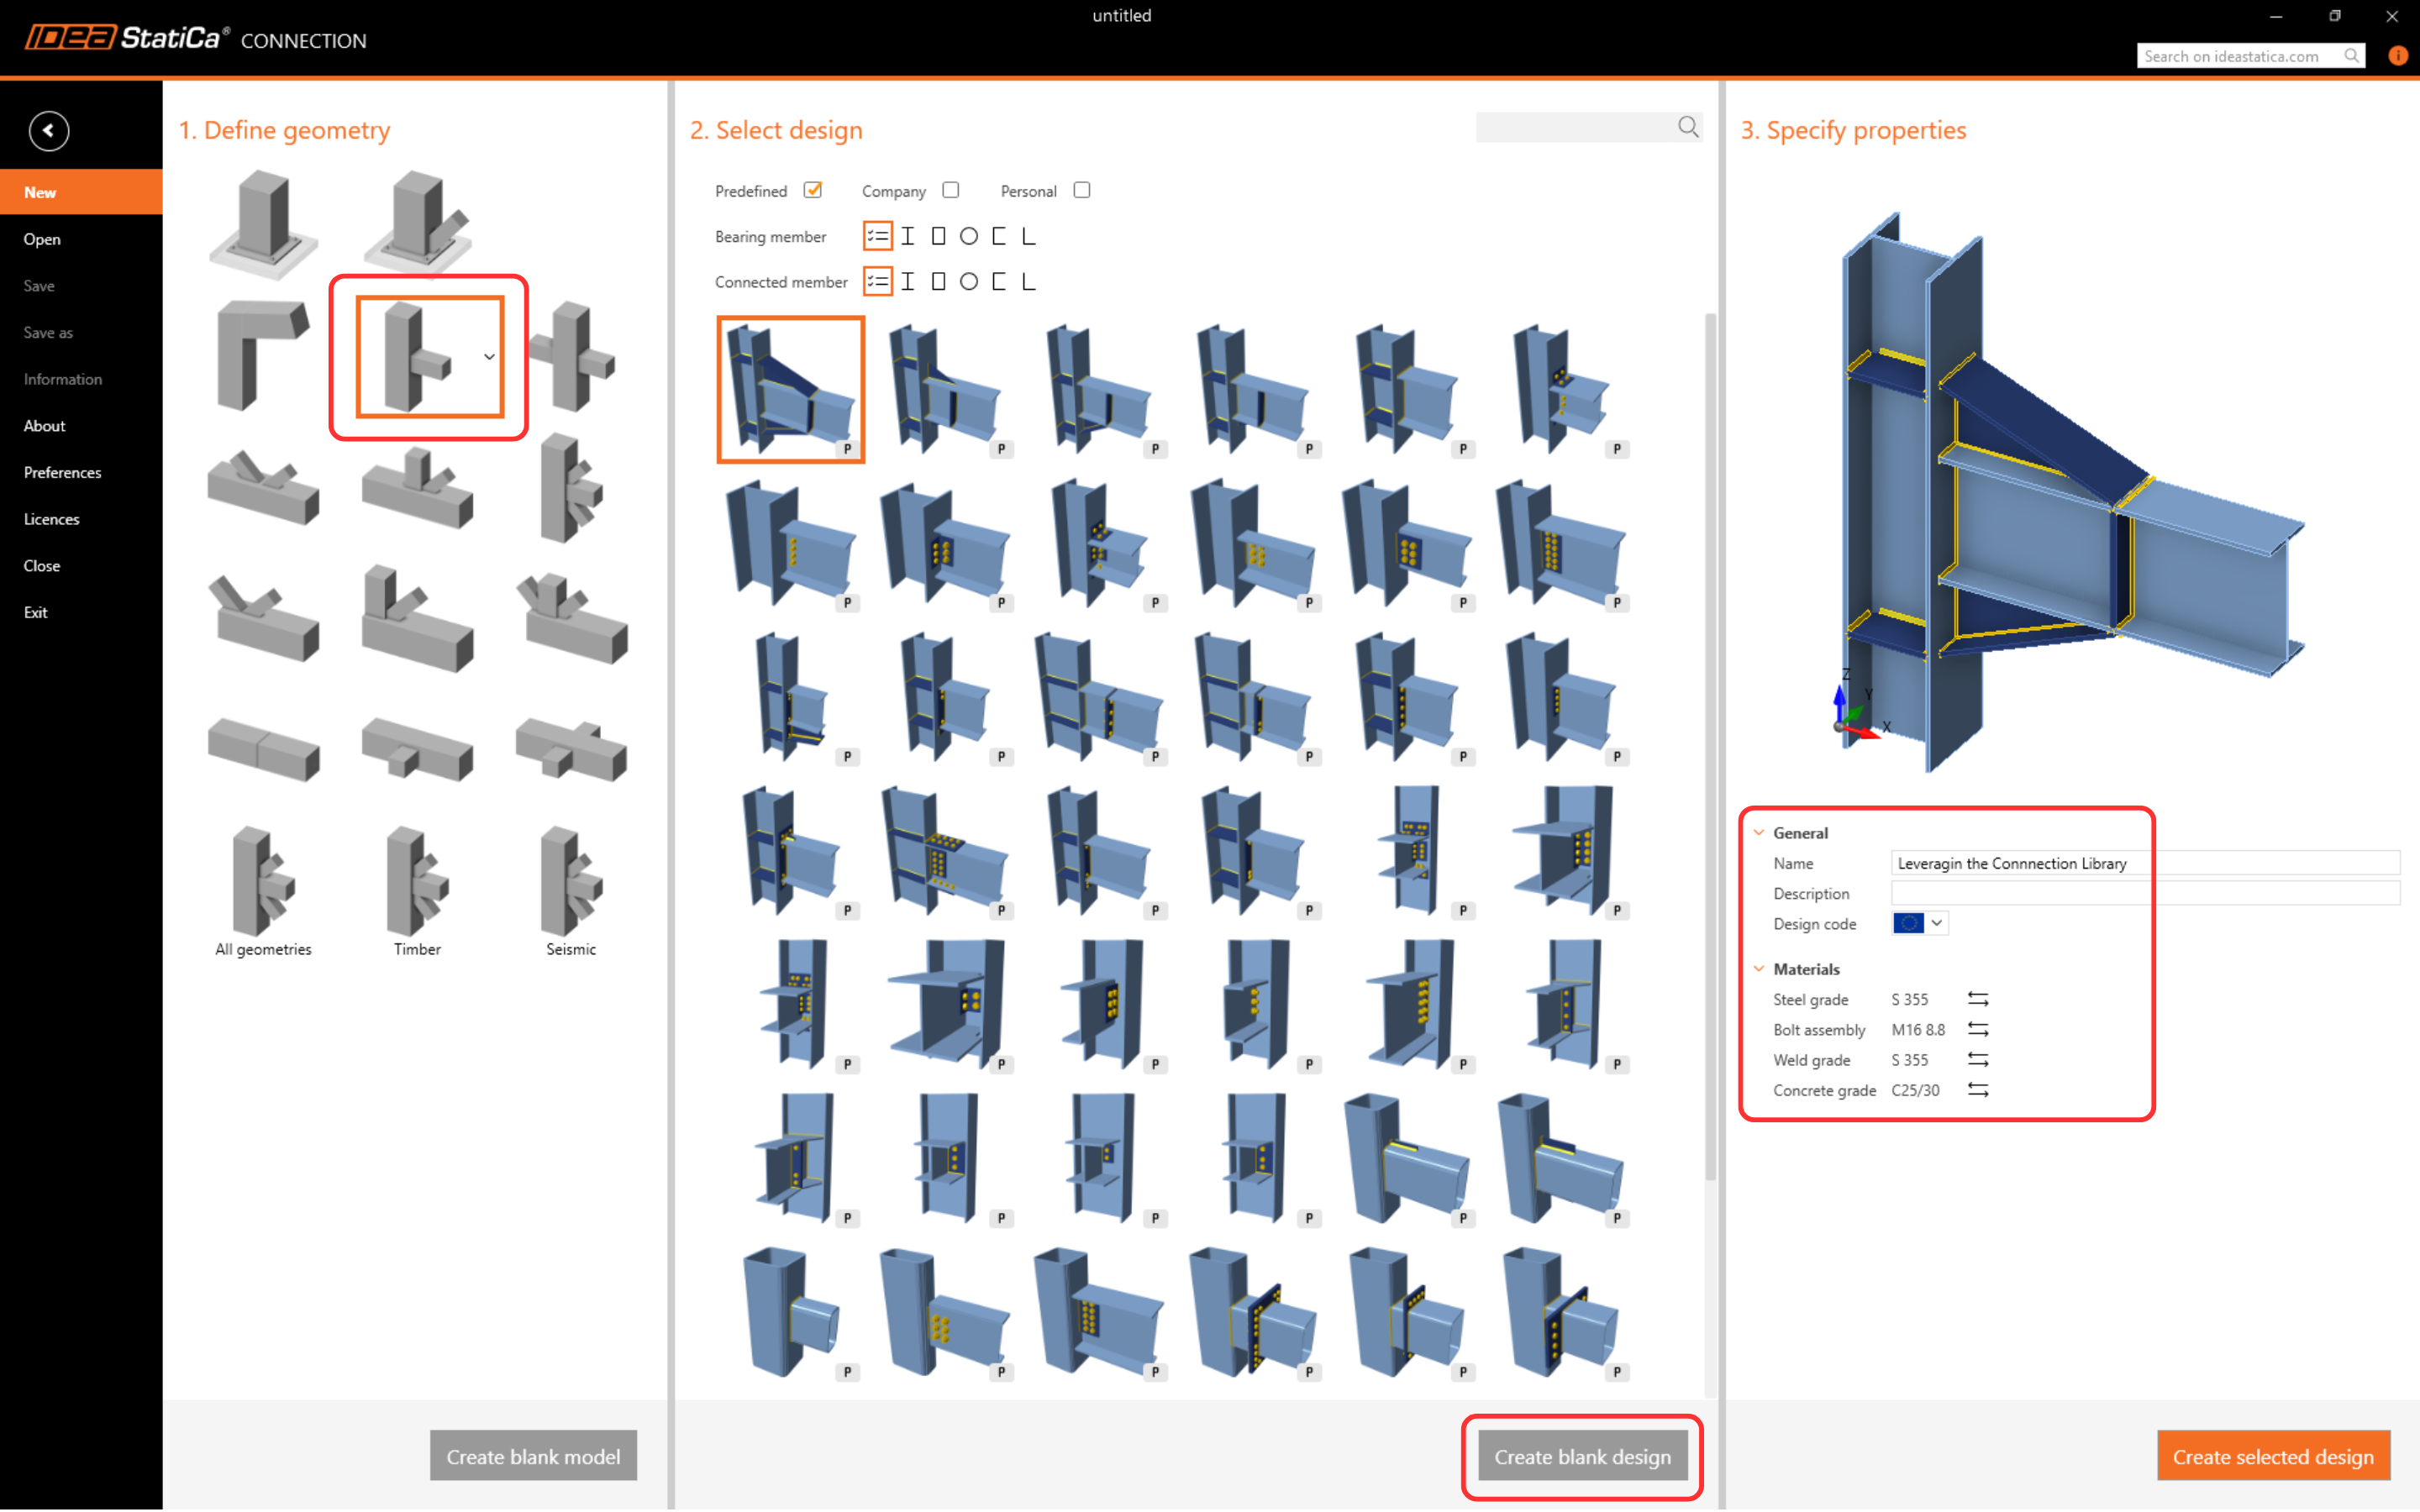
Let’s launch IDEA StatiCa and select the application Connection (download the newest version). Create a new blank design by selecting the desired geometry. Fill in the name, and choose the design code and default material properties.
2 Creating a new template
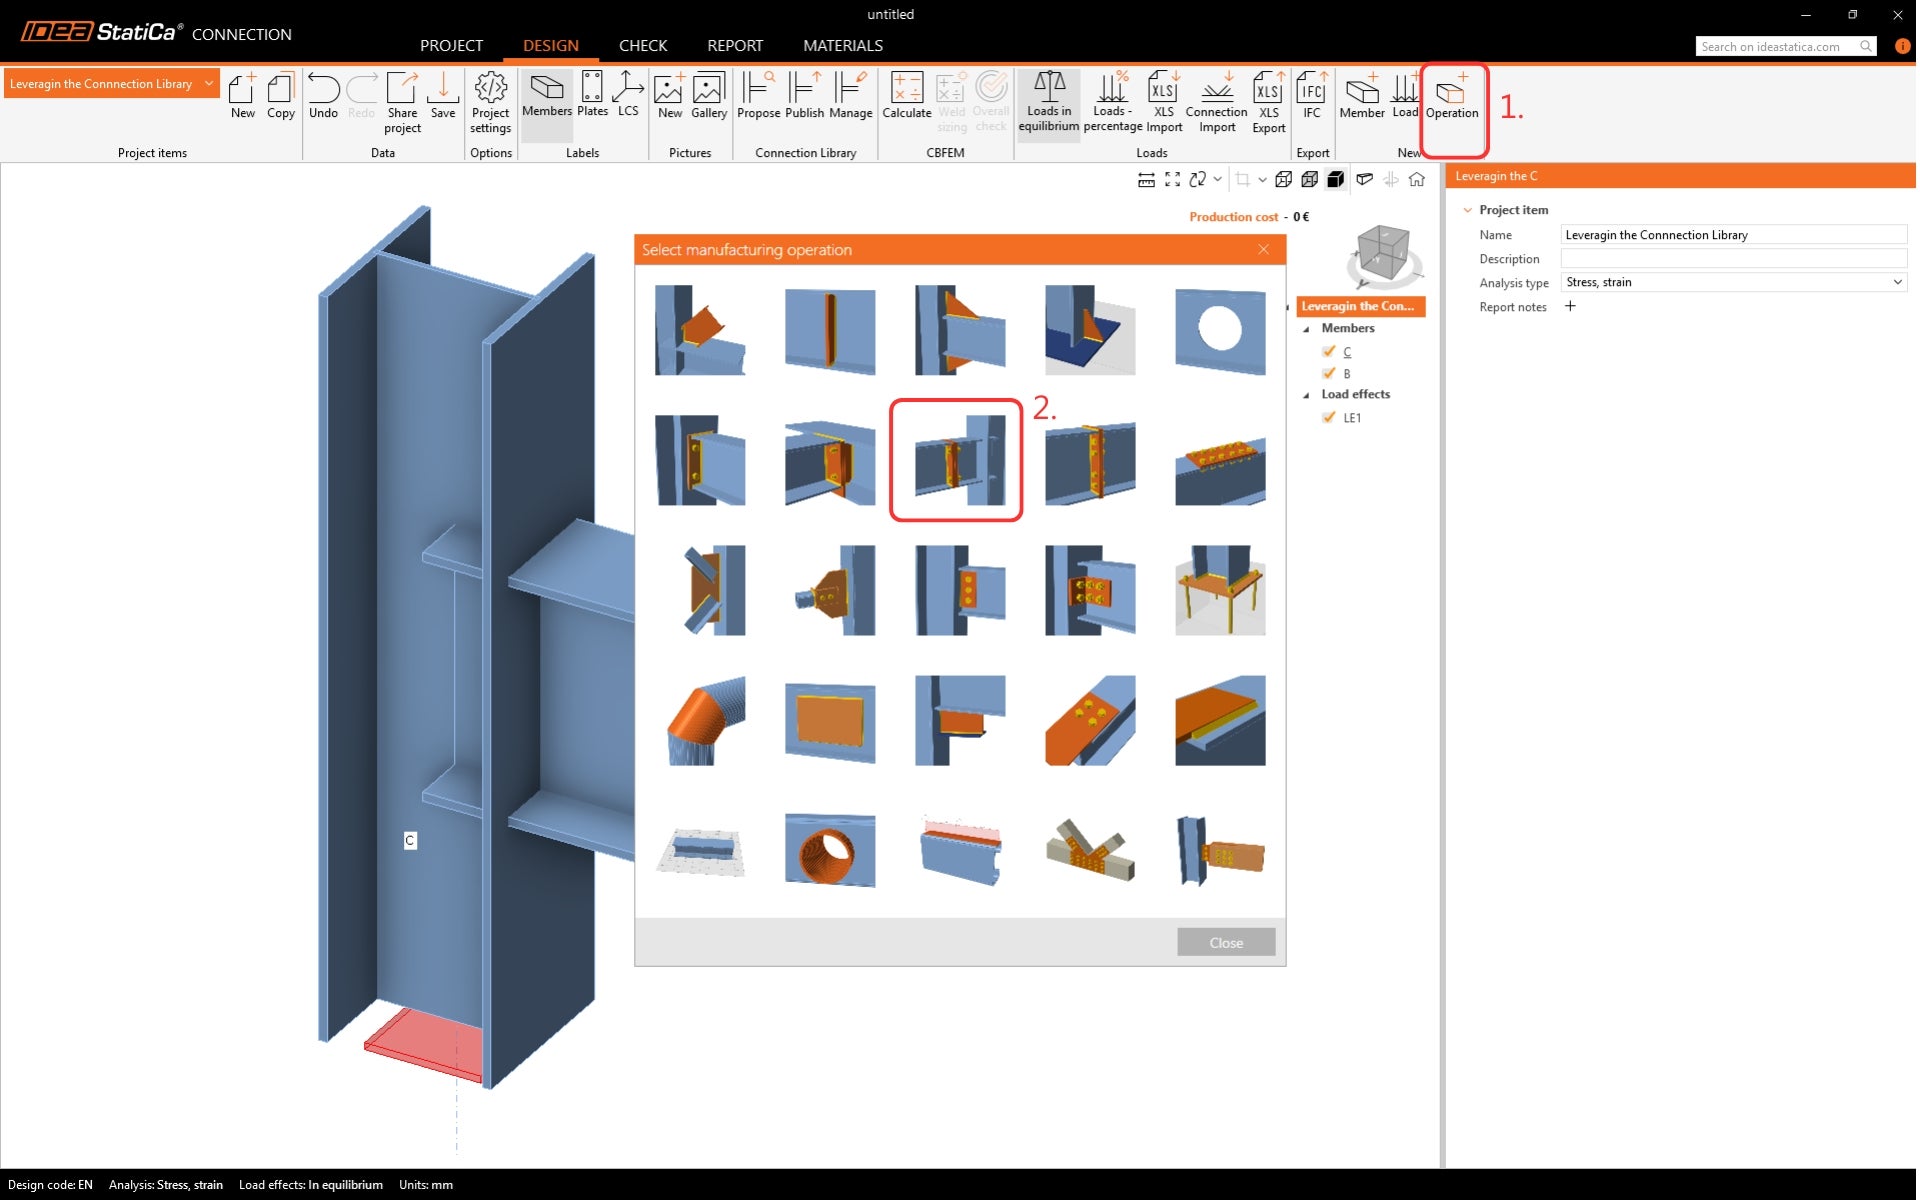
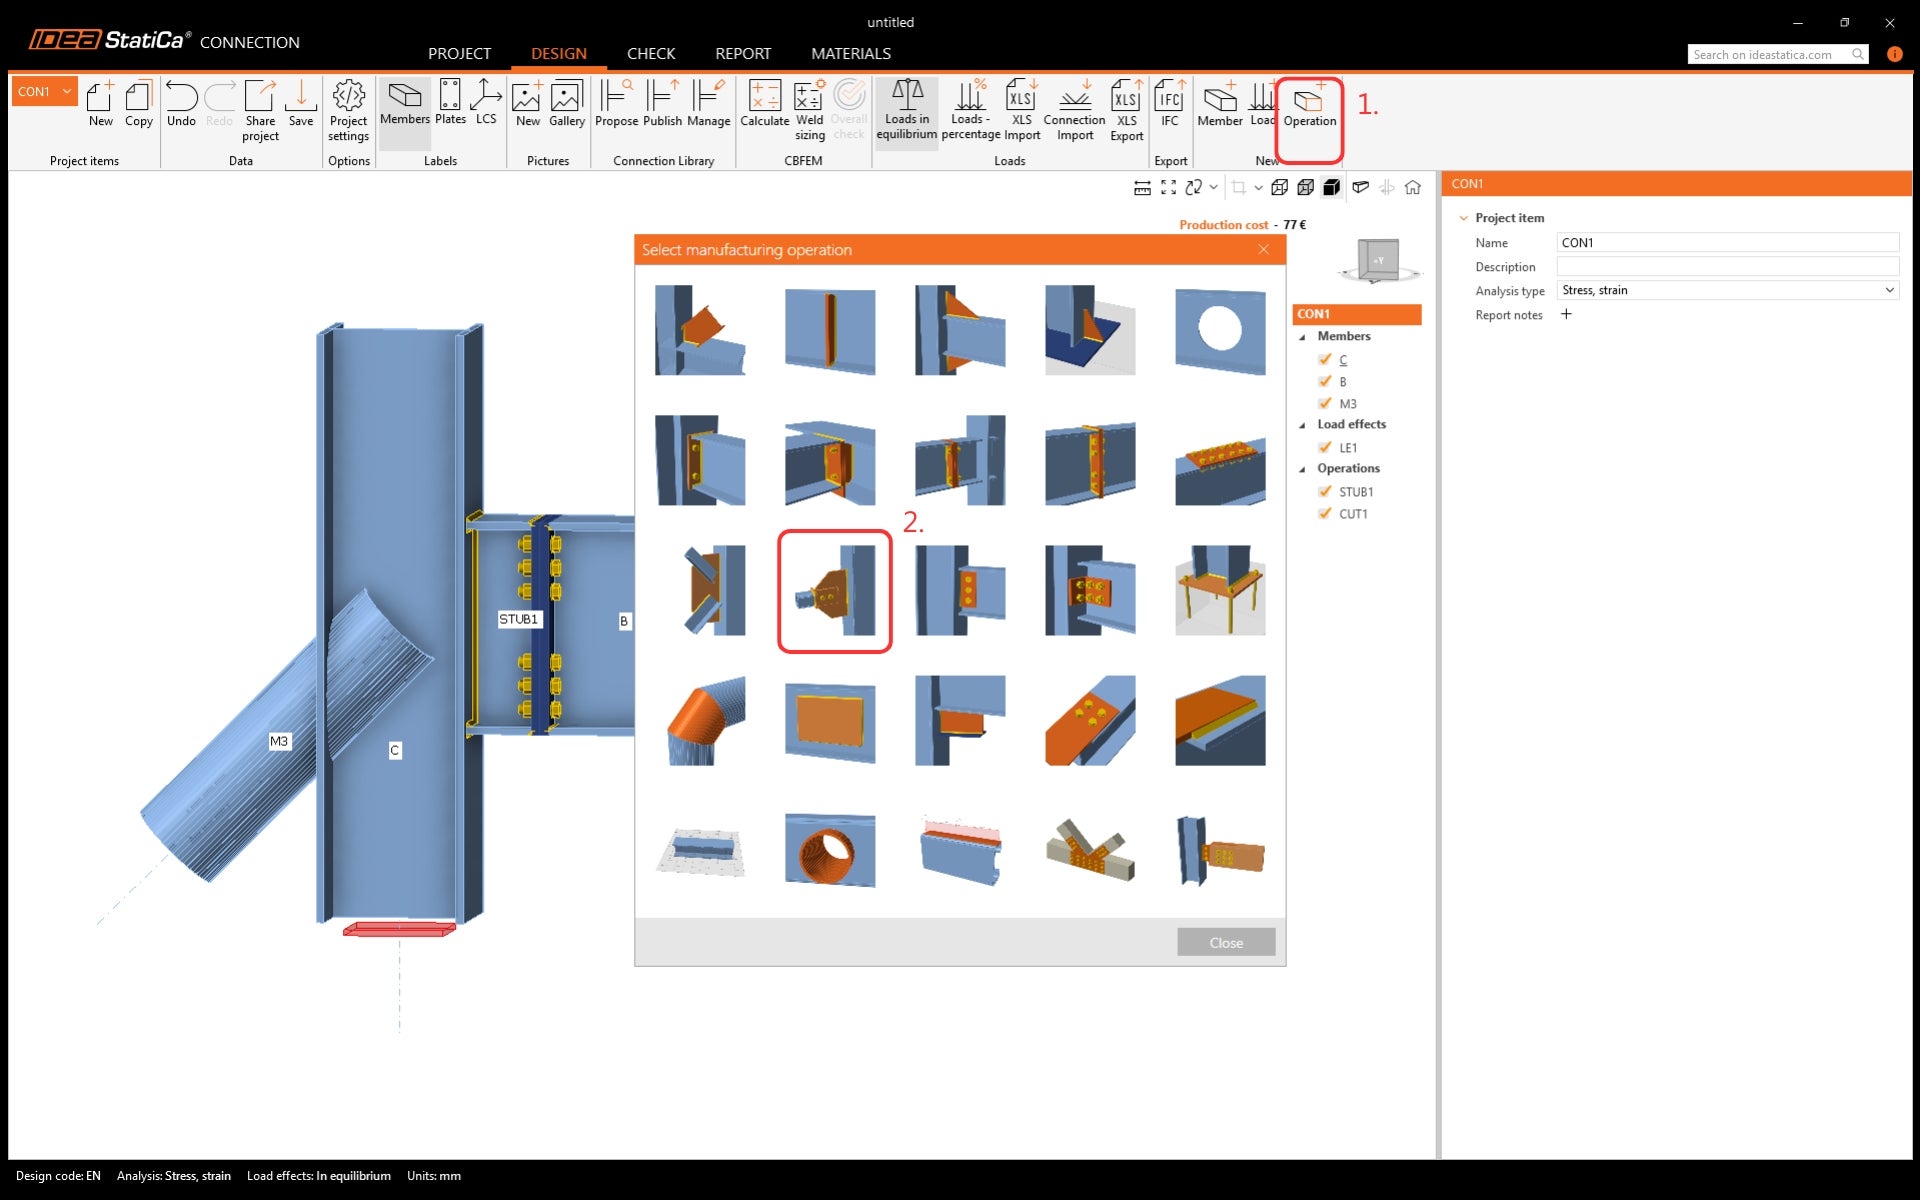
Let's create a design that can be saved as a template. Click on Operation in the Ribbon and find the manufacturing operation Stub - plate to plate.
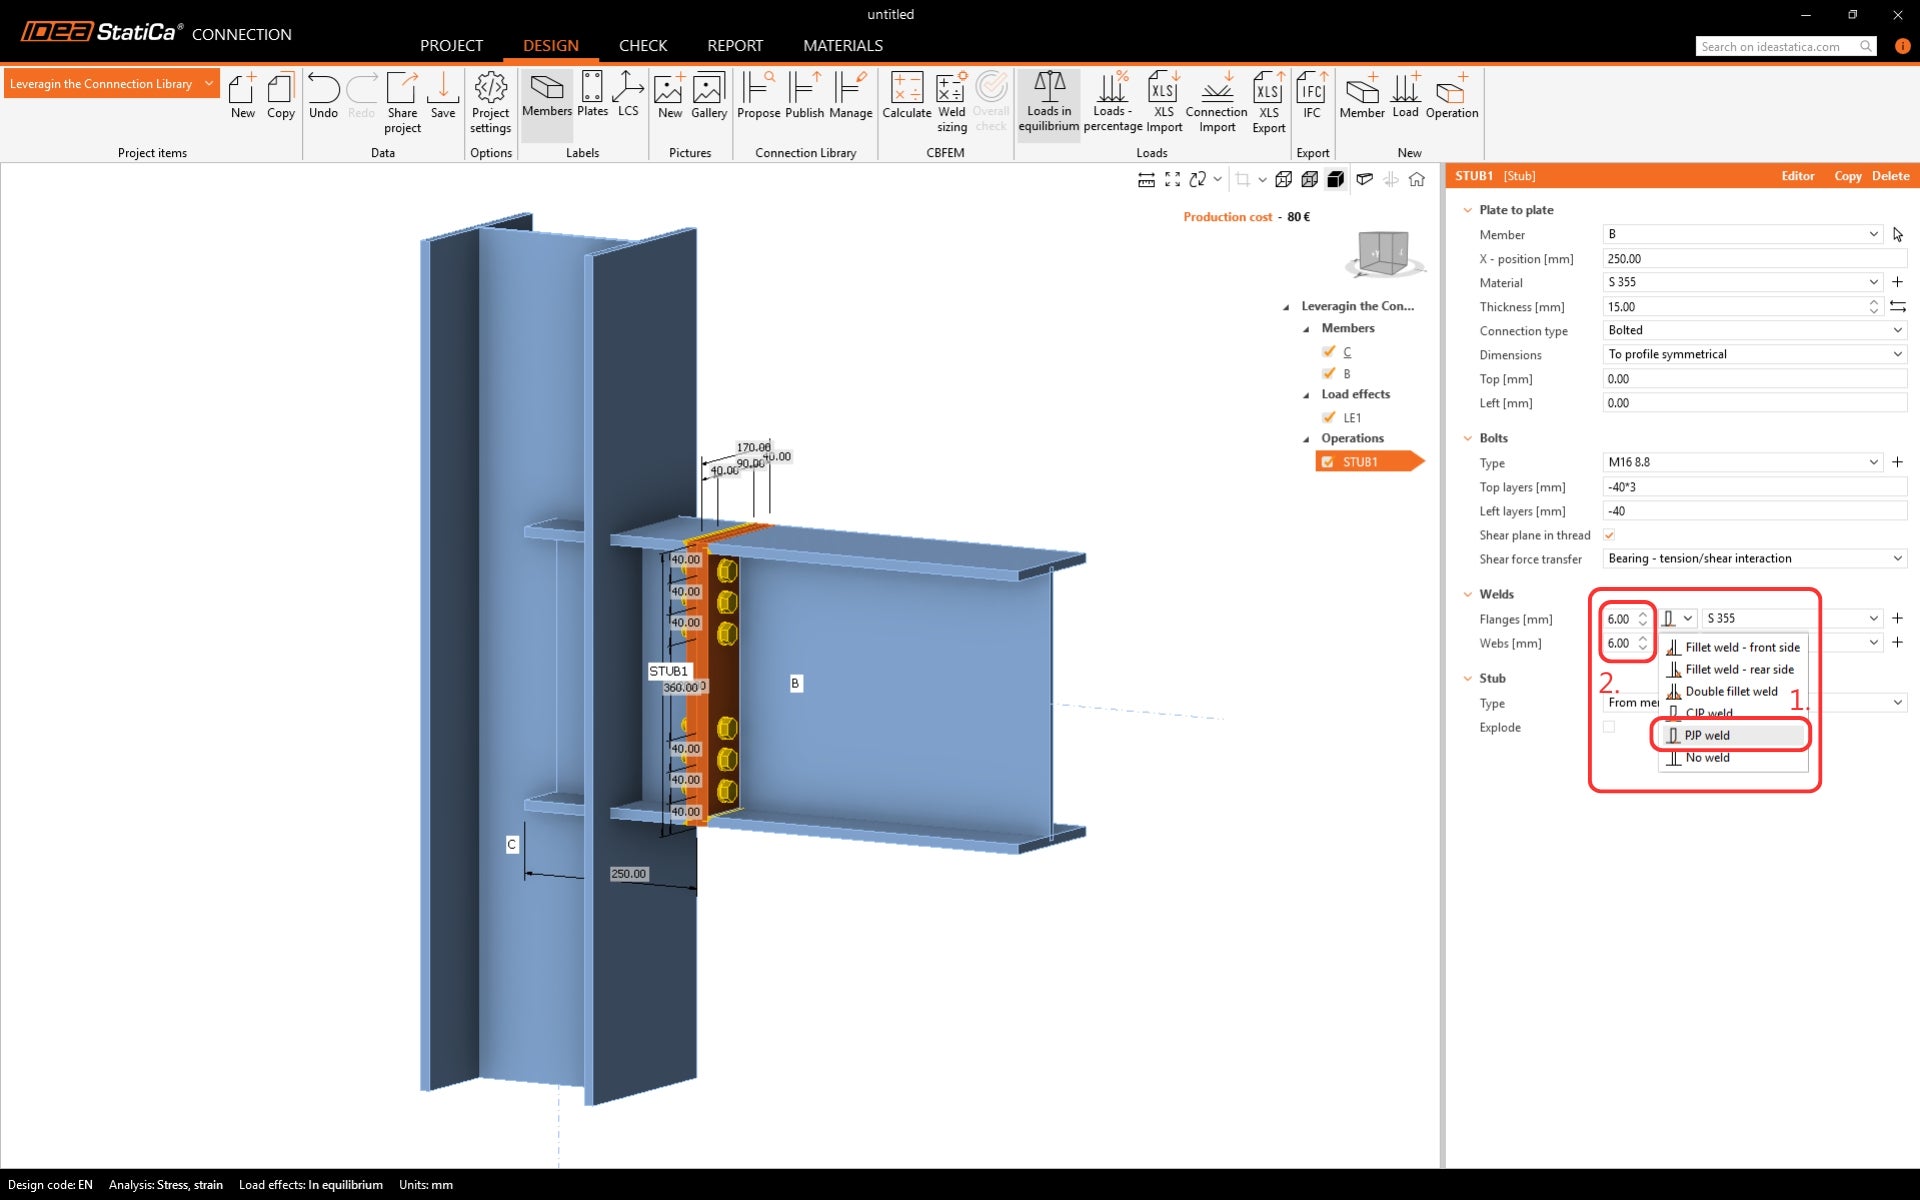
Modify the welds in the operation. Select the Partial Joint Penetration welds (PJP) and edit the size.
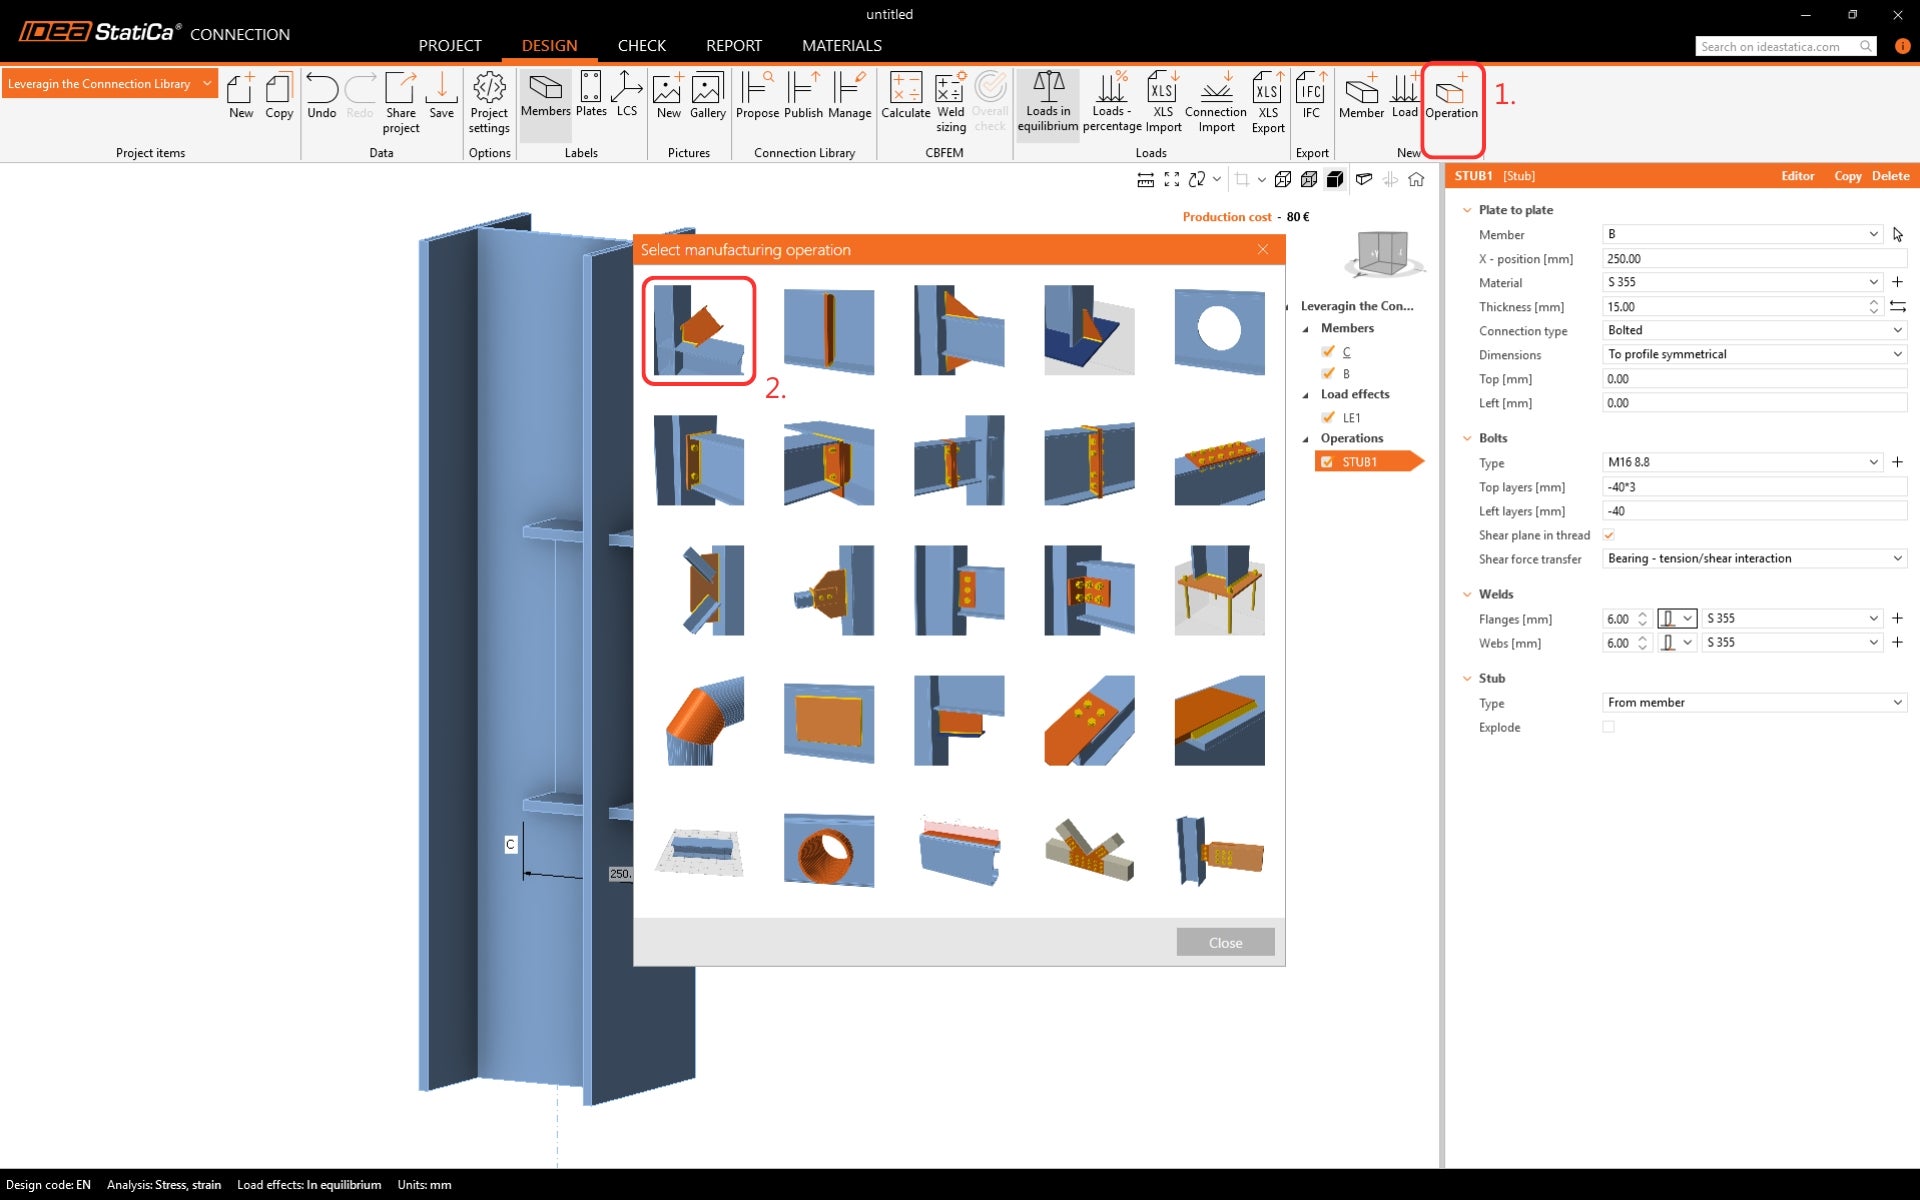
Add another operation - Cut.
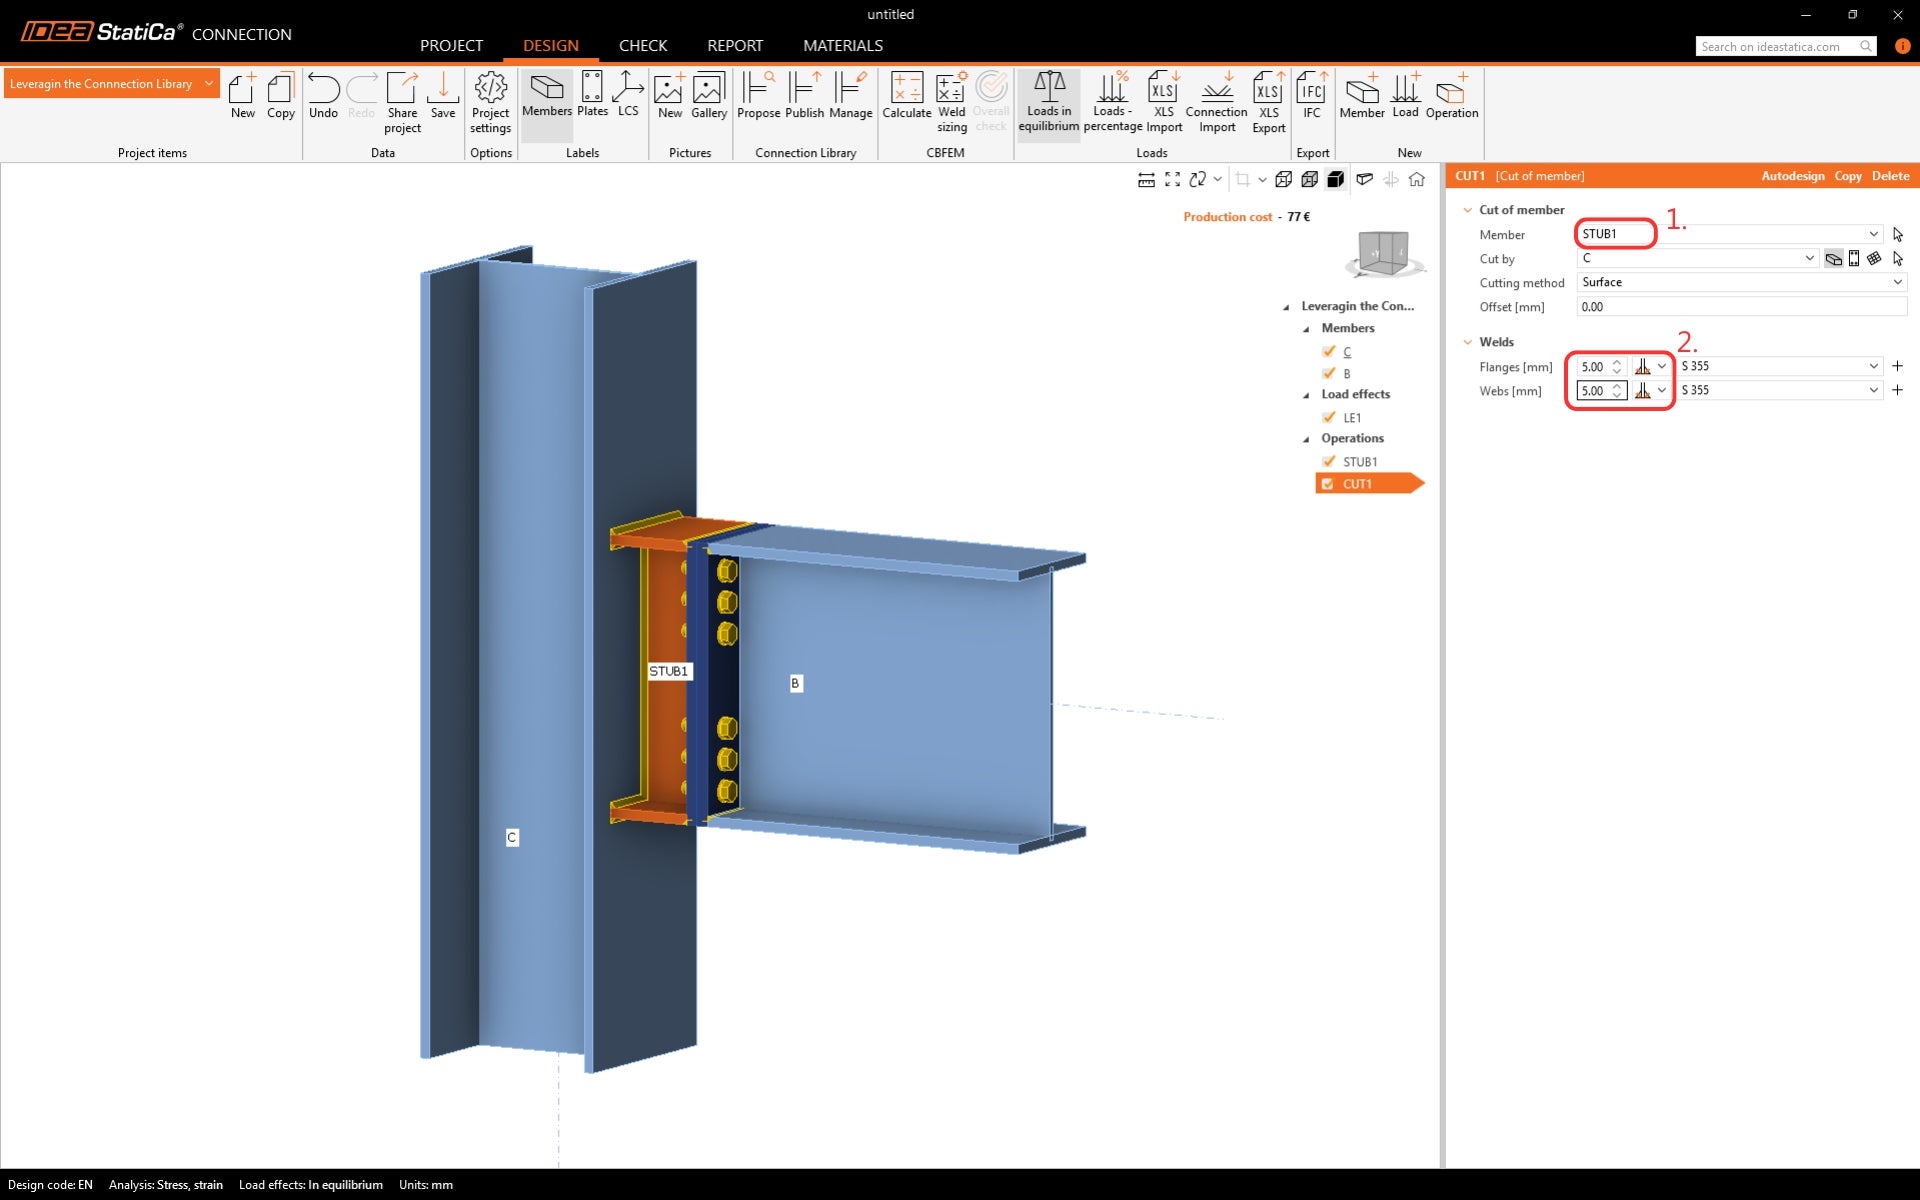
Modify the member to be cut to STUB1 and welds.
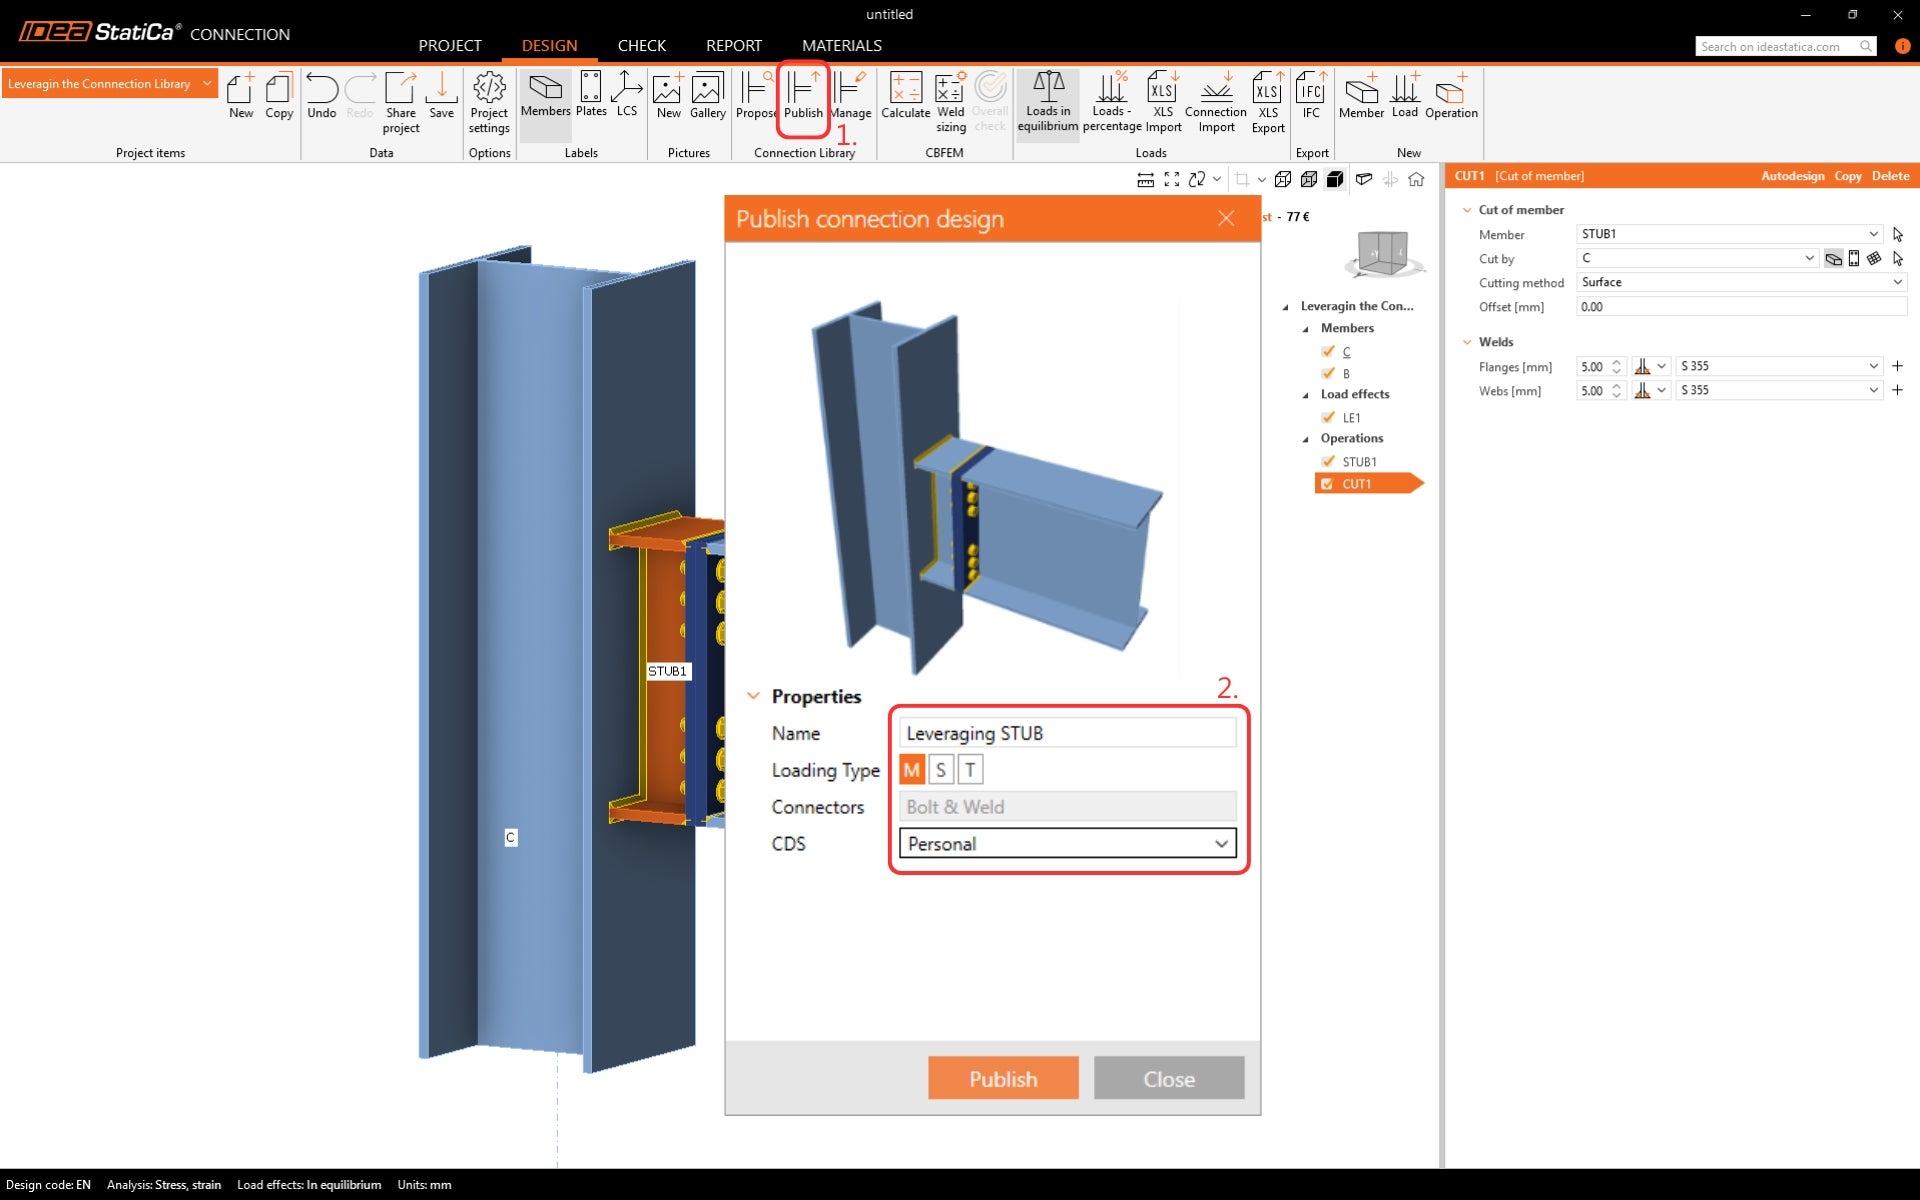
This design is used often; therefore, it can be saved to the Connection Library. Click on the Publish button in the ribbon. Define the Name, Loading type, and Connection design set (CDC) in which the template will be stored. Types of CDC:
- Company - every user with the company license will be able to access them, while a user from a different company cannot see, use or access these design items.
- Personal - available only for the author of the design.
2 Applying a template from the Connection Library
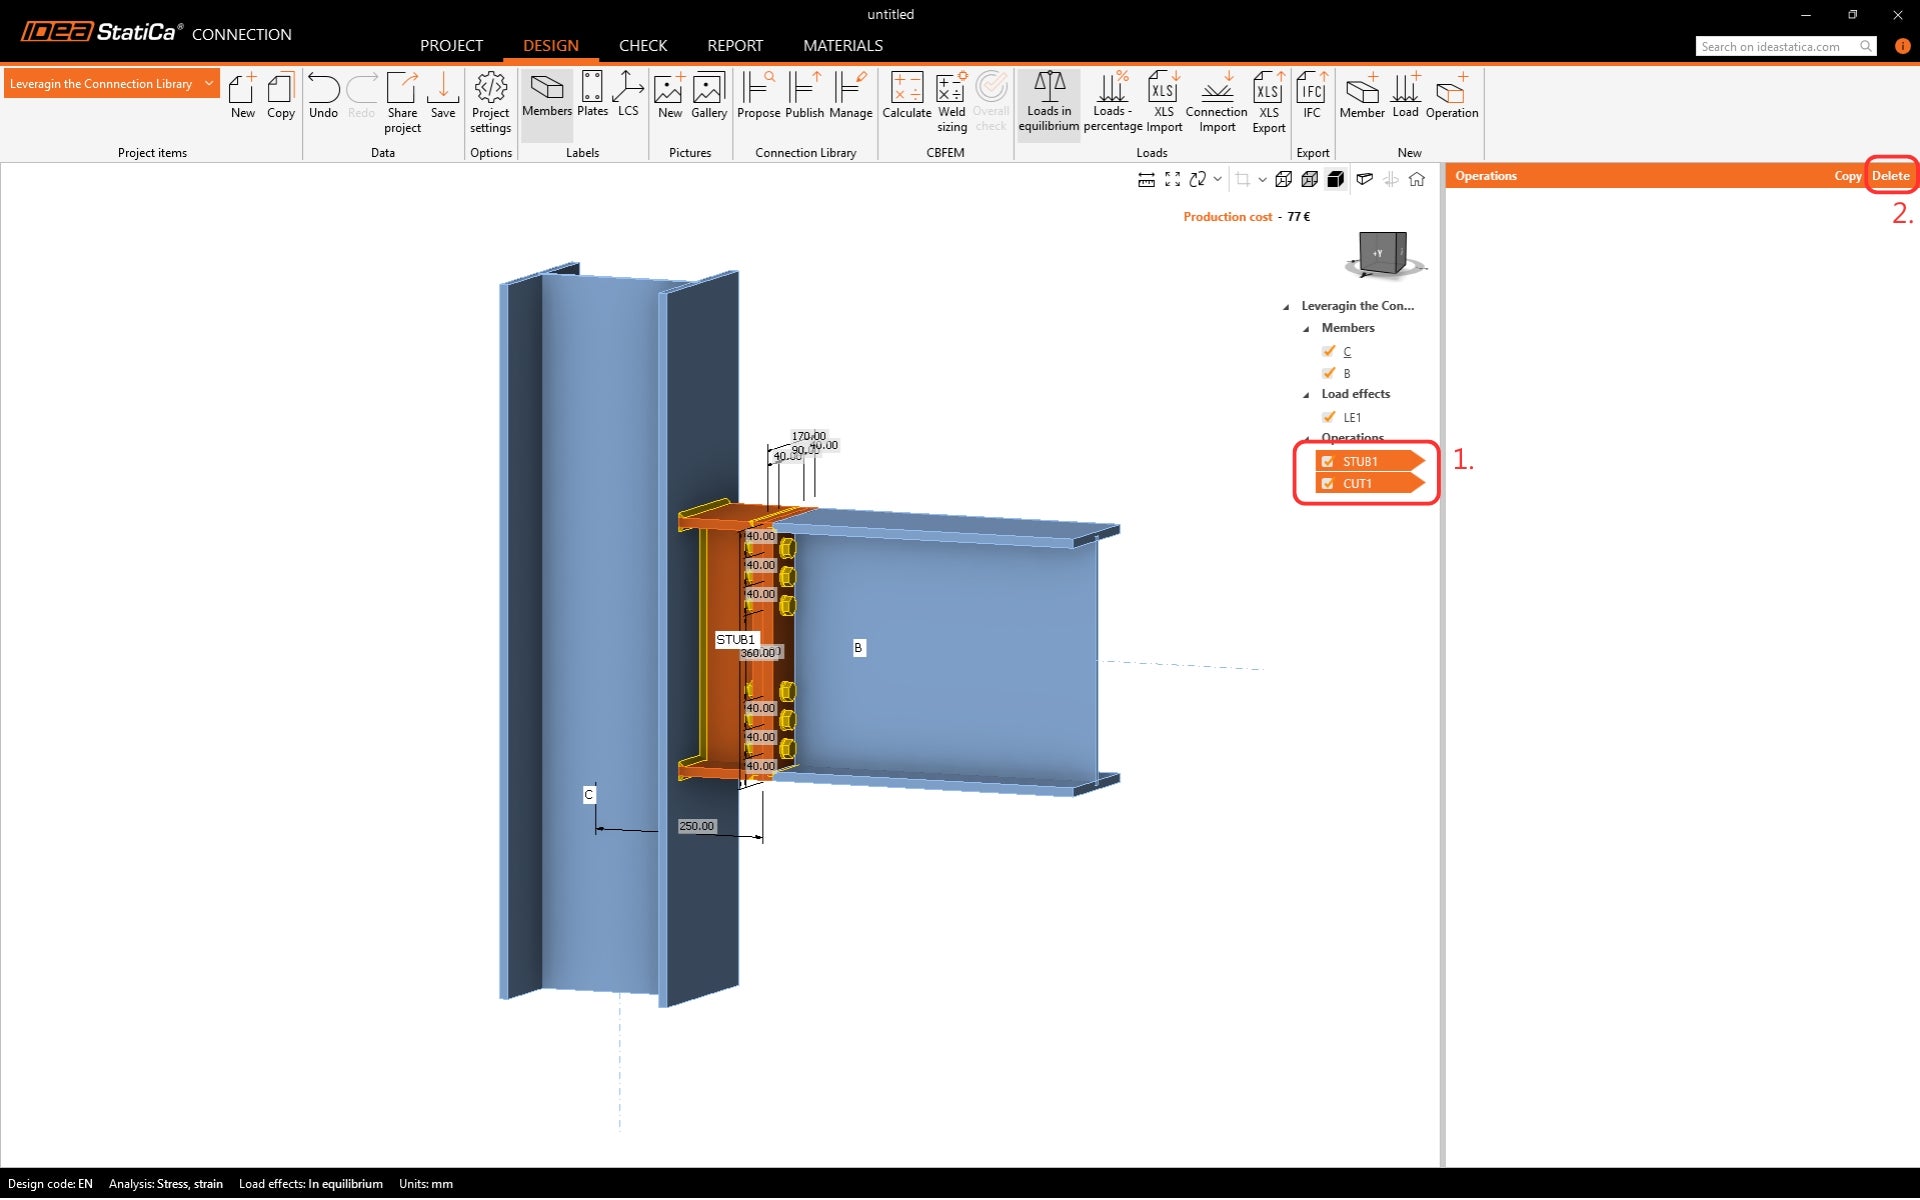
Start by deleting the operations in the model.
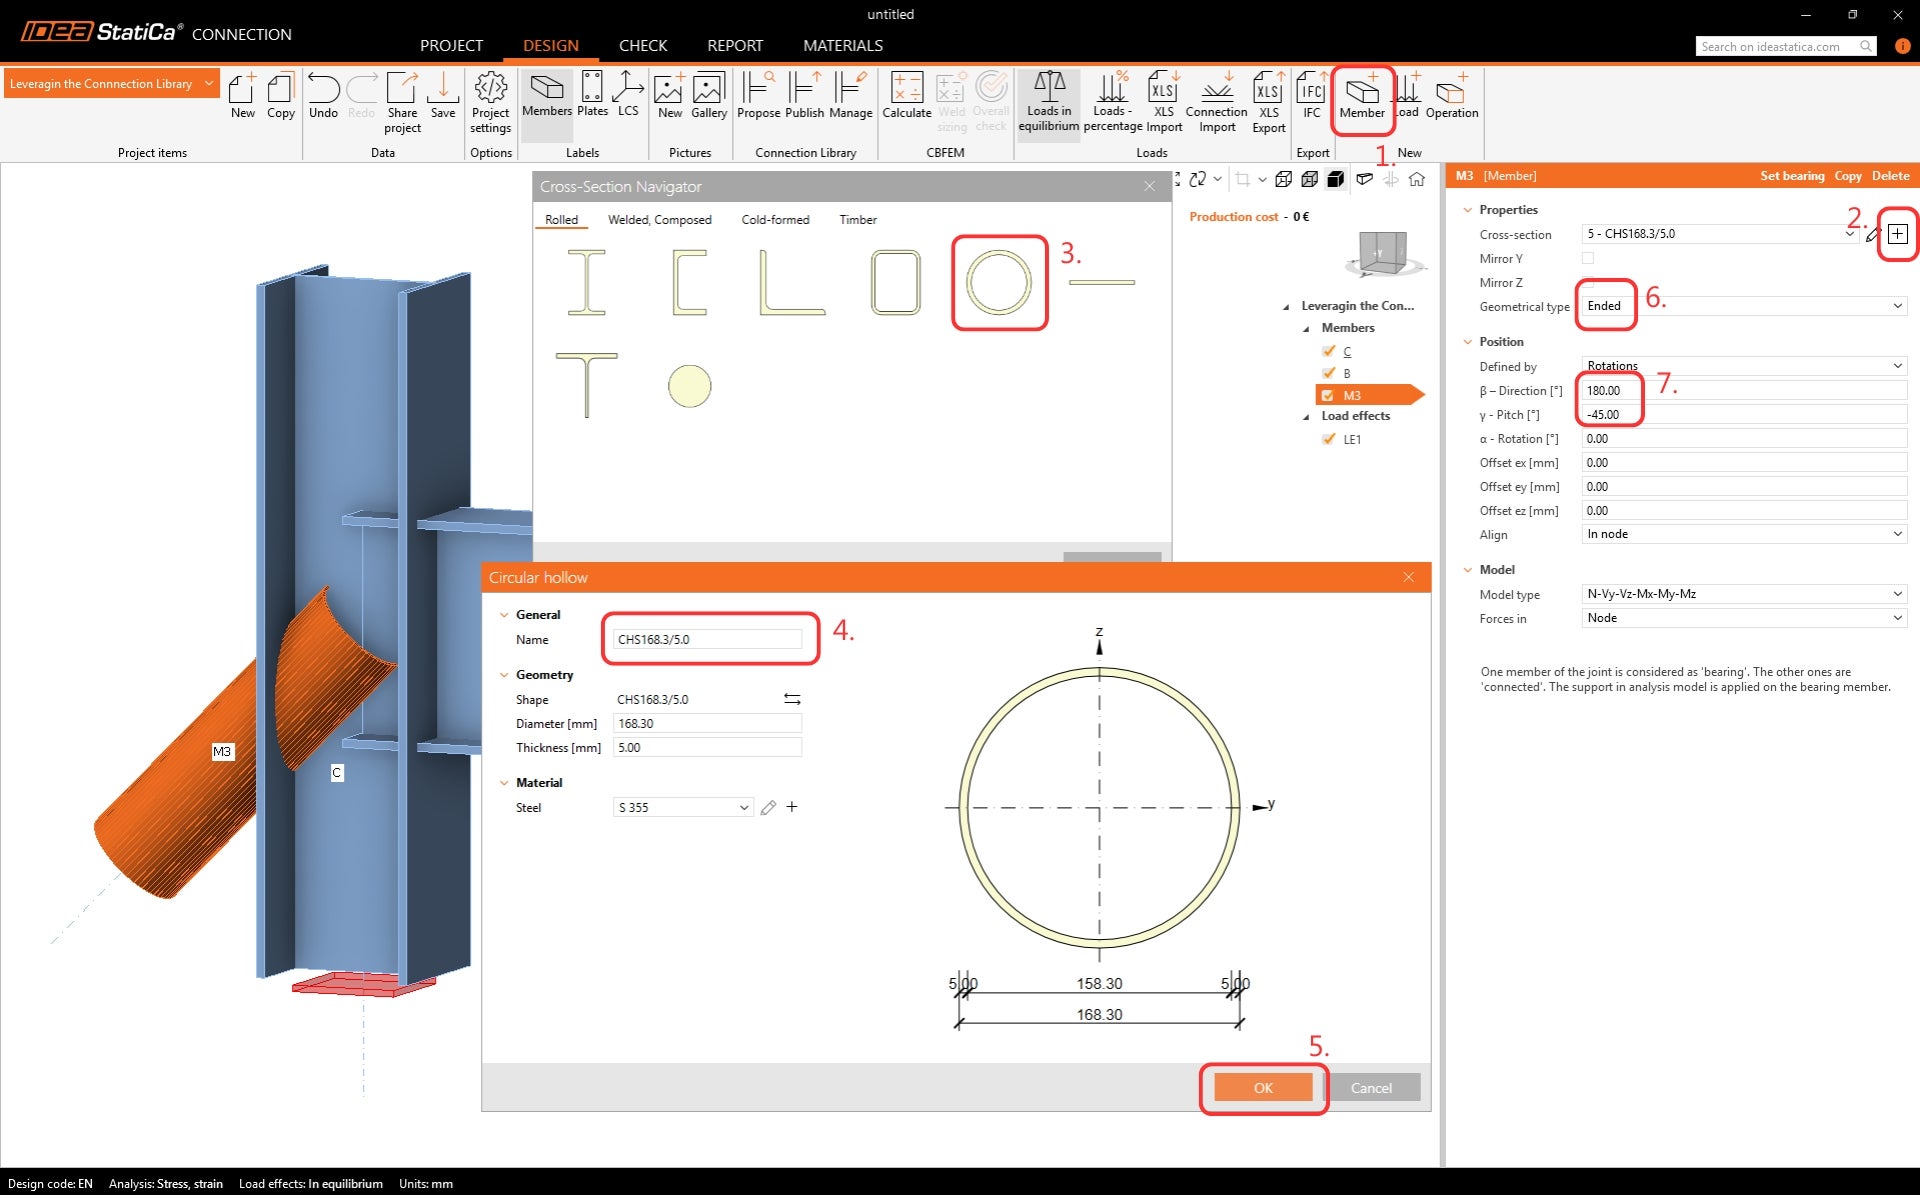
Add an additional member to the design.
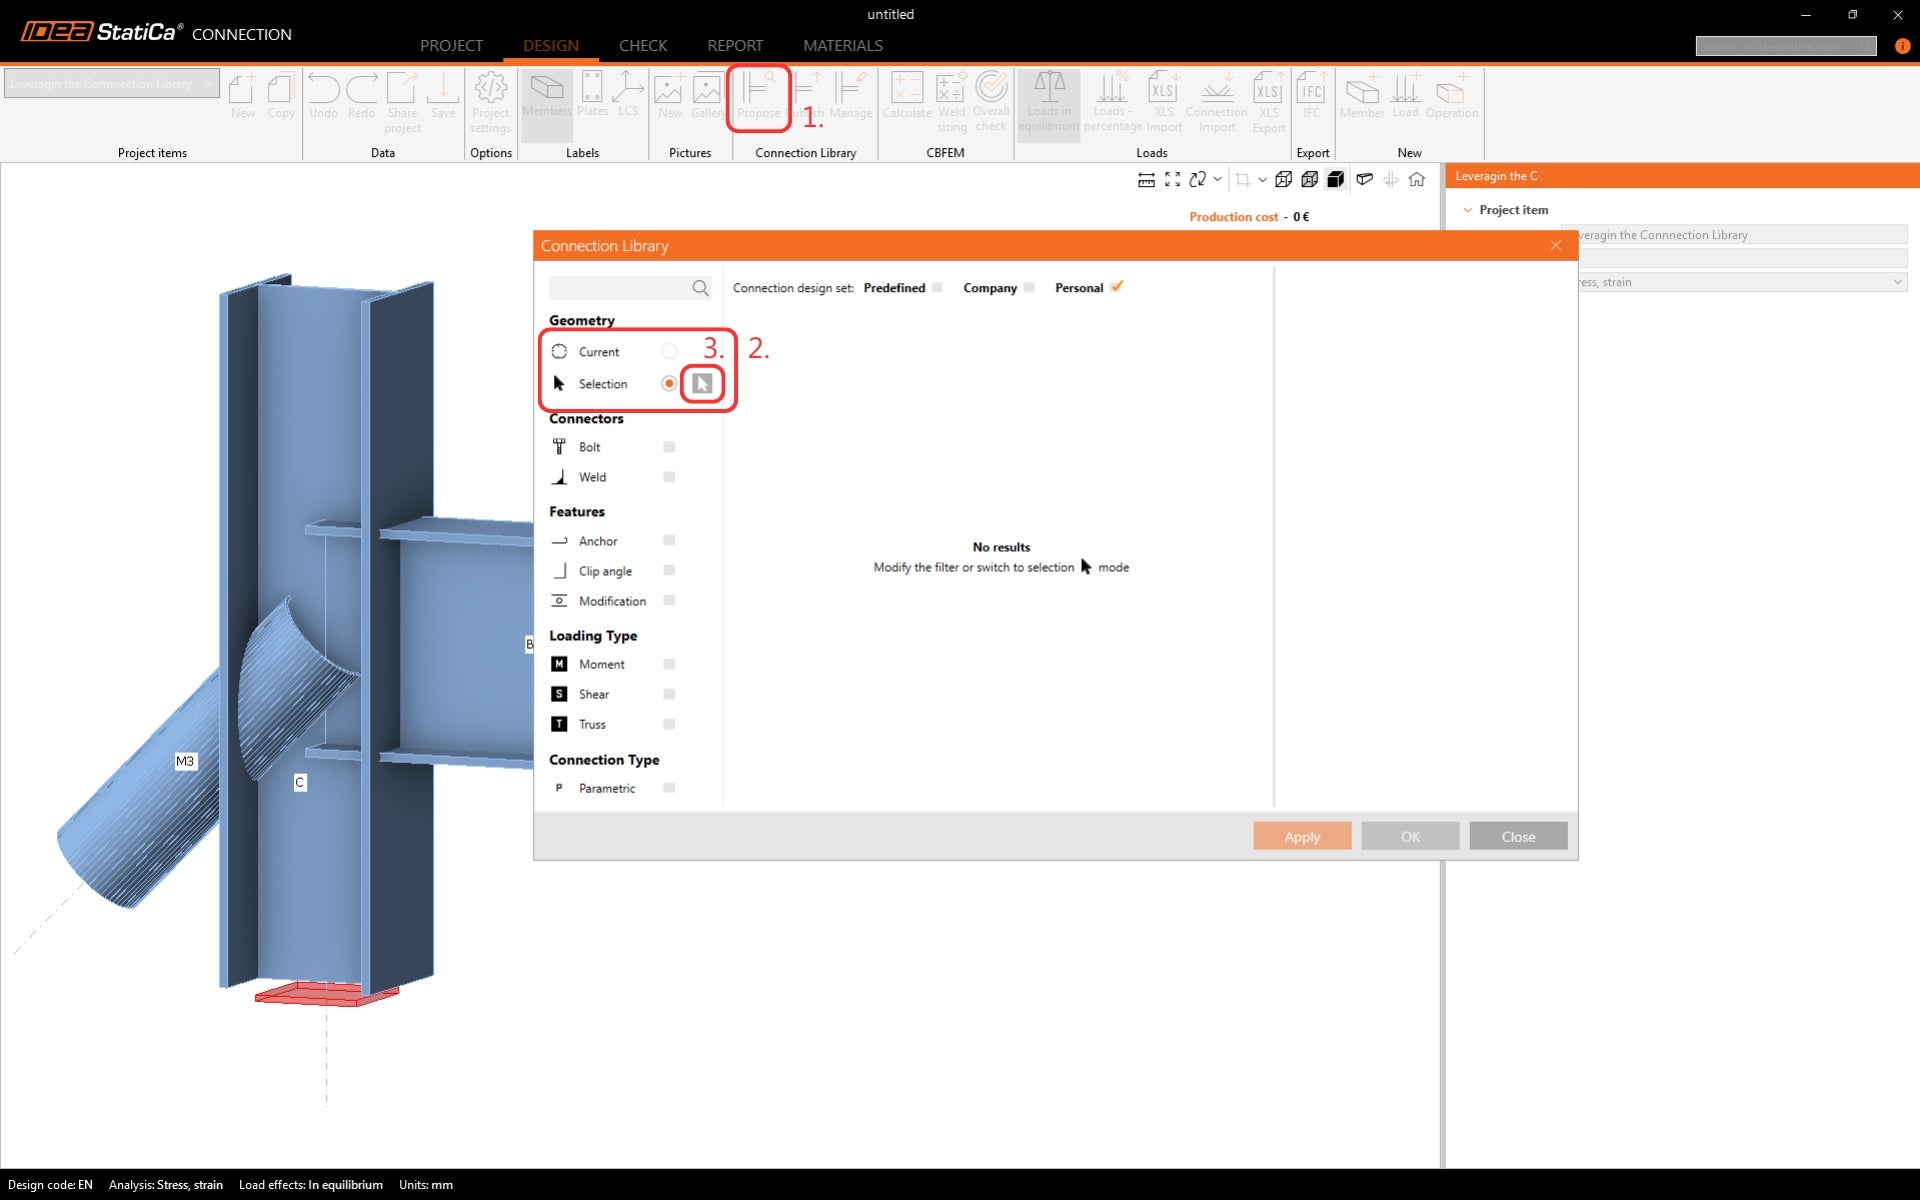
Now, let's utilize the Connection Library instead of using the individual operations again. Click on the Propose button in the Ribbon. No design is available for the current geometry. Switch to Selection and click on the Arrow.
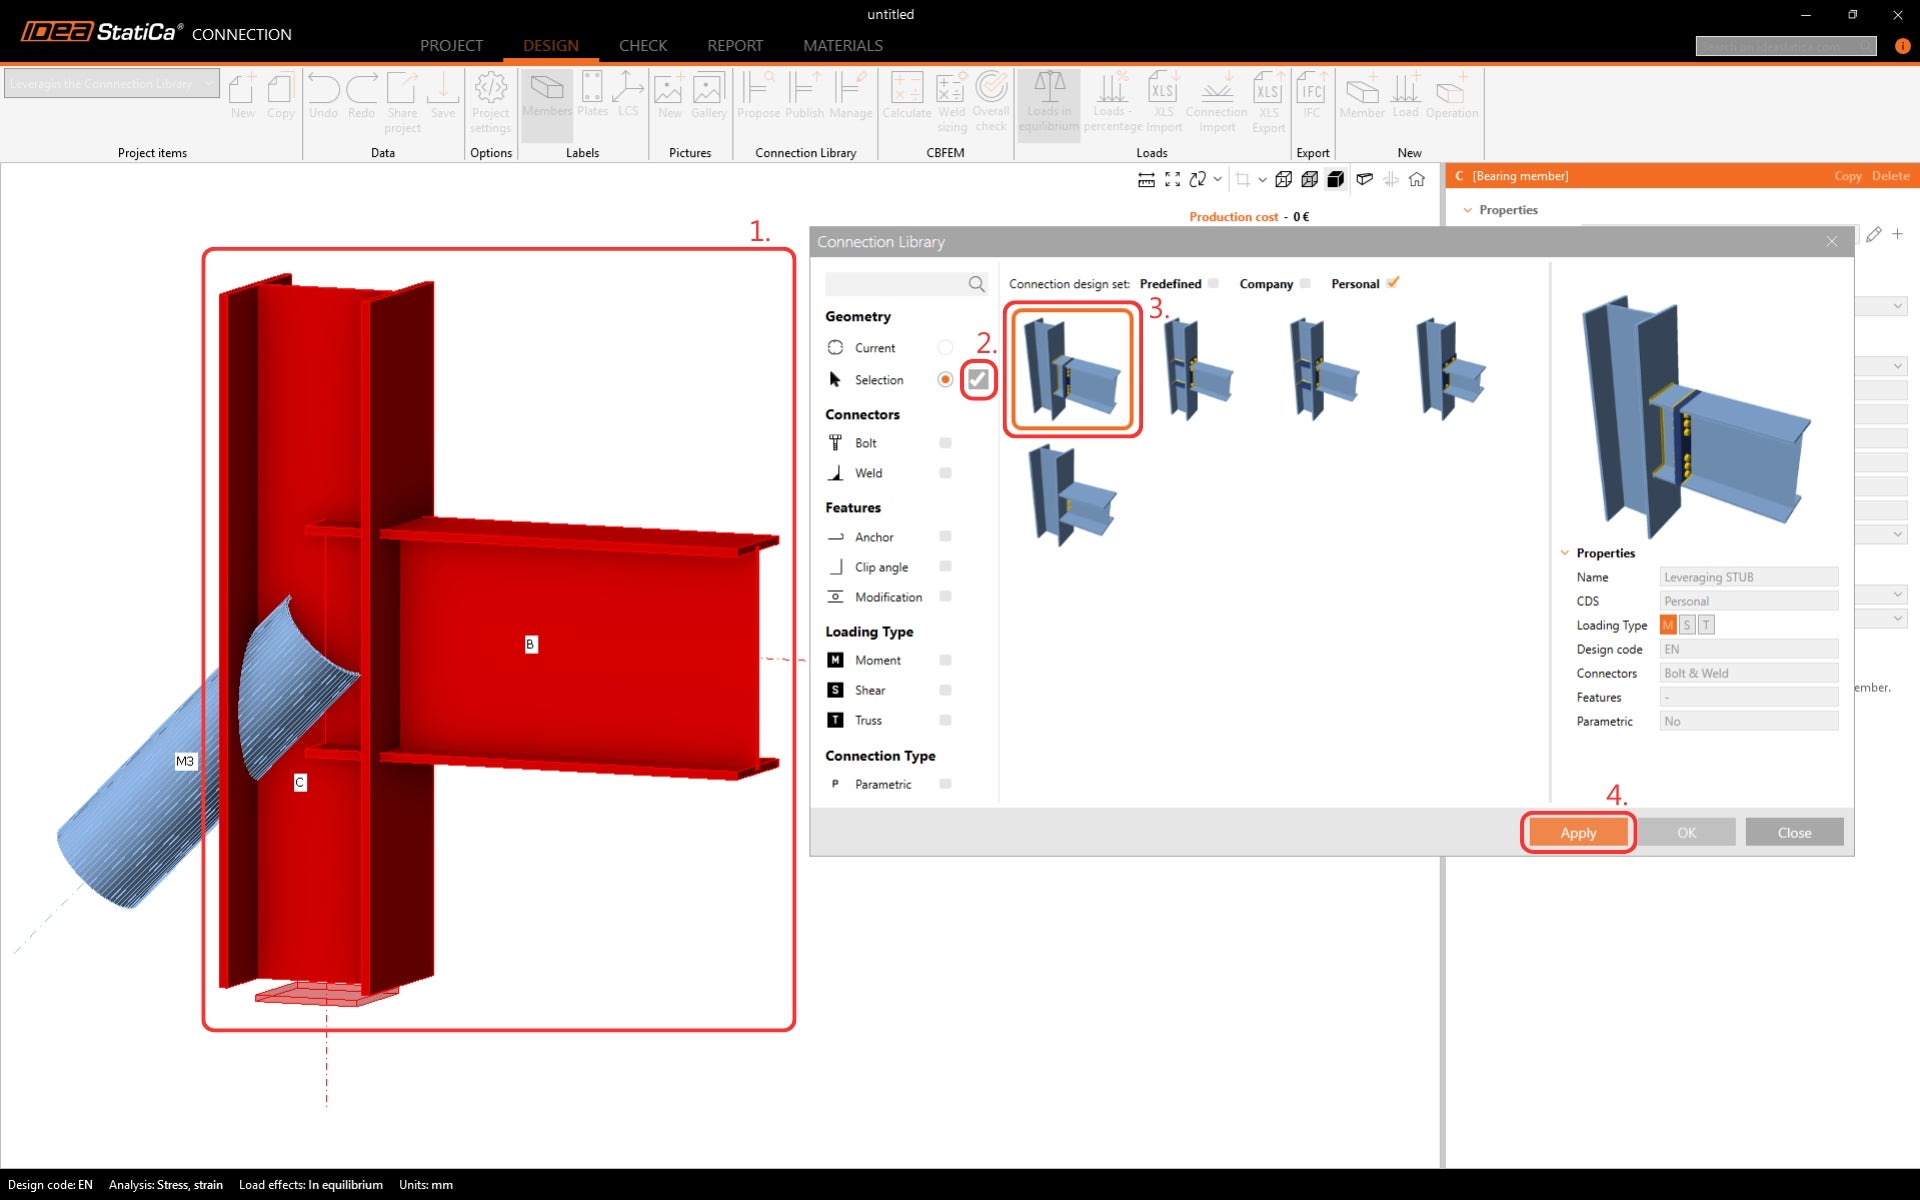
While holding the Control button on your keyboard, select members B and C. Confirm the selection by clicking on the Tick button. Suitable design templates are showcased for the selected geometry. Narrow down the selection of templates by only selecting the Personal connection design set. Apply the template.
The design is applied to the model exactly as it was saved into the Connection Library. To finish the design, add an individual operation for the diagonal member since it is not included in the template.
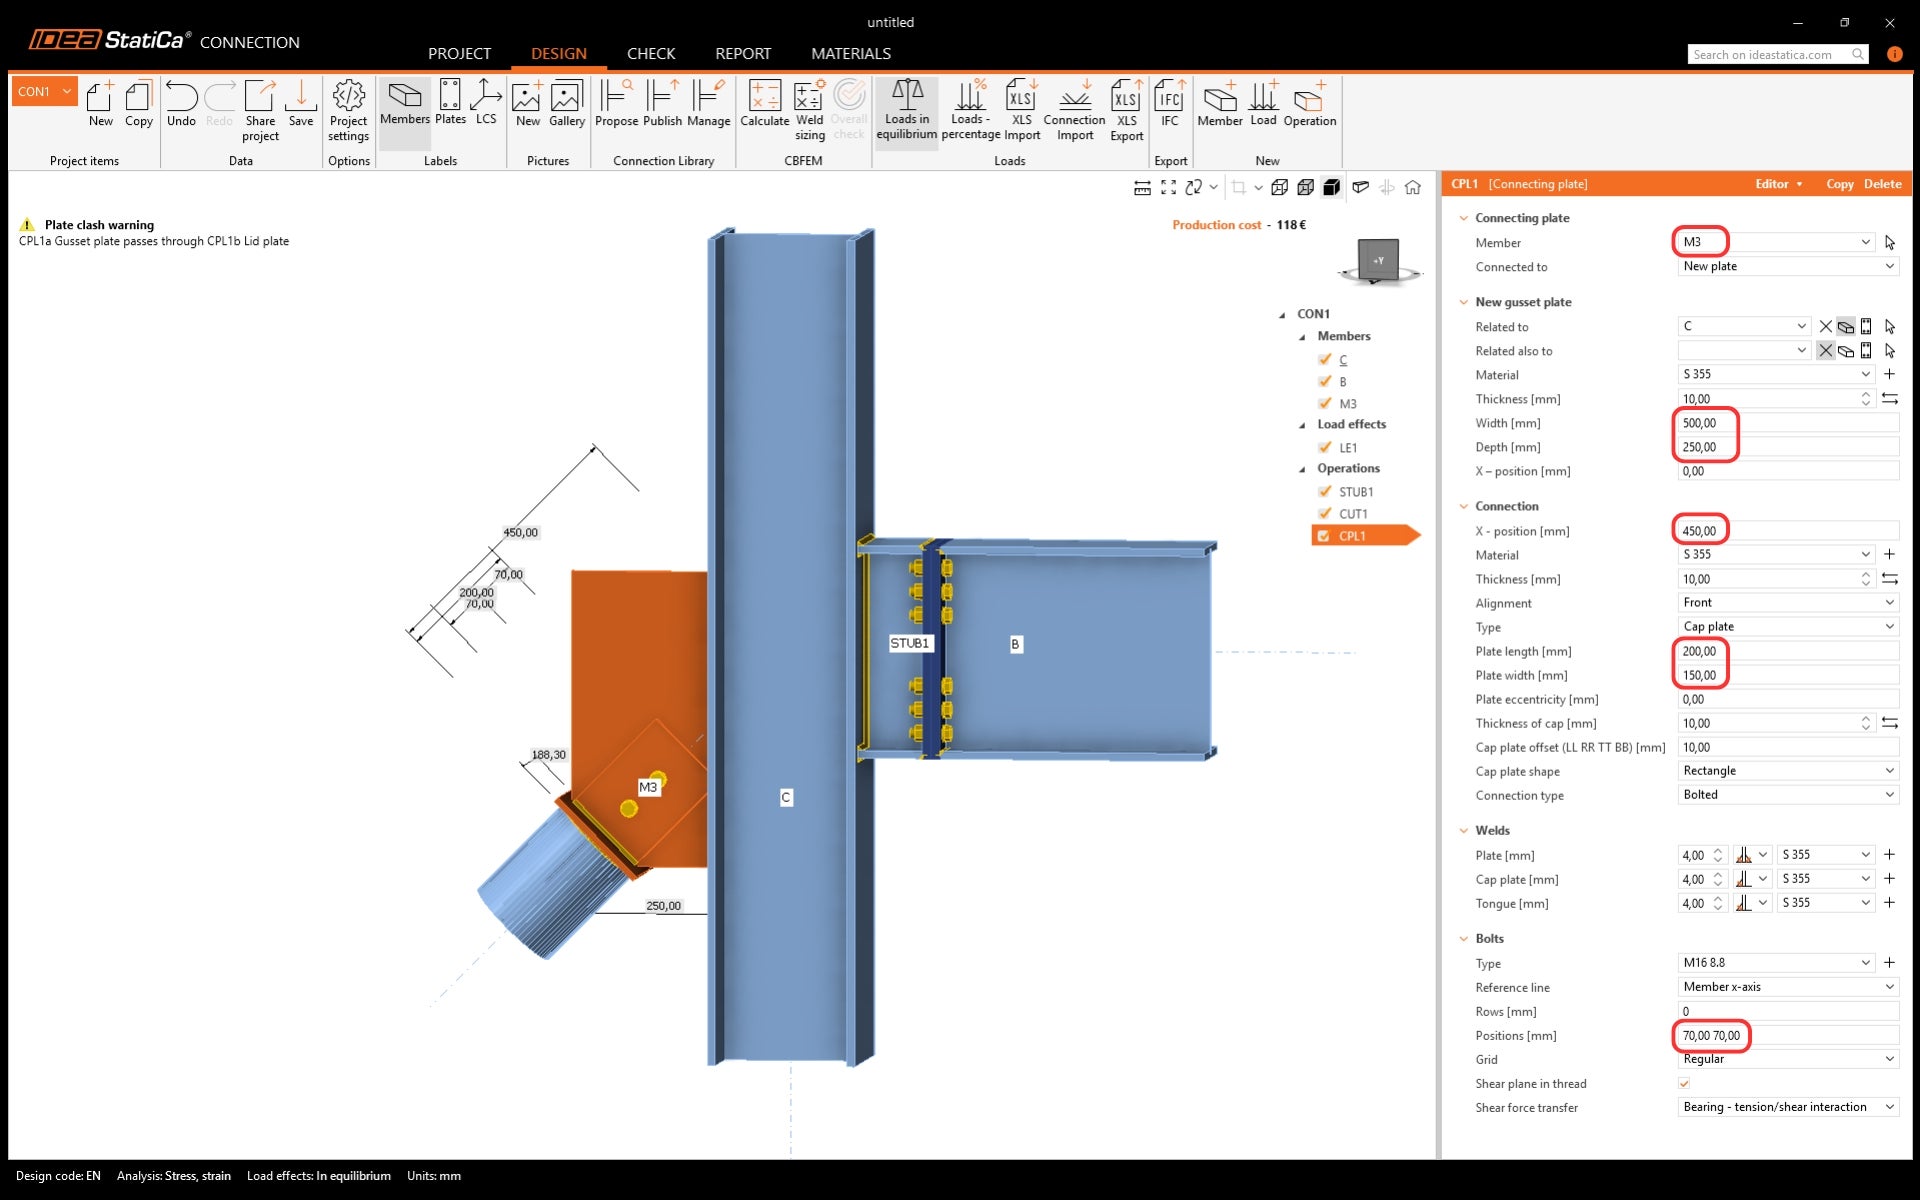
Modify the operation according to the picture below.
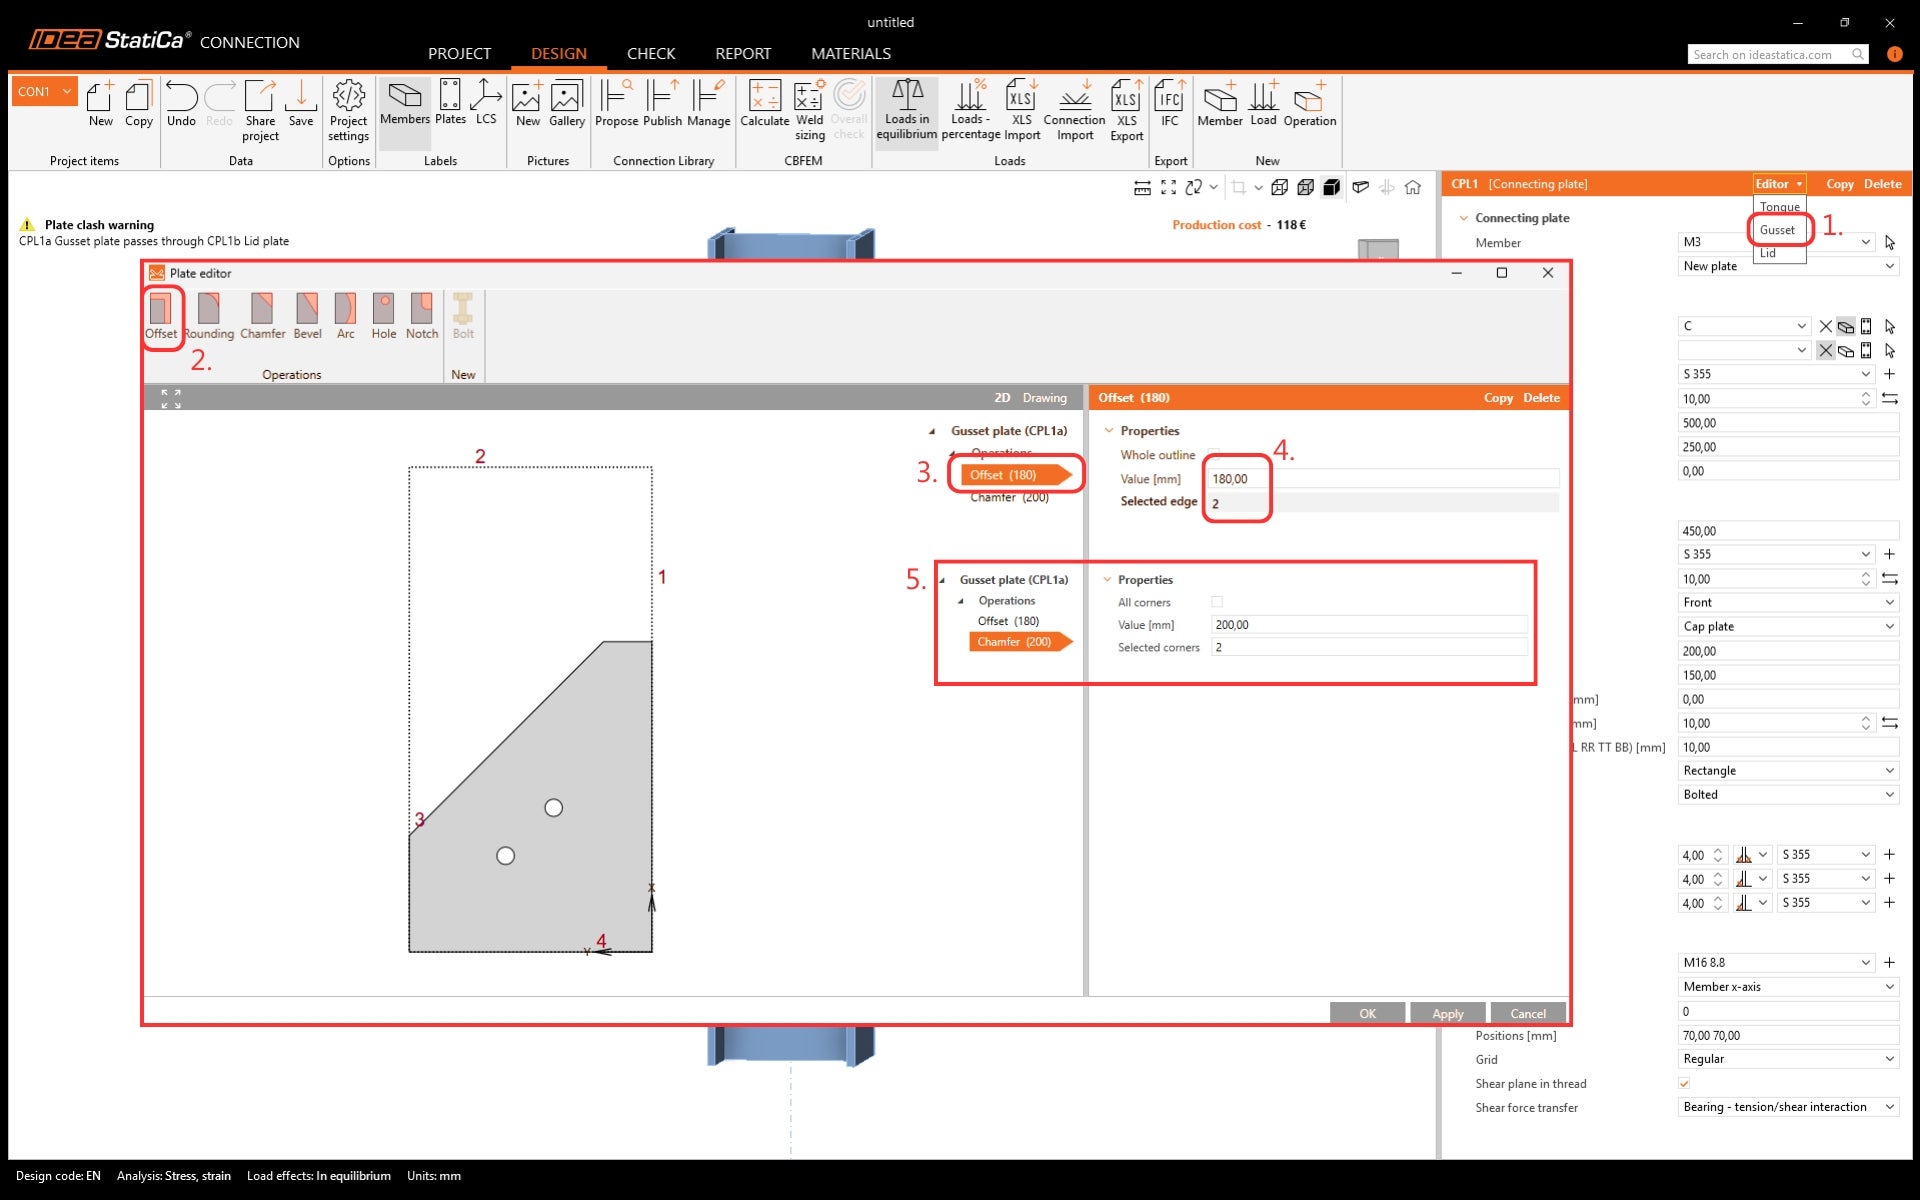
Edit the Gusset plate to a suitable shape in the Plate editor.
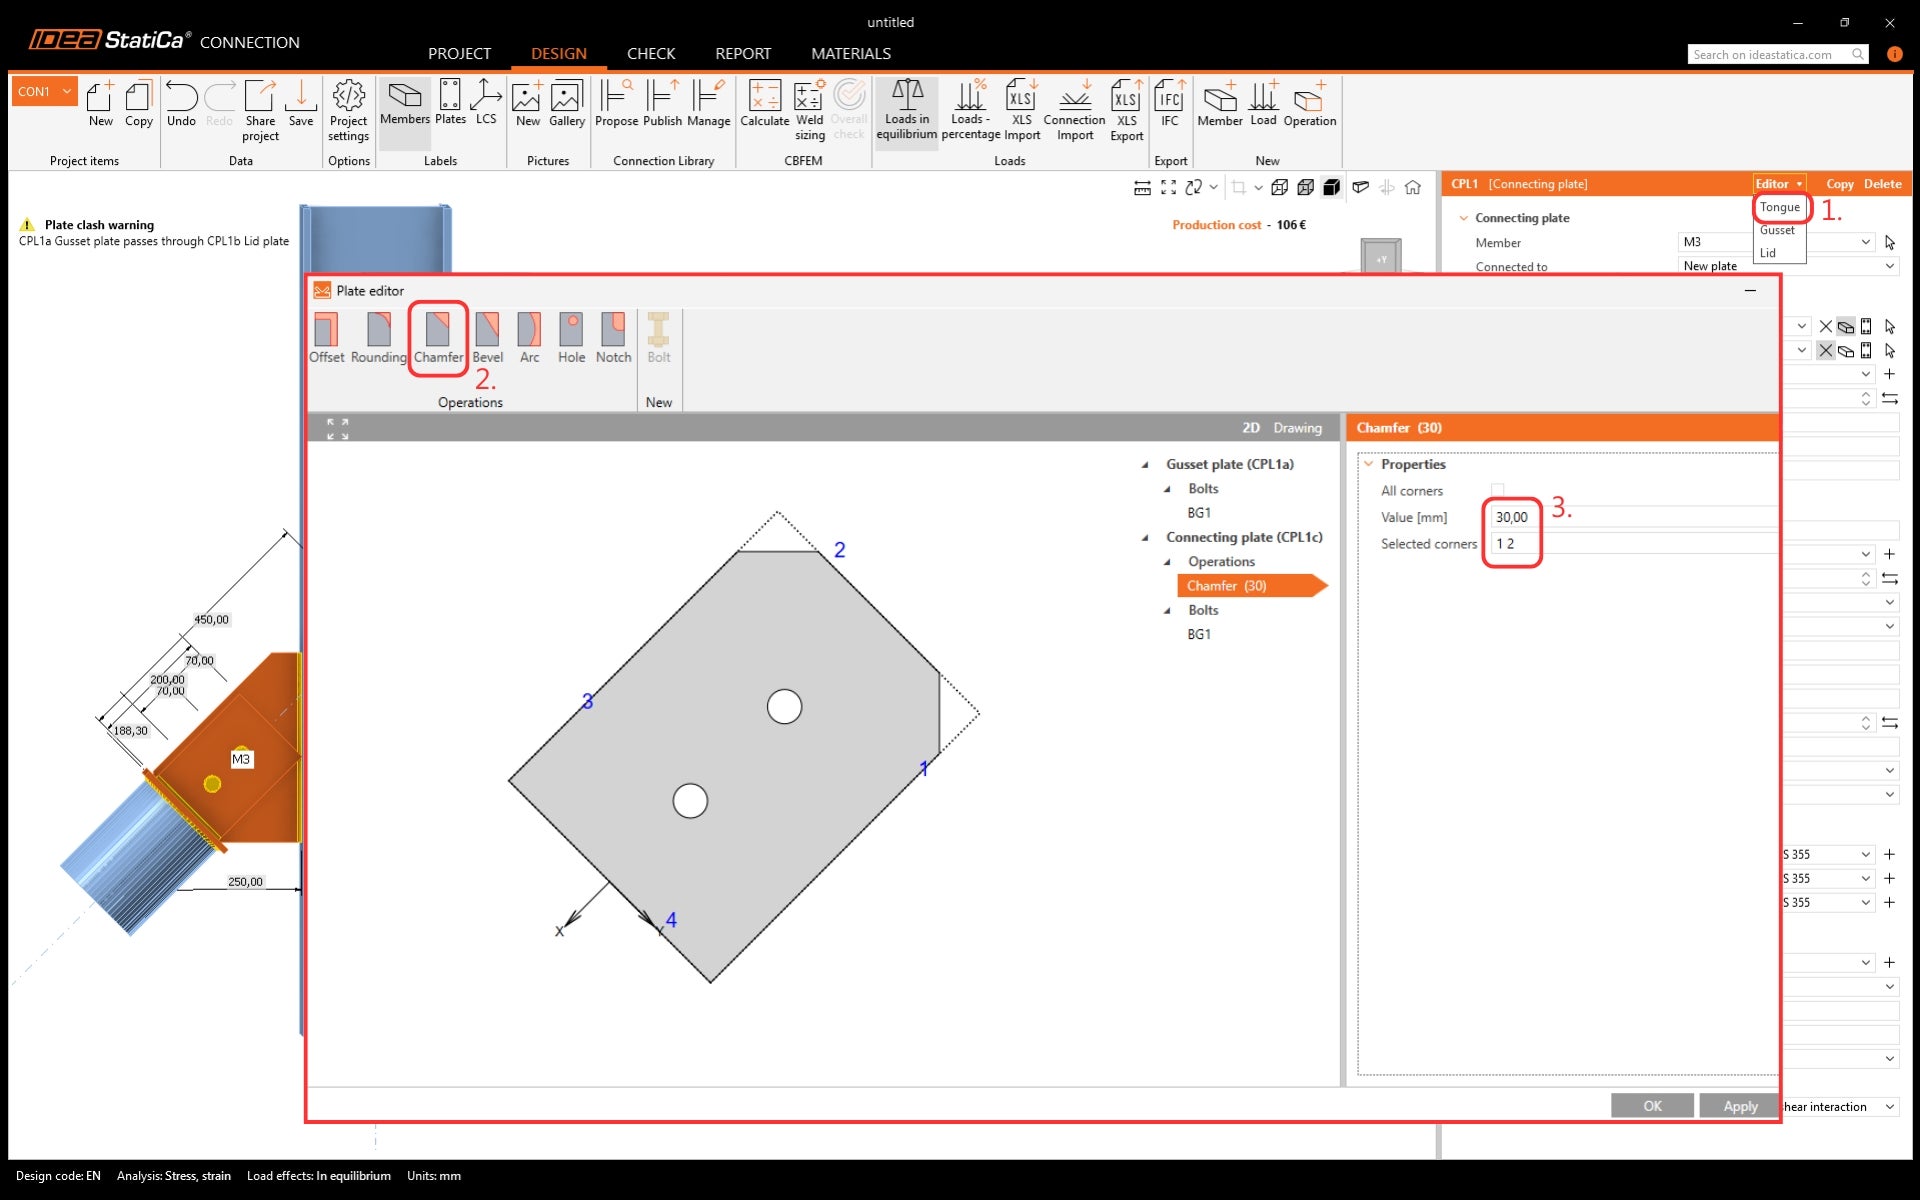
Do the same to trim the corners of the Tongue plate.
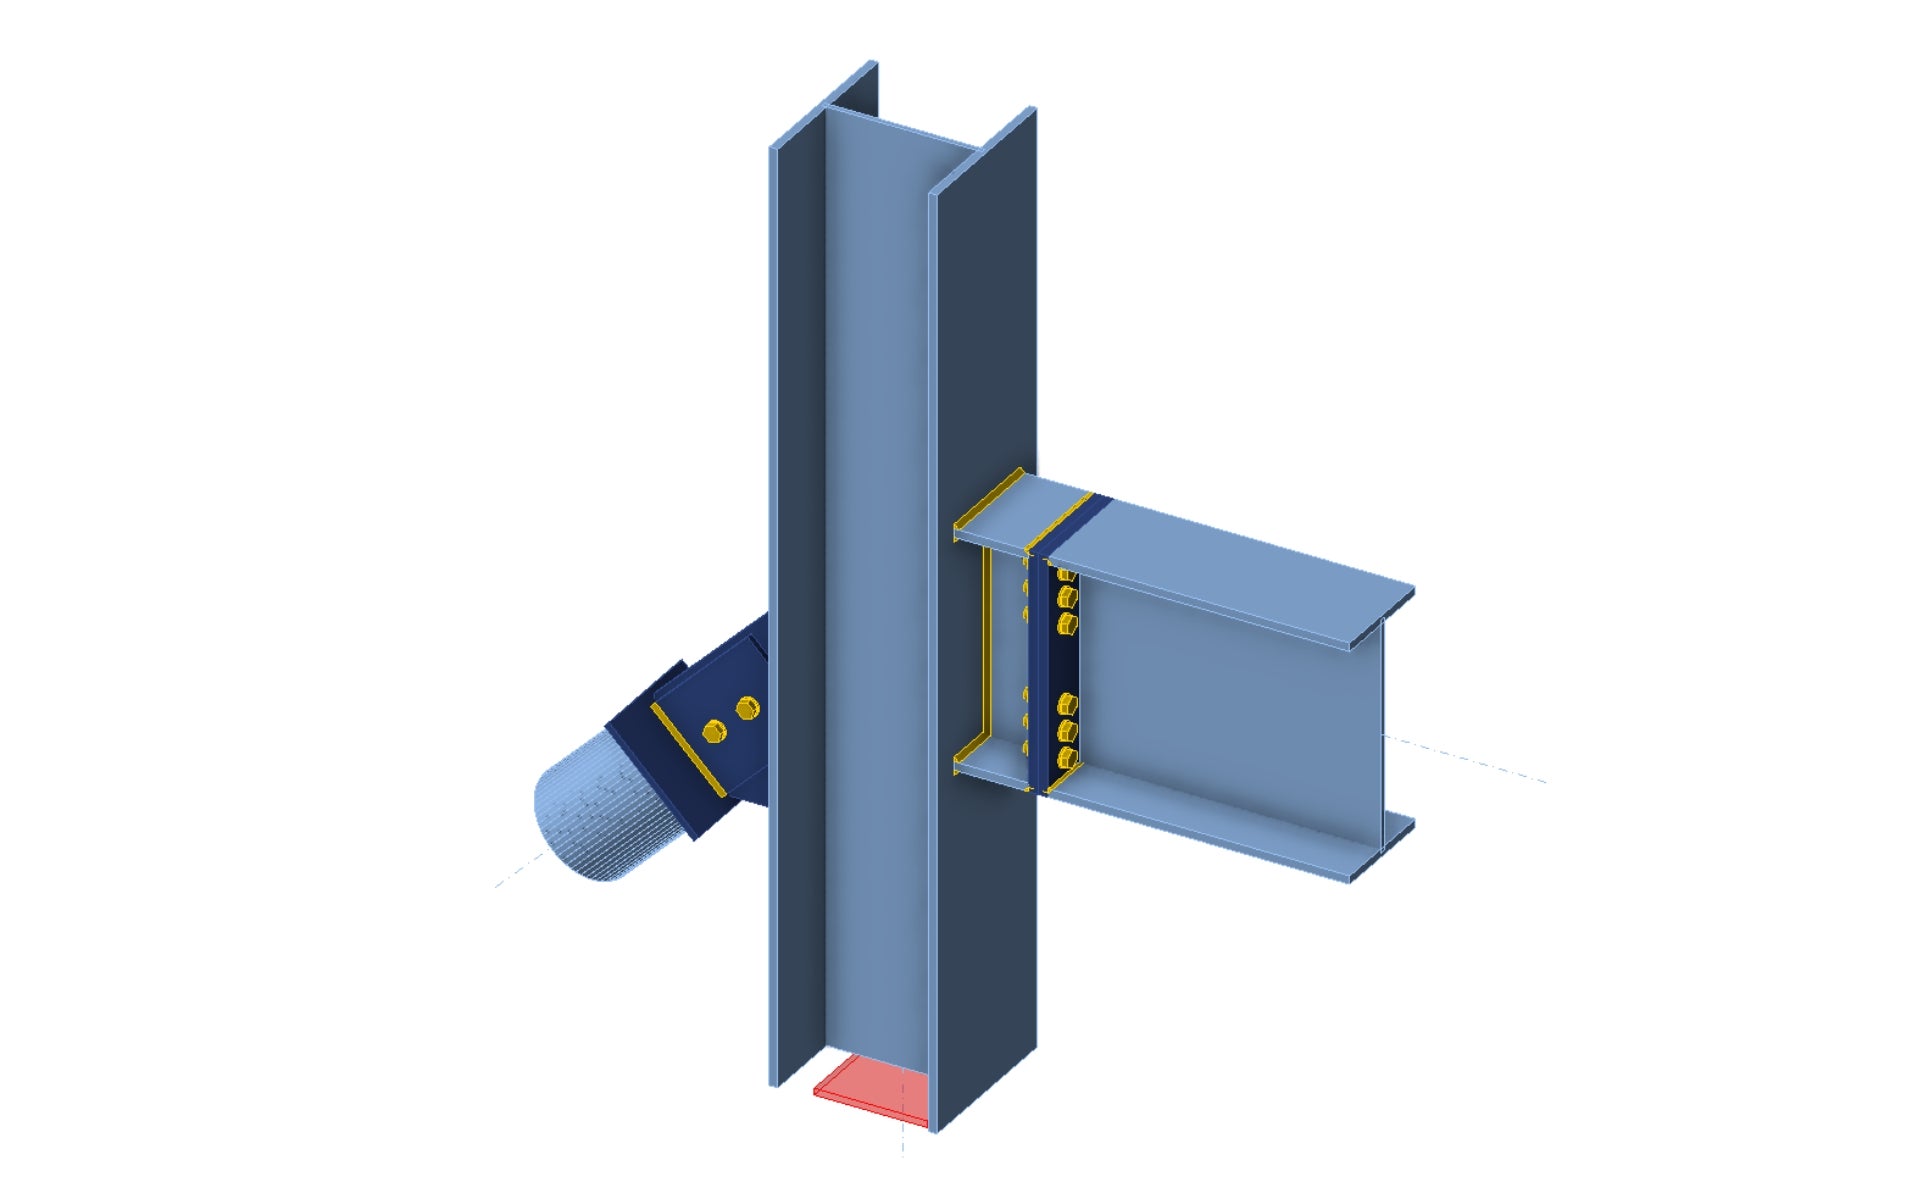
And the design is finished. Now it can be published into Connection Library or simply used to run the analysis to obtain the results. To do that the Load effects need to be defined.
Unlock the power of the Connection Library now.
Read through the related articles below.


