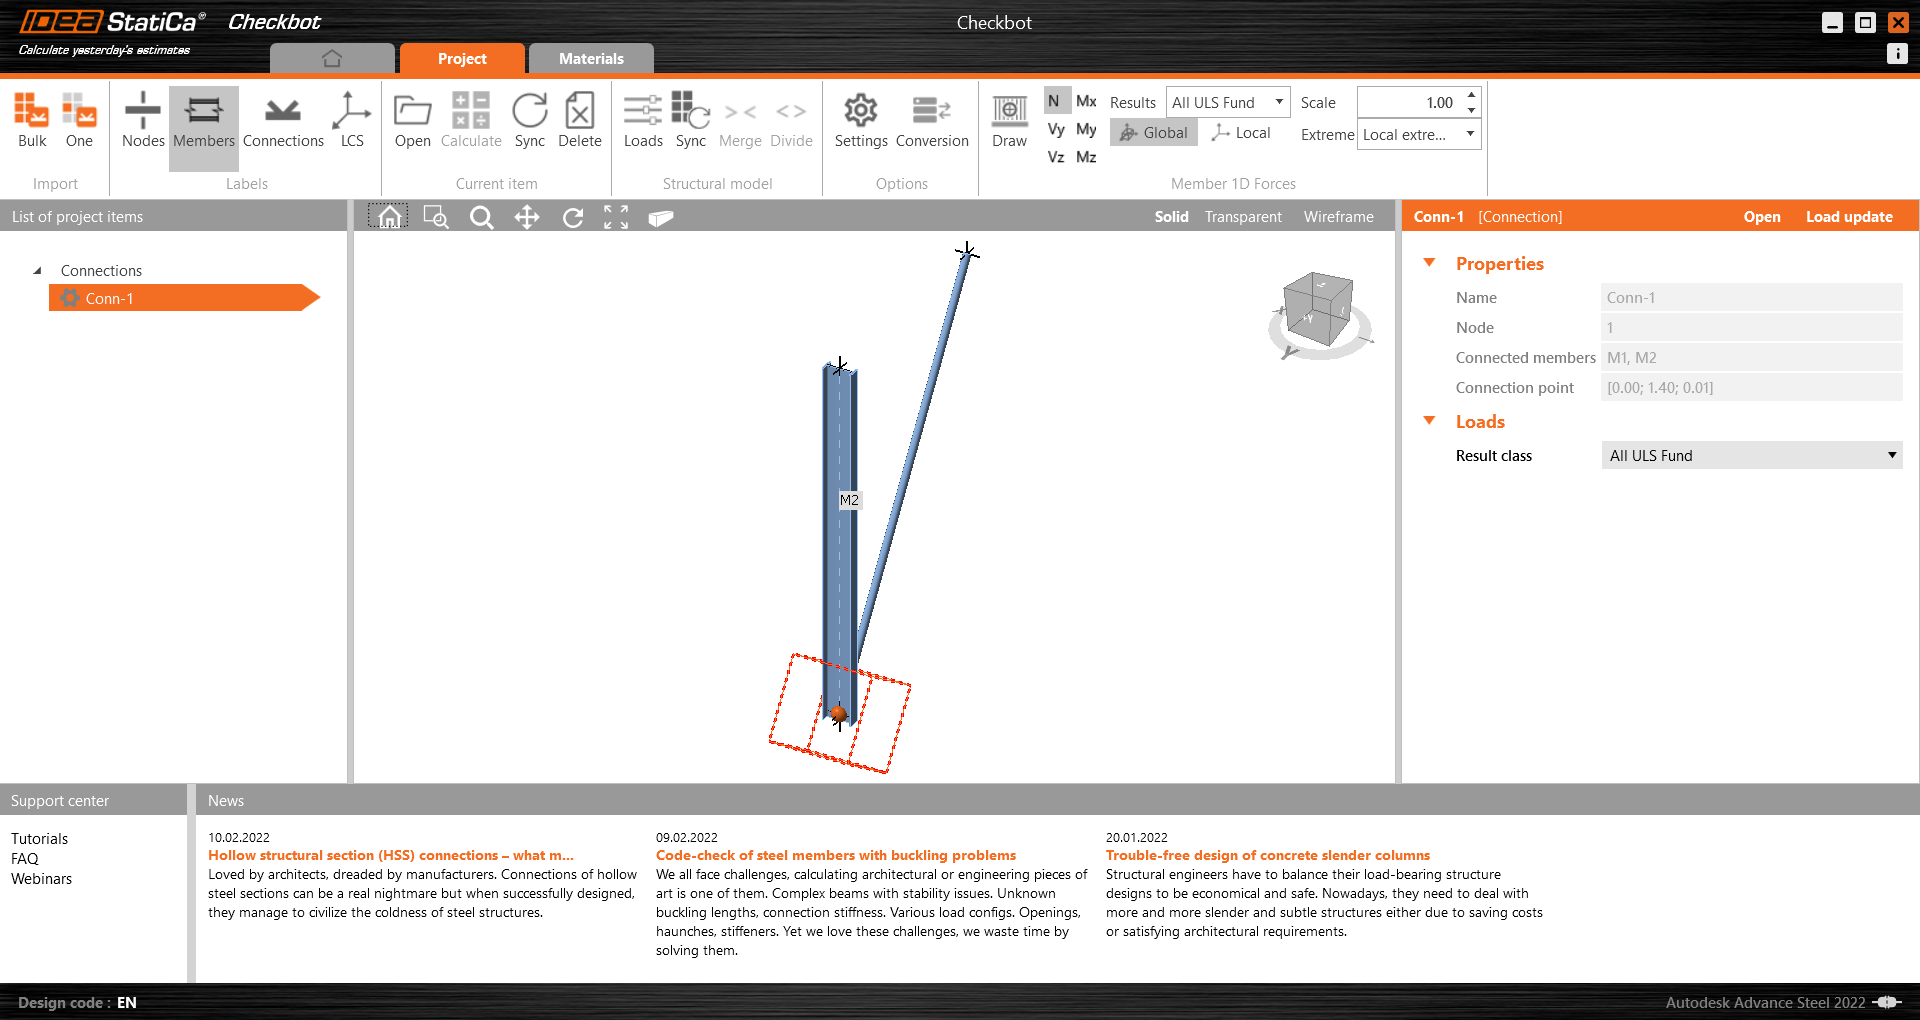
Esistono due opzioni per l'importazione del modello in Checkbot:
I. Per importare in Checkbot una parte più ampia della struttura, selezionare Bulk. (Utilizzato in questo tutorial).
In questo modo si importeranno in Checkbot tutte le parti selezionate della struttura, con le stesse coordinate, orientamenti e dimensioni delle sezioni del modello BIM. Il centro del giunto viene creato automaticamente dal software in base all'intersezione dei membri. Si consiglia di non importare tutte le connessioni contemporaneamente, ma di creare le connessioni in modo incrementale.
II. In alternativa, è possibile esportare un singolo nodo utilizzando il pulsante Uno nella barra multifunzione superiore di Checkbot.
Deselezionare tutto ciò che è presente nella struttura del modello BIM e premere Uno. Poi:
- Nel modello BIM, selezionare il nodo che rappresenta il centro della connessione
- A questo punto, selezionare le membratrue, come travi e colonne. L'ordine in cui vengolo selezionate le membrature definirà l'ordine delle membrature nel modello della connessione.
- Selezionare tutte le altre entità di connessione, come bulloni, piastre, ecc. e confermare.
La connessione verrà portata in Checkbot.
Scegliere tra le due modalità di importazione (Bulk o Uno). Entrambe le modalità importano con successo la struttura.
In Advance Steel, selezionare una delle colonne interne con controventature, assicurandosi di selezionare anche tutti gli oggetti di connessione.
Potrebbe apparire la notifica"Vuoi importare anche le saldature consigliate?". Poiché tutte le saldature sono state create nel modello BIM, selezionare il pulsante No.
Si noti che la numerazione dei nodi e degli elementi potrebbe essere diversa.
Si noti che l'area di lavoro 3D è progettata per mostrare una panoramica della struttura importata e non una vista dettagliata delle connessioni effettive. Per ulteriori informazioni su Checkbot, vedere qui.


