
Grasshopper API link - how to import general plates and beams
It is sometimes necessary to use plates with unusual shapes arbitrarily rotated in space in complex joints. It comes mainly with the scheme of the joint created in 3rd party software. In such a case, the following tutorial can help you understand how to import the data into IDEA StatiCa Connection.
Grasshopper - Installazione del plugin
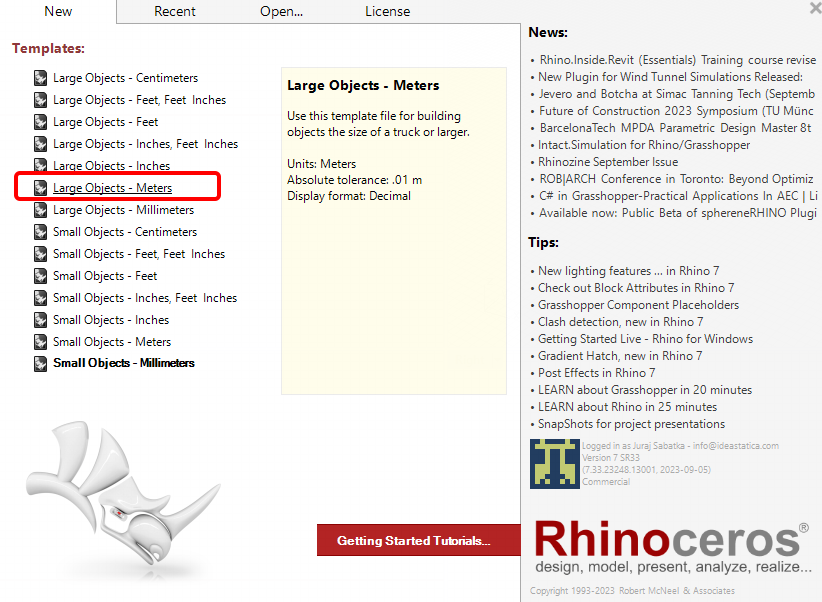
È possibile ottenere una versione di prova di Rhino3d e Grasshopper dal sito web di Rhino3d. Esegui Rhinoceros e seleziona il modello con Meters:
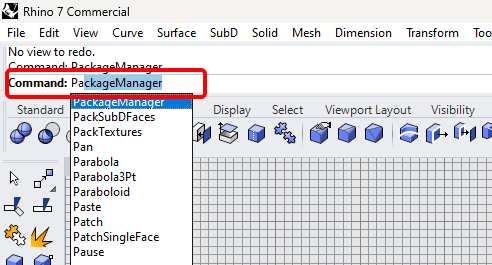
Nella riga di comando, inserisci "Package Manager":
Appare una nuova finestra; selezionare IDEAStatiCa e fare clic su Installa. Il plugin verrà scaricato e installato. Per essere attivo, è necessario riavviare Rhinoceros.

Per avviare Grasshopper con il plugin IDEA StatiCa, selezionare Strumenti / Grasshopper nella scheda Rhihoceros.
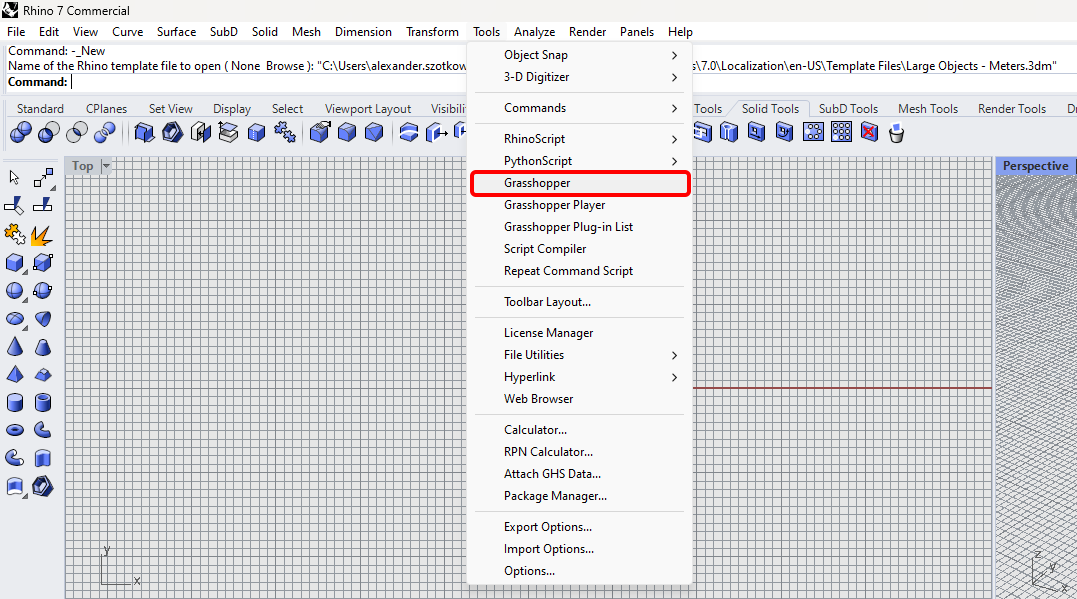
Come si può vedere, il plugin è già incorporato.

Per conoscere i componenti e i comandi del plugin IDEA StatiCa per Grasshopper, consultare l'articolo Descrizione dei componenti del plugin per Grasshopper.
Rhino model
Open the attached 3dm file, which contains a column with plates. This model was created directly in Rhinoceros. All elements must be defined by their median plane or centerline axis. The thickness or shape will be determined later in Grasshopper.
Now you can start Grasshopper.
Import of the plates into Grasshopper
For the import of a plate, you need to add these components:
Surface / Analysis / Deconstruct Brep
Surface / Freeform / Boundary Surfaces
IDEA StatiCa / Open Model Create / Create Plate(IOM)
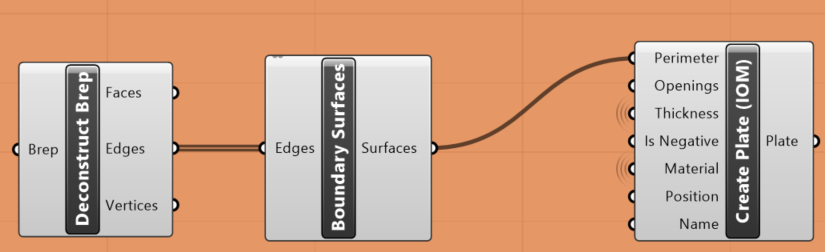
This has to be placed six times, as we have in this example 6 plates.
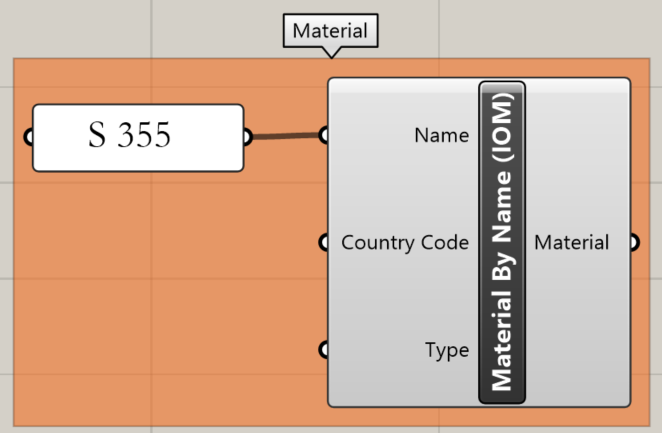
Also, the material of the plates has to be defined. For this, use the following component:
IDEA StatiCa / Open Model Create / Material by Name (IOM)
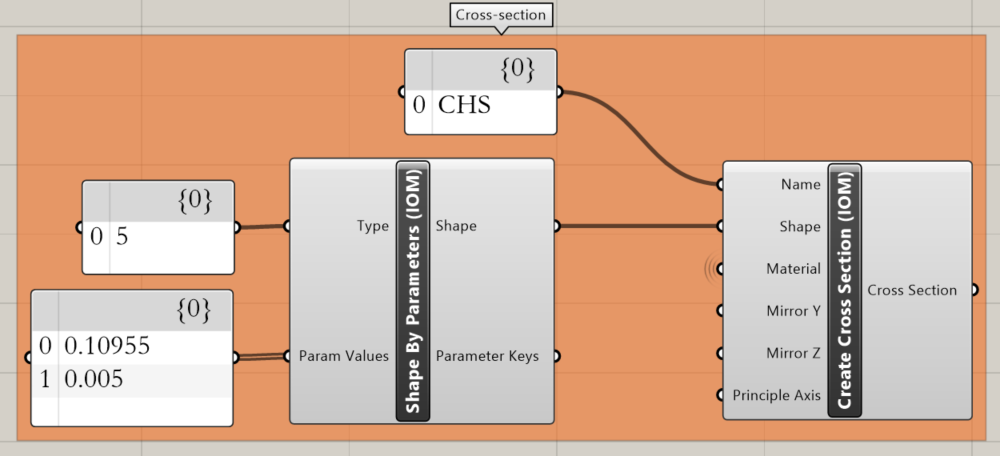
Import of the column into Grasshopper
Now we can define the cross-section of the column. We choose CHS 219,1/5, and the components needed to do so are following:
IDEA StatiCa / Open Model Create / Shape by Parameters (IOM)
IDEA StatiCa / Open Model Create / Create Cross-Section (IOM)
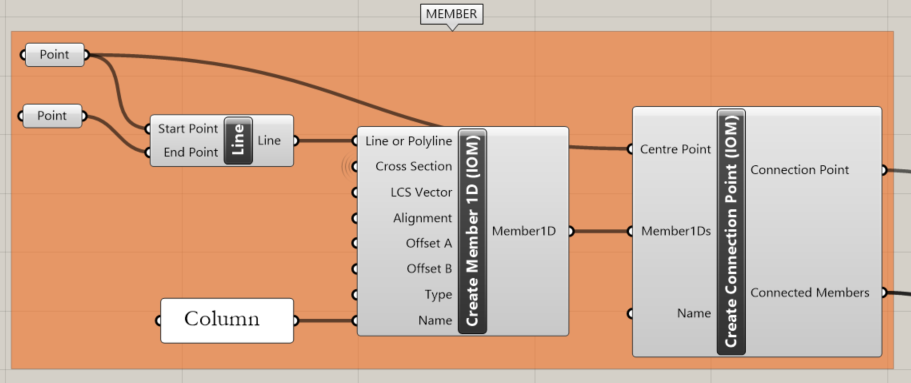
The next step is to create a member. For this, you have to take over from Rhino the ends of the centerline of the tube using the component Params / Geometry / Point.
Params / Geometry / Line
IDEA StatiCa / Open Model Create / Create Member 1D (IOM)
IDEA StatiCa / Open Model Create / Create Connection Point (IOM)
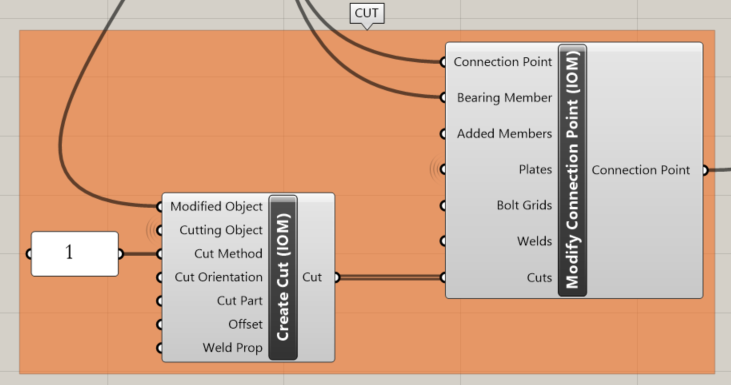
To trim the column using all the plates we use this components:
IDEA StatiCa / Open Model Create / Create Cut (IOM)
IDEA StatiCa / Open Model Create / Modify Connection Point (IOM)
Creating an ideaCon file
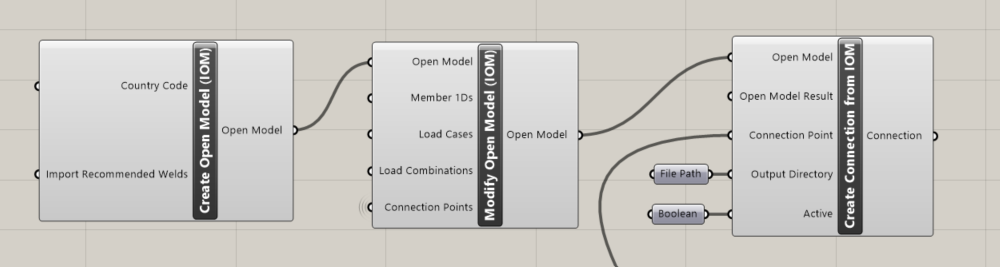
The last step is creating the ideaCon file. For this, we need the following components:
IDEA StatiCa / Open Model / Create Open Model (IOM)
IDEA StatiCa / Open Model / Modify Open Model (IOM)
IDEA StatiCa / Connection / Create Connection from IOM
In the component File Path, you have to set the place where you want the file to be stored.
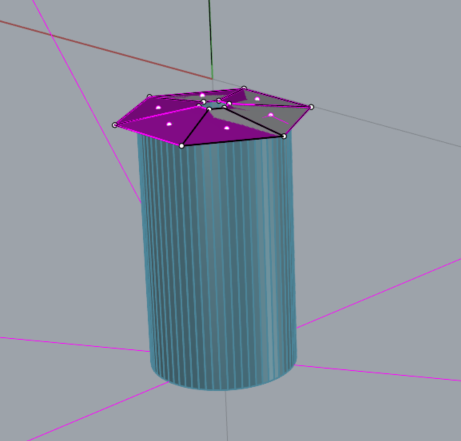
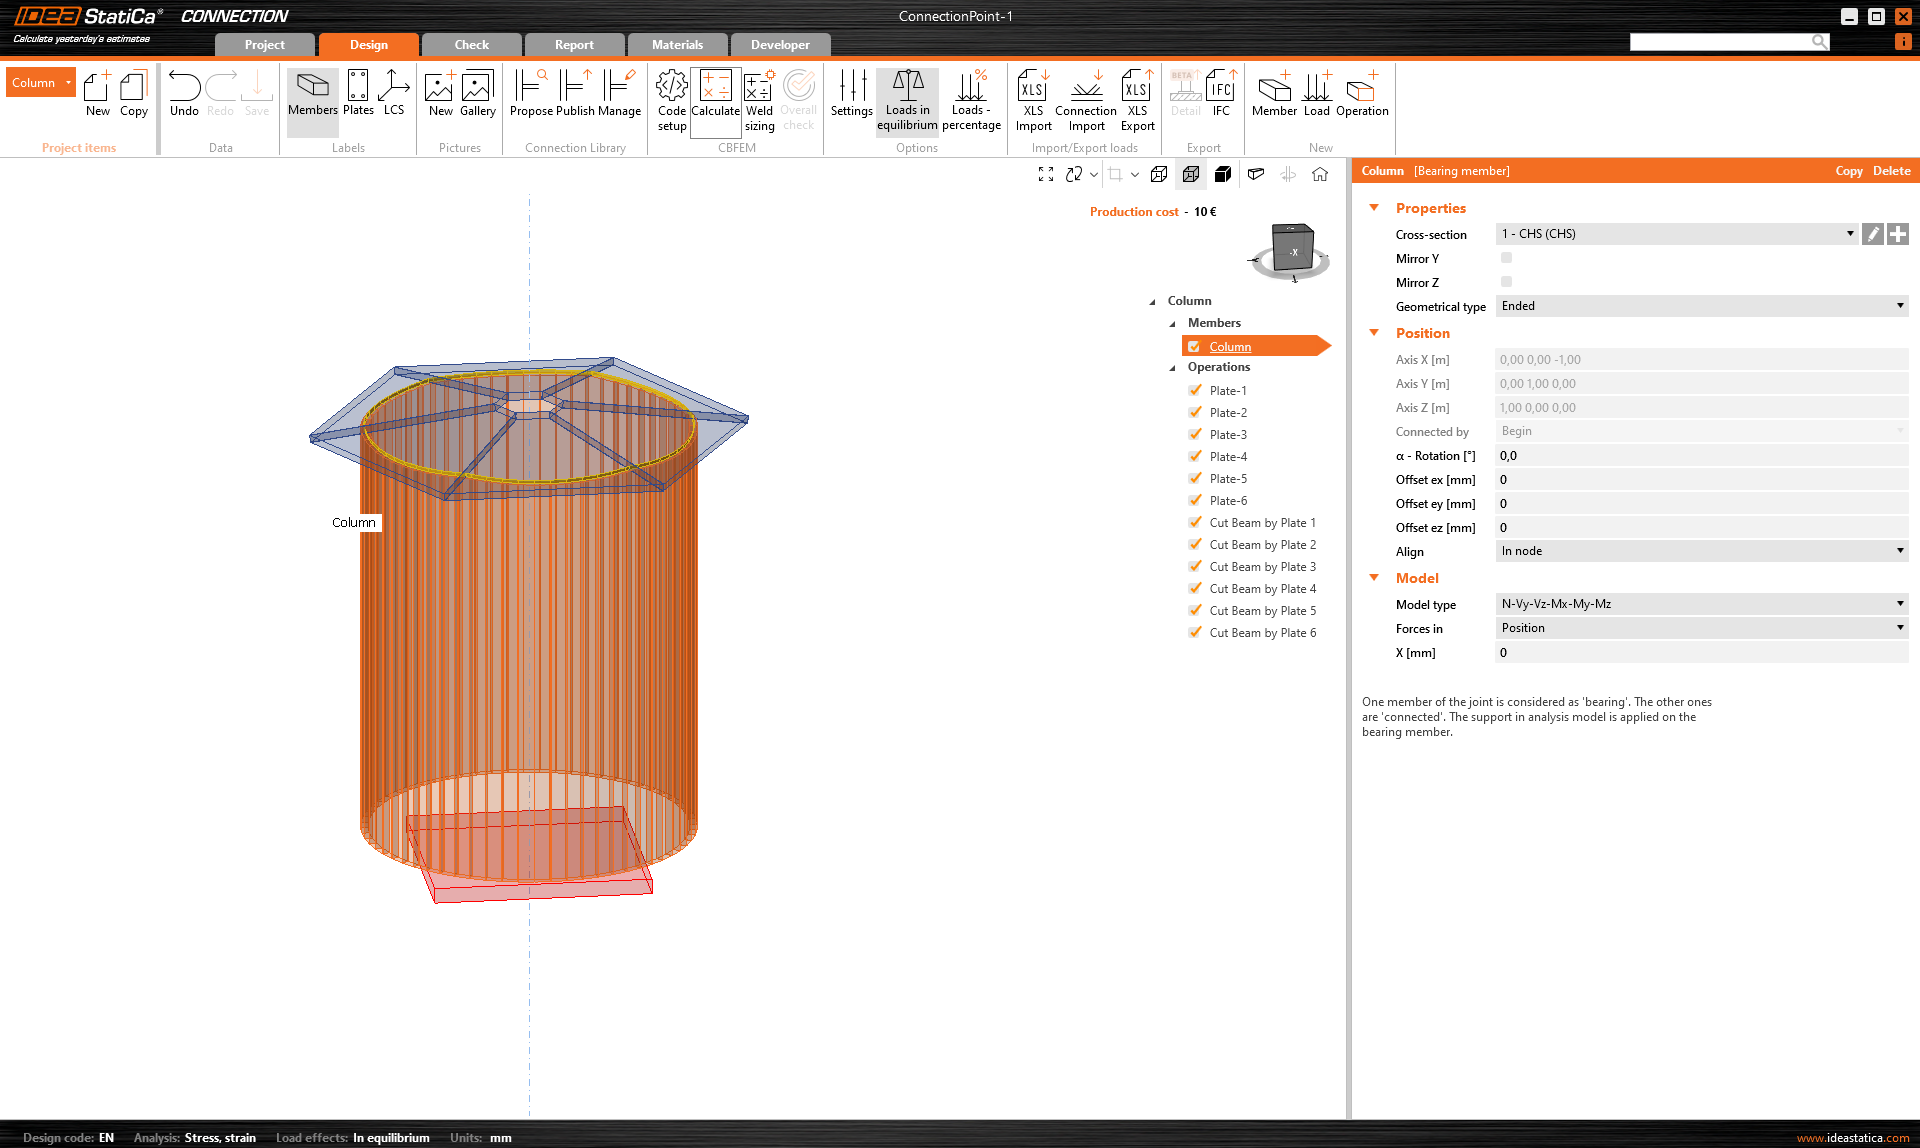
When you open the file, you get this result:
Download allegati
- column with plates.3dm (3DM, 1,3 MB)
- import-plates-as surface.gh (GH, 39 kB)
- ConnectionPoint-1.ideaCon (IDEACON, 8 kB)