Grasshopper API link - how to create an IDEA StatiCa IOM file for imports (01)
If you work with IDEA StatiCa version up to 24.1.3, see this tutorial.
Grasshopper - Installatie van de plugin
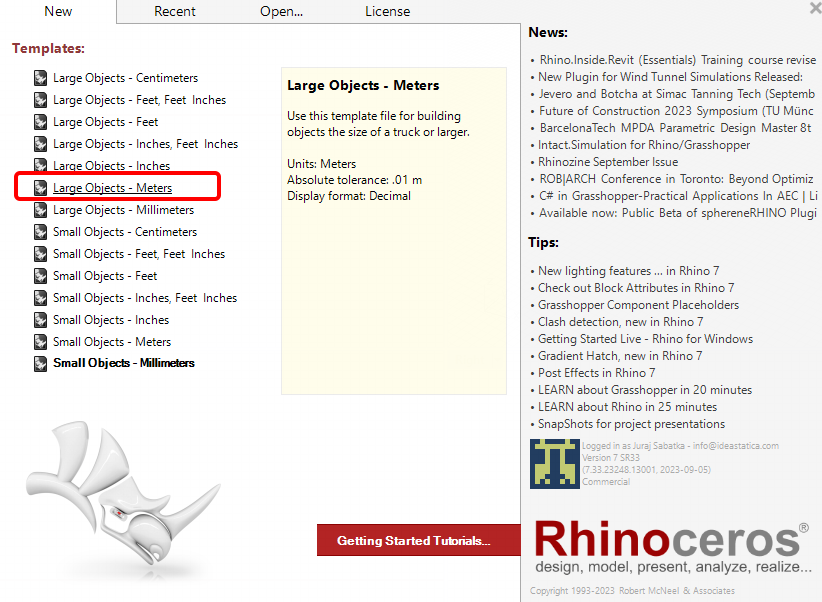
Je kunt een proefversie van Rhino3d en Grasshopper downloaden via de Rhino3d website. Start Rhinoceros en selecteer de template met Meters:
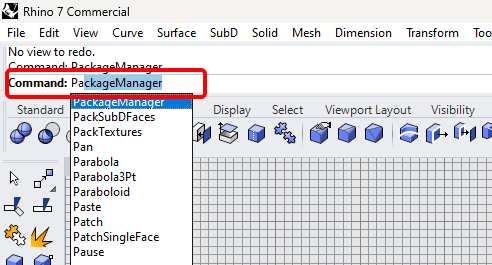
Voer in de command regel "Package Manager" in:
Een nieuw venster verschijnt; selecteer IDEAStatiCa en klik op Install. De plugin wordt gedownload en geïnstalleerd. Om actief te worden, is een herstart van Rhinoceros noodzakelijk.

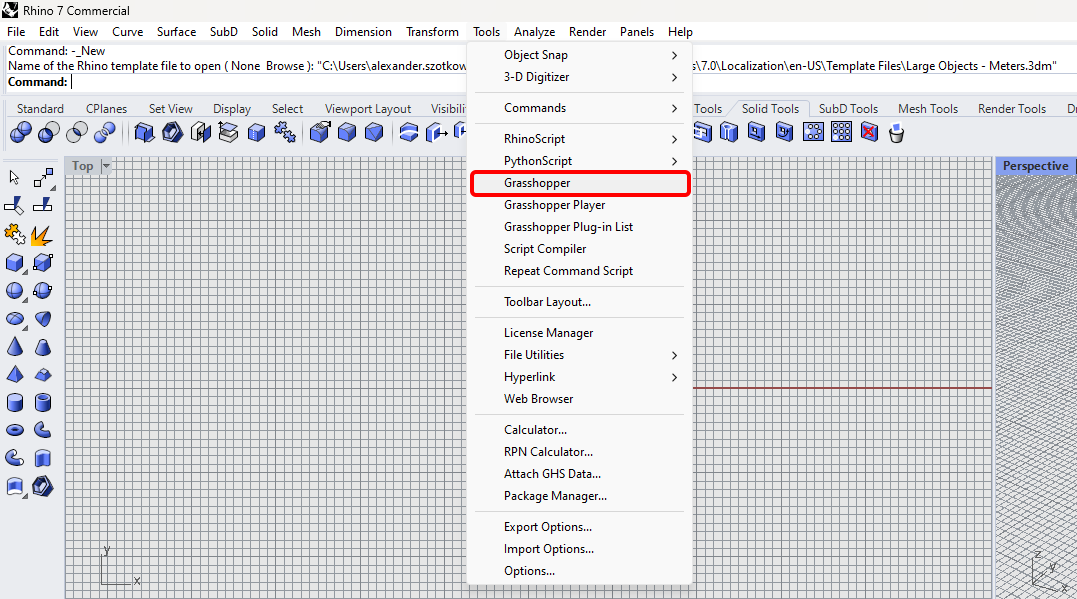
Om Grasshopper te starten met de IDEA StatiCa plugin, selecteer Tools / Grasshopper in het Rhihoceros tabblad.
Zoals u kunt zien, is de plugin nu beschikbaar.

Leer meer over de componenten en opdrachten in de IDEA StatiCa-plugin voor Grasshopper in het artikel Beschrijving van Grasshopper-plug-incomponenten.
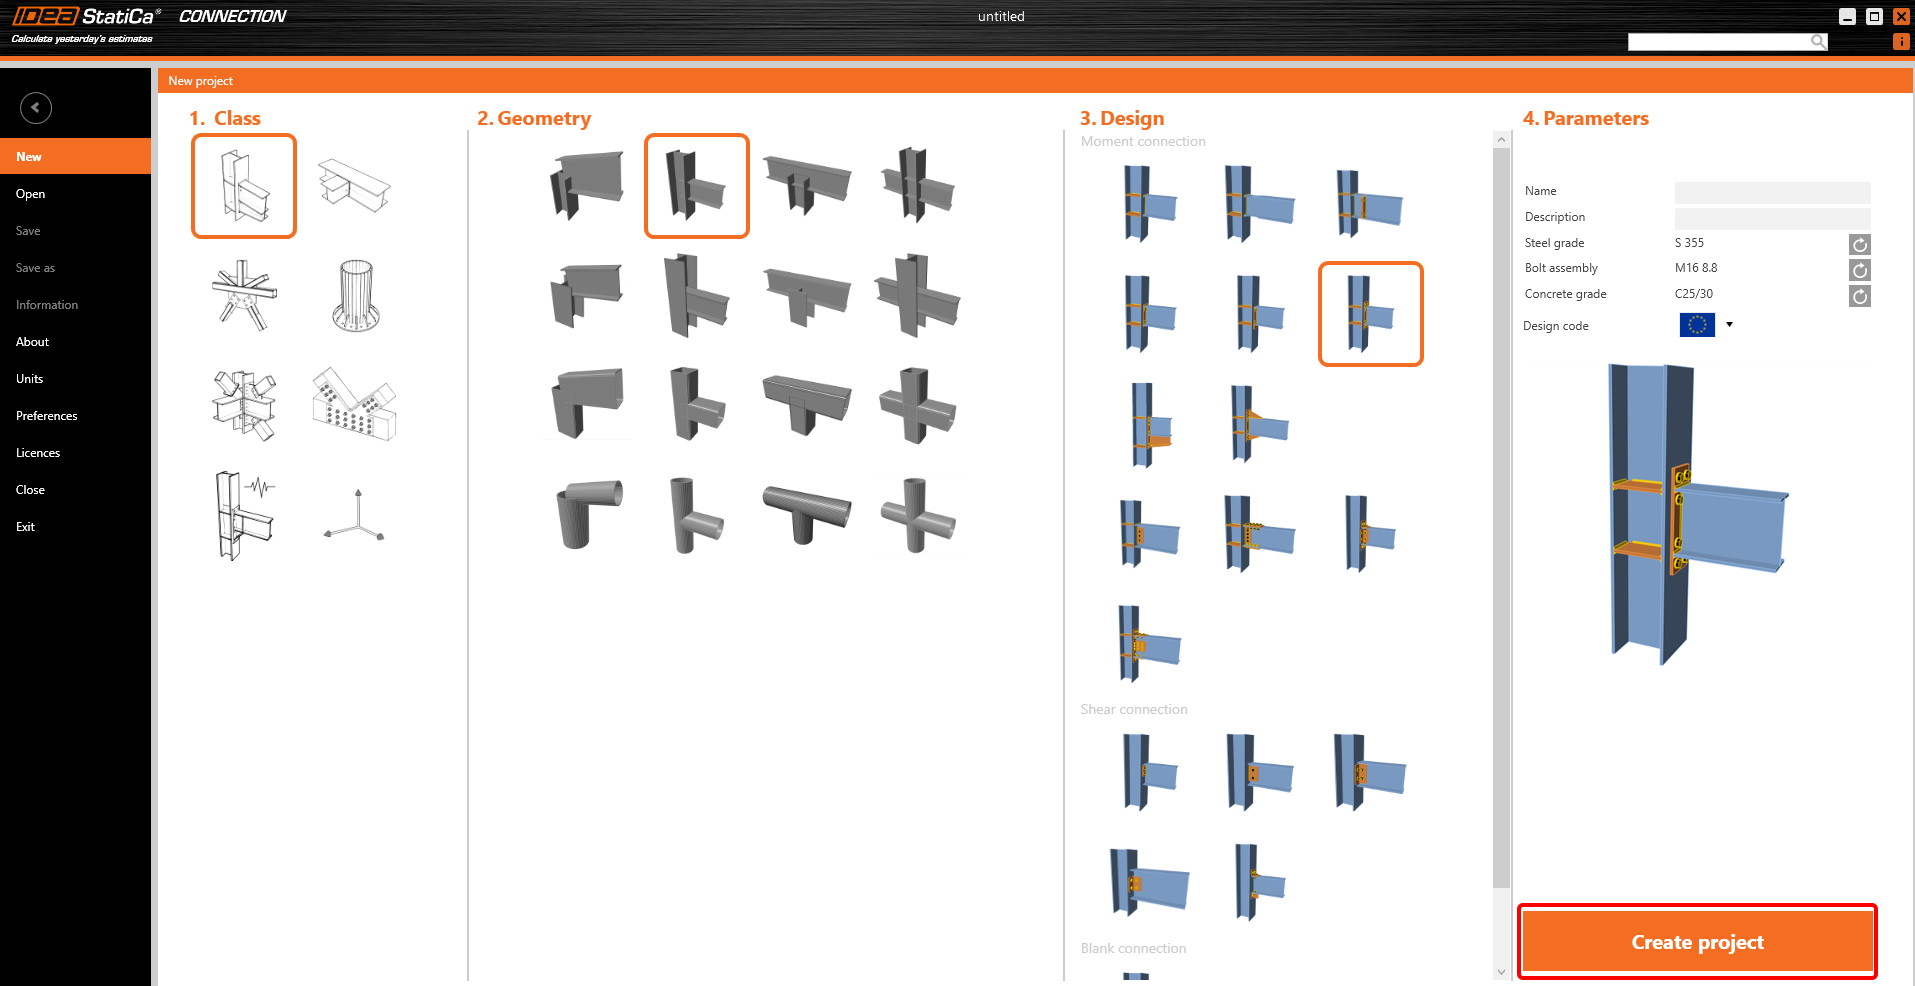
IDEA StatiCa Connection - Design of a joint and IOM export
For the example, you will create a simple moment connection using a template:
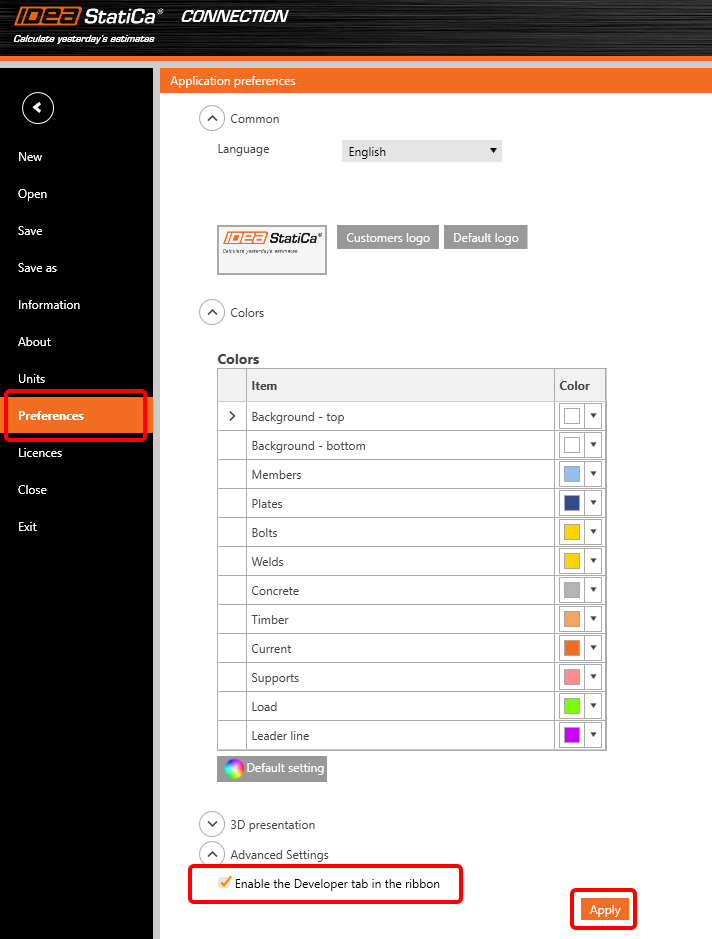
To be able to work with IOM, it is necessary to enable the Developer tab in Preferences / Advance Settings:
Finally, you can save this connection under the name Example1.ideaCon and also export this connection to the IOM file Example1.xml.

Grasshopper - Import the IOM file, display the joint in Rhino, and see the calculation results
Since version 24.1.4, IDEA StatiCa came with a new API, described here.
To run grasshopper scripts, it is necessary to add to every file a component Connection Service Runner, which can be found in IDEA StatiCa / App Common.
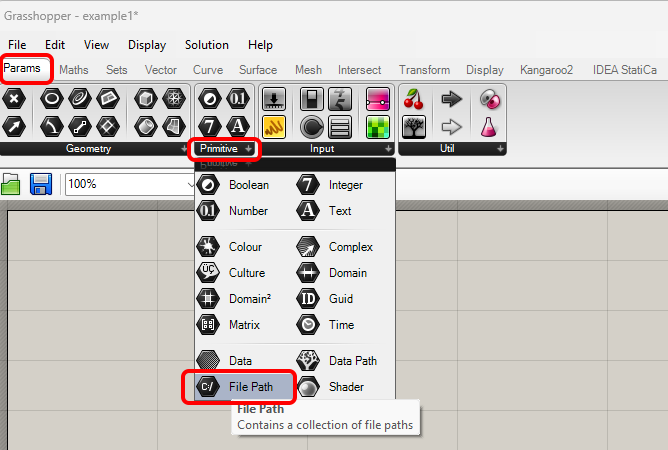
Create a new document, select the tab Params in the upper ribbon, and place the component File Path on the Canvas.
Right-click on the component and select the file we saved before:
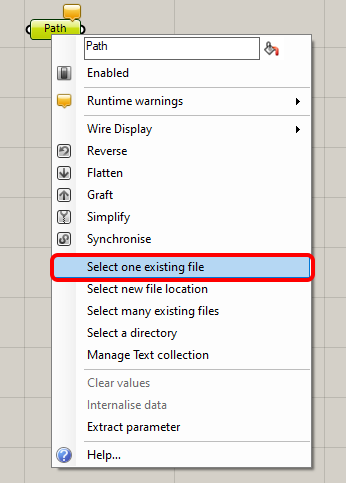
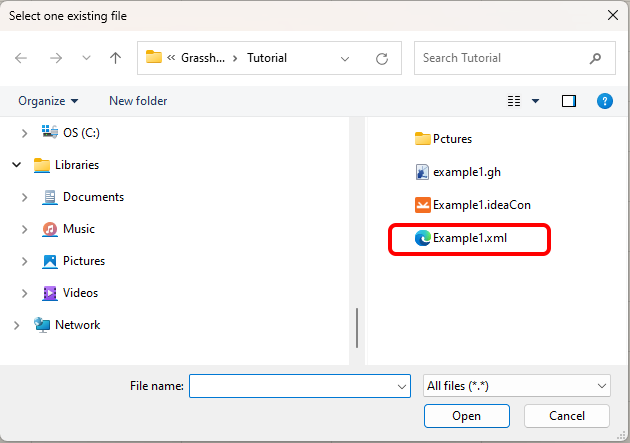
Note: If you open the attached file, you must change this path accordingly.
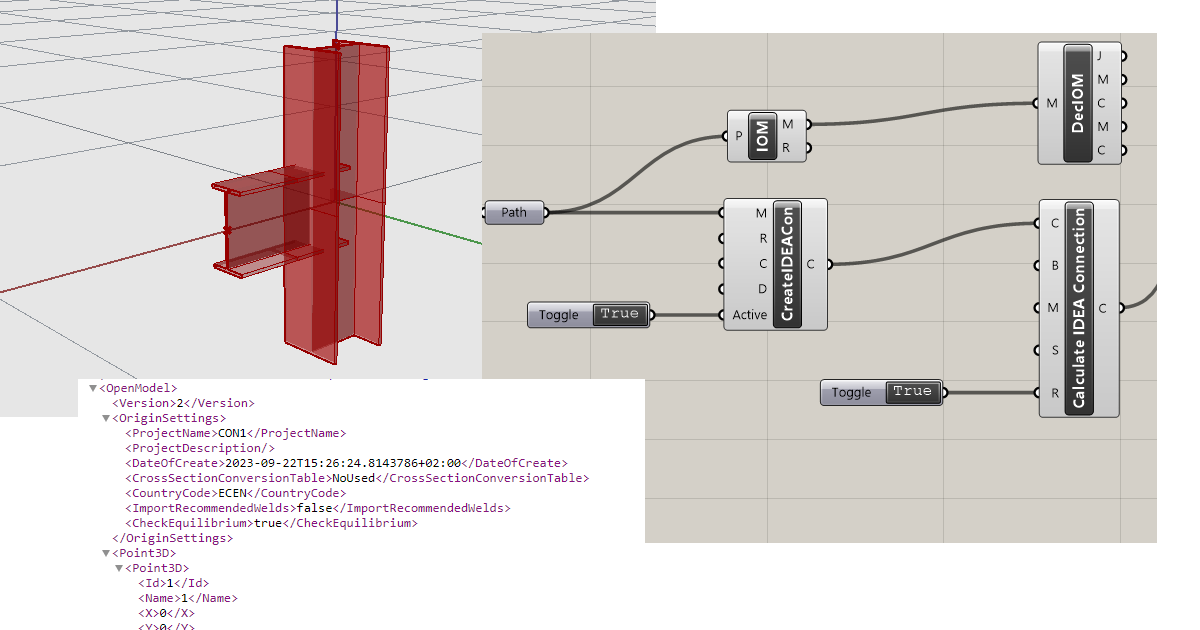
Now add the following components to the canvas and connect them as seen in the picture.
IDEA StatiCa / Open Model / Import IOM File
IDEA StatiCa / Open Model / Deconstruct Open Model
IDEA StatiCa / Connection / Create Connection from IOM
IDEA StatiCa / Connection / Calculate Project
IDEA StatiCa / Connection / Deconstruct Result Item
Params / Input / Boolean Toggle
Params / Input / Boolean Toggle
Params / Input / Panel
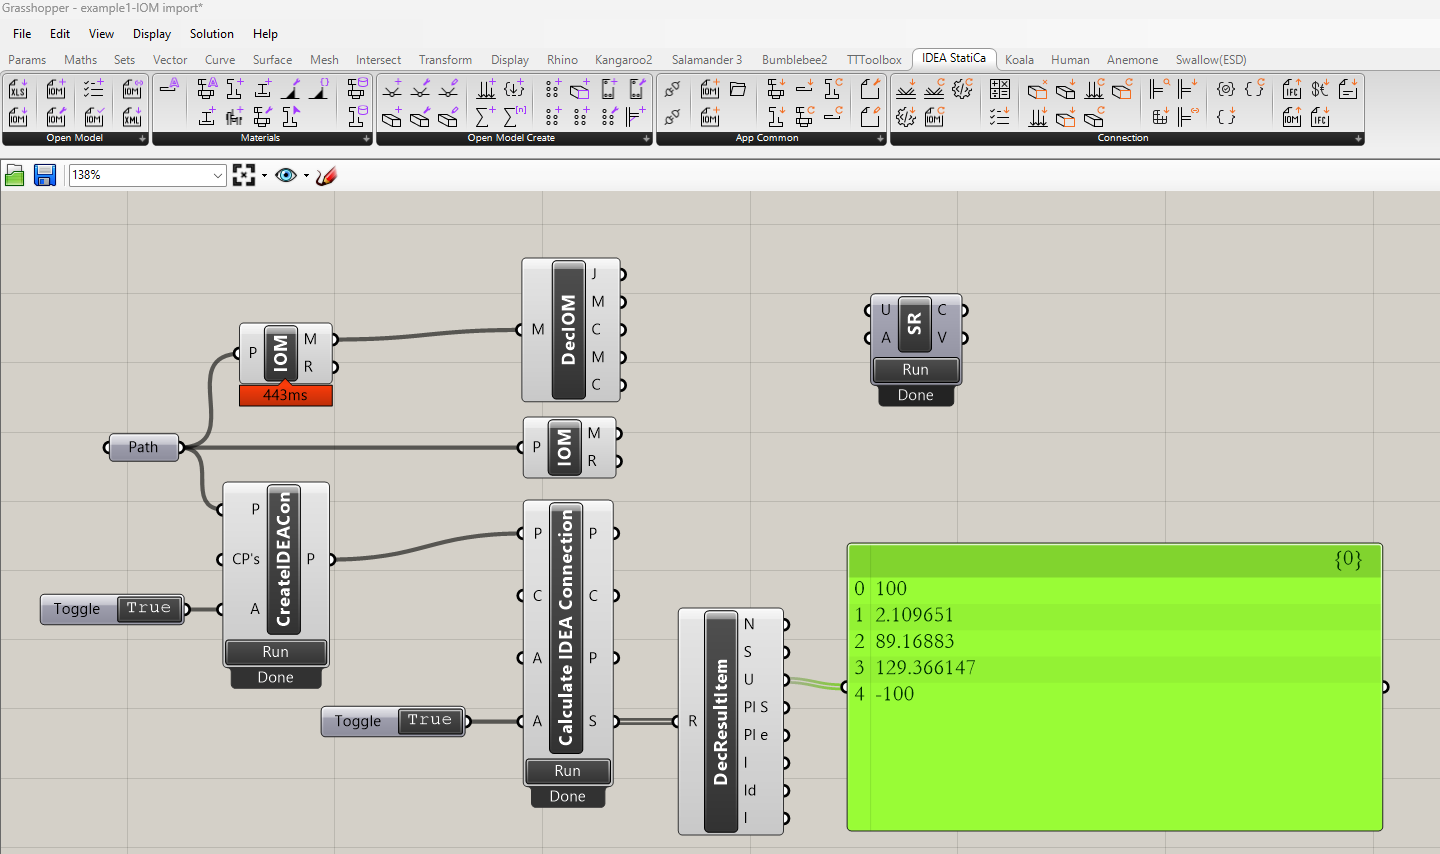
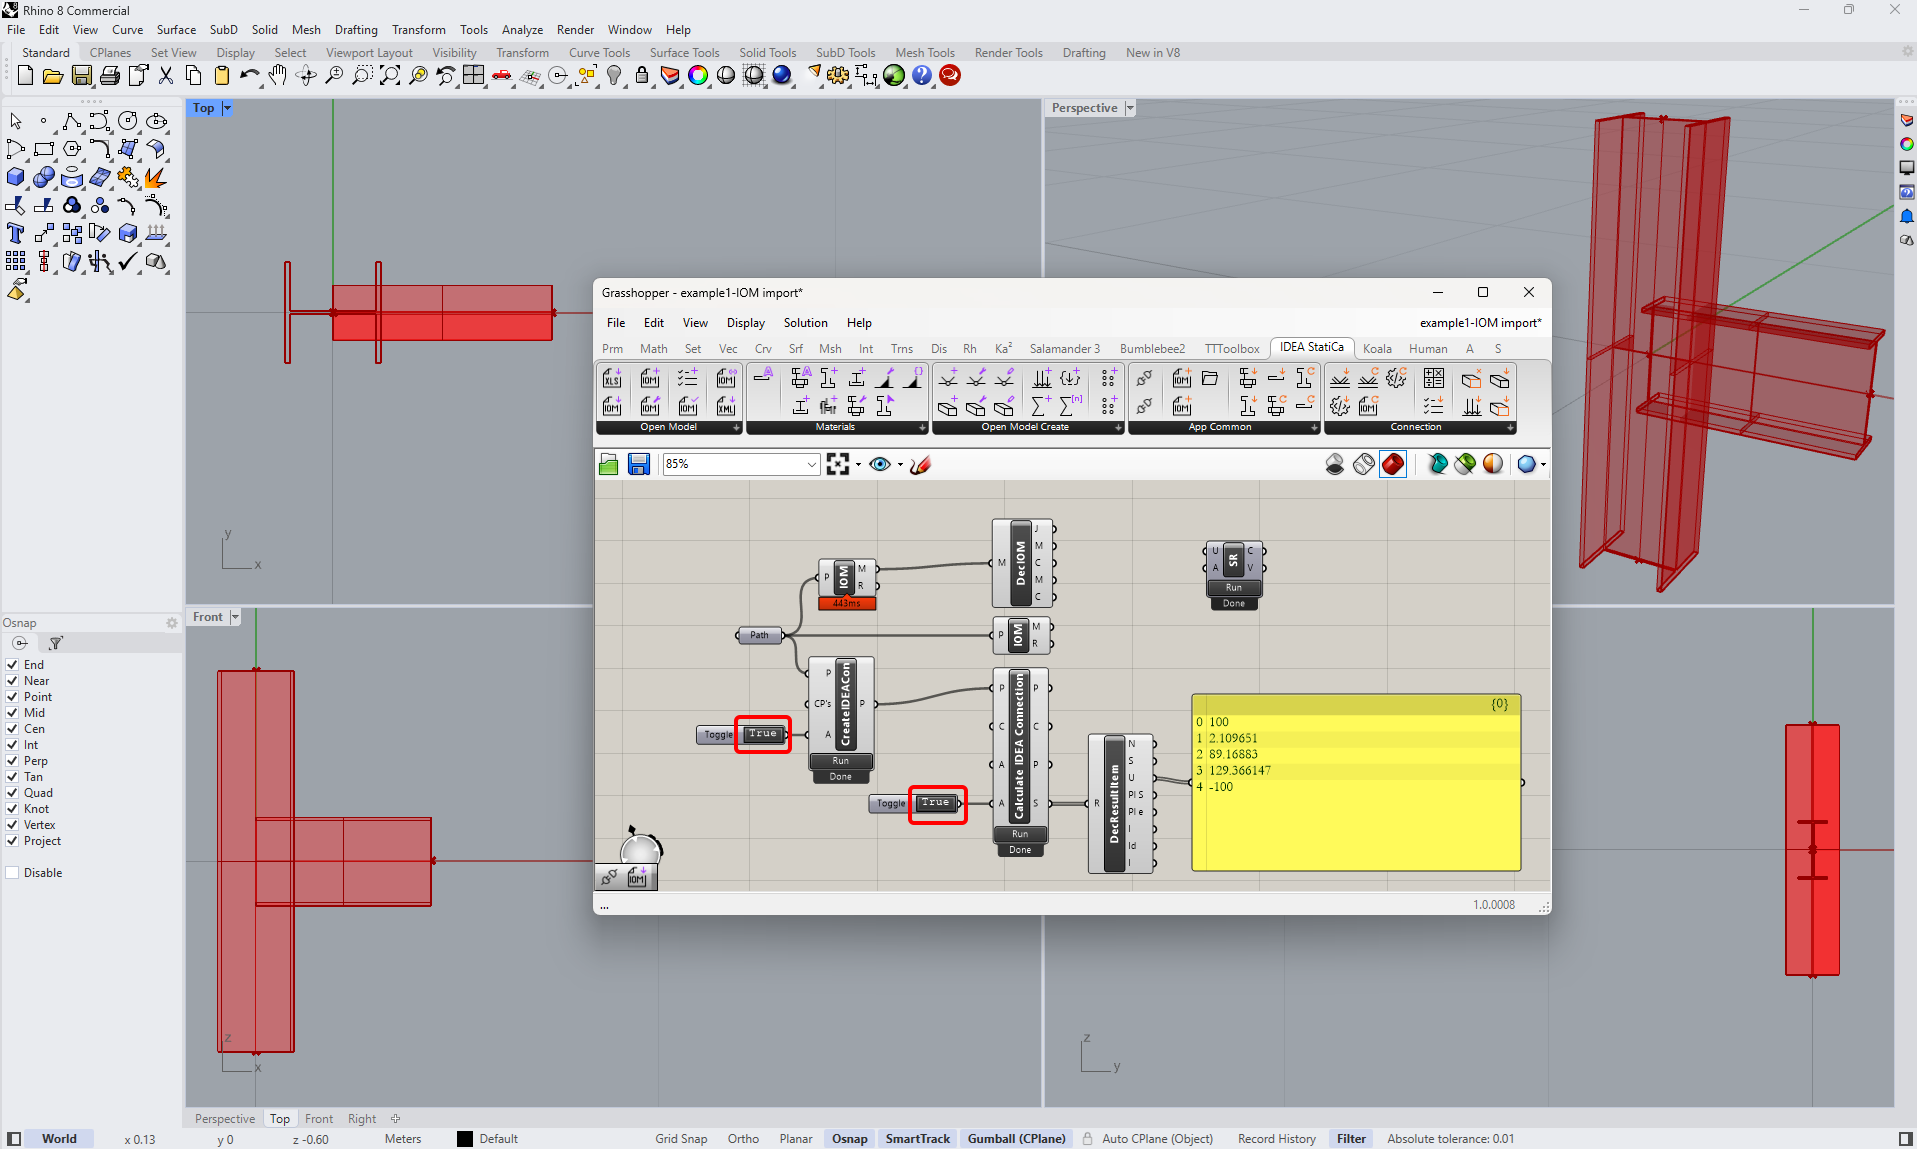
To run the calculation and get visible results, double-click on False/True. As you added the component Deconstruct Open Model, you can also see the contours of the joint in the Rhinoceros.
More complex examples can be found on your PC in the directory
“%appdata%\McNeel\Rhinoceros\packages\7.0\IDEAStatiCa\0.1.1\Examples.zip”
Toegevoegde downloads
- Example1.zip (ZIP, 29 kB)