Fire Design Analysis of a Steel Member (EN)
1 New project
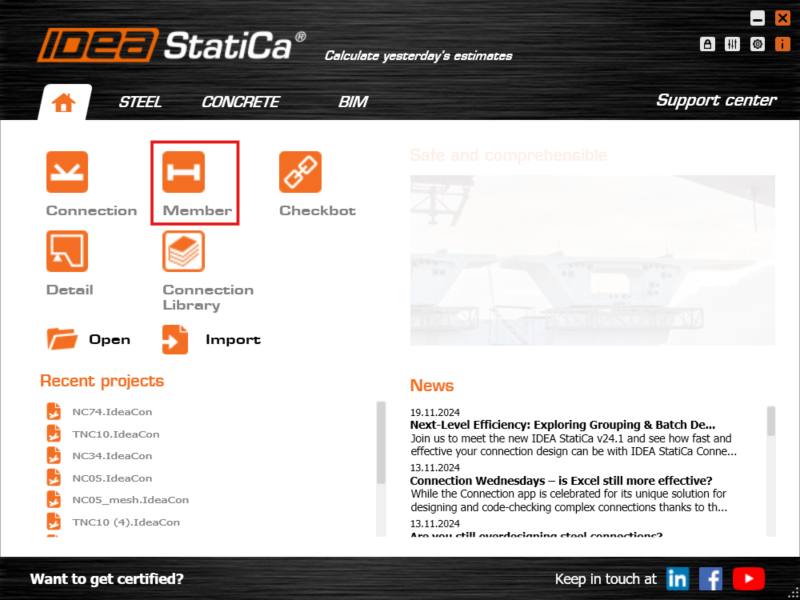
Launch IDEA StatiCa (download the newest version) and select the Member application.
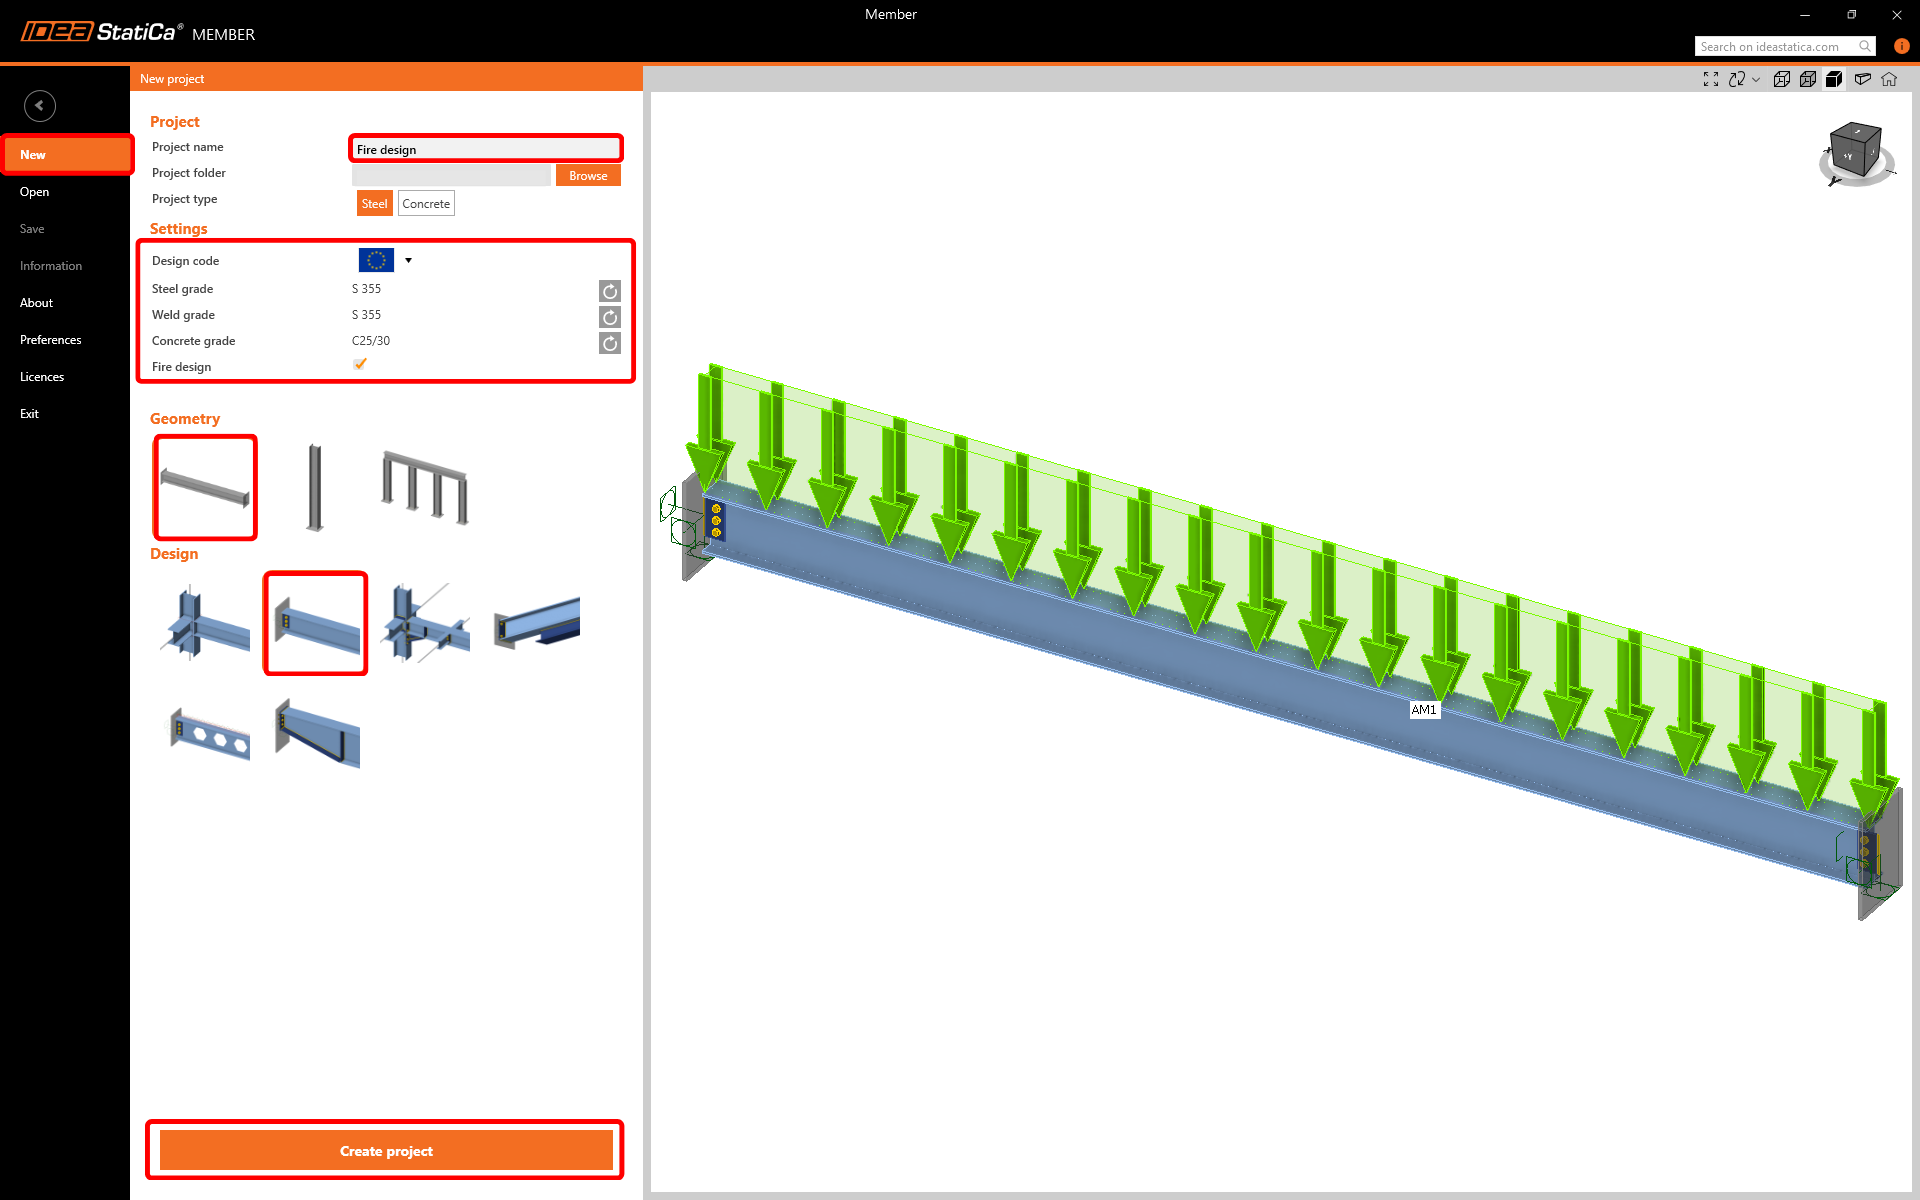
Create a new project by selecting the starting template as shown in the following picture. Fill in the name, select the steel grade S355, design code Eurocode, thick Fire Design checkbox, and Create project.
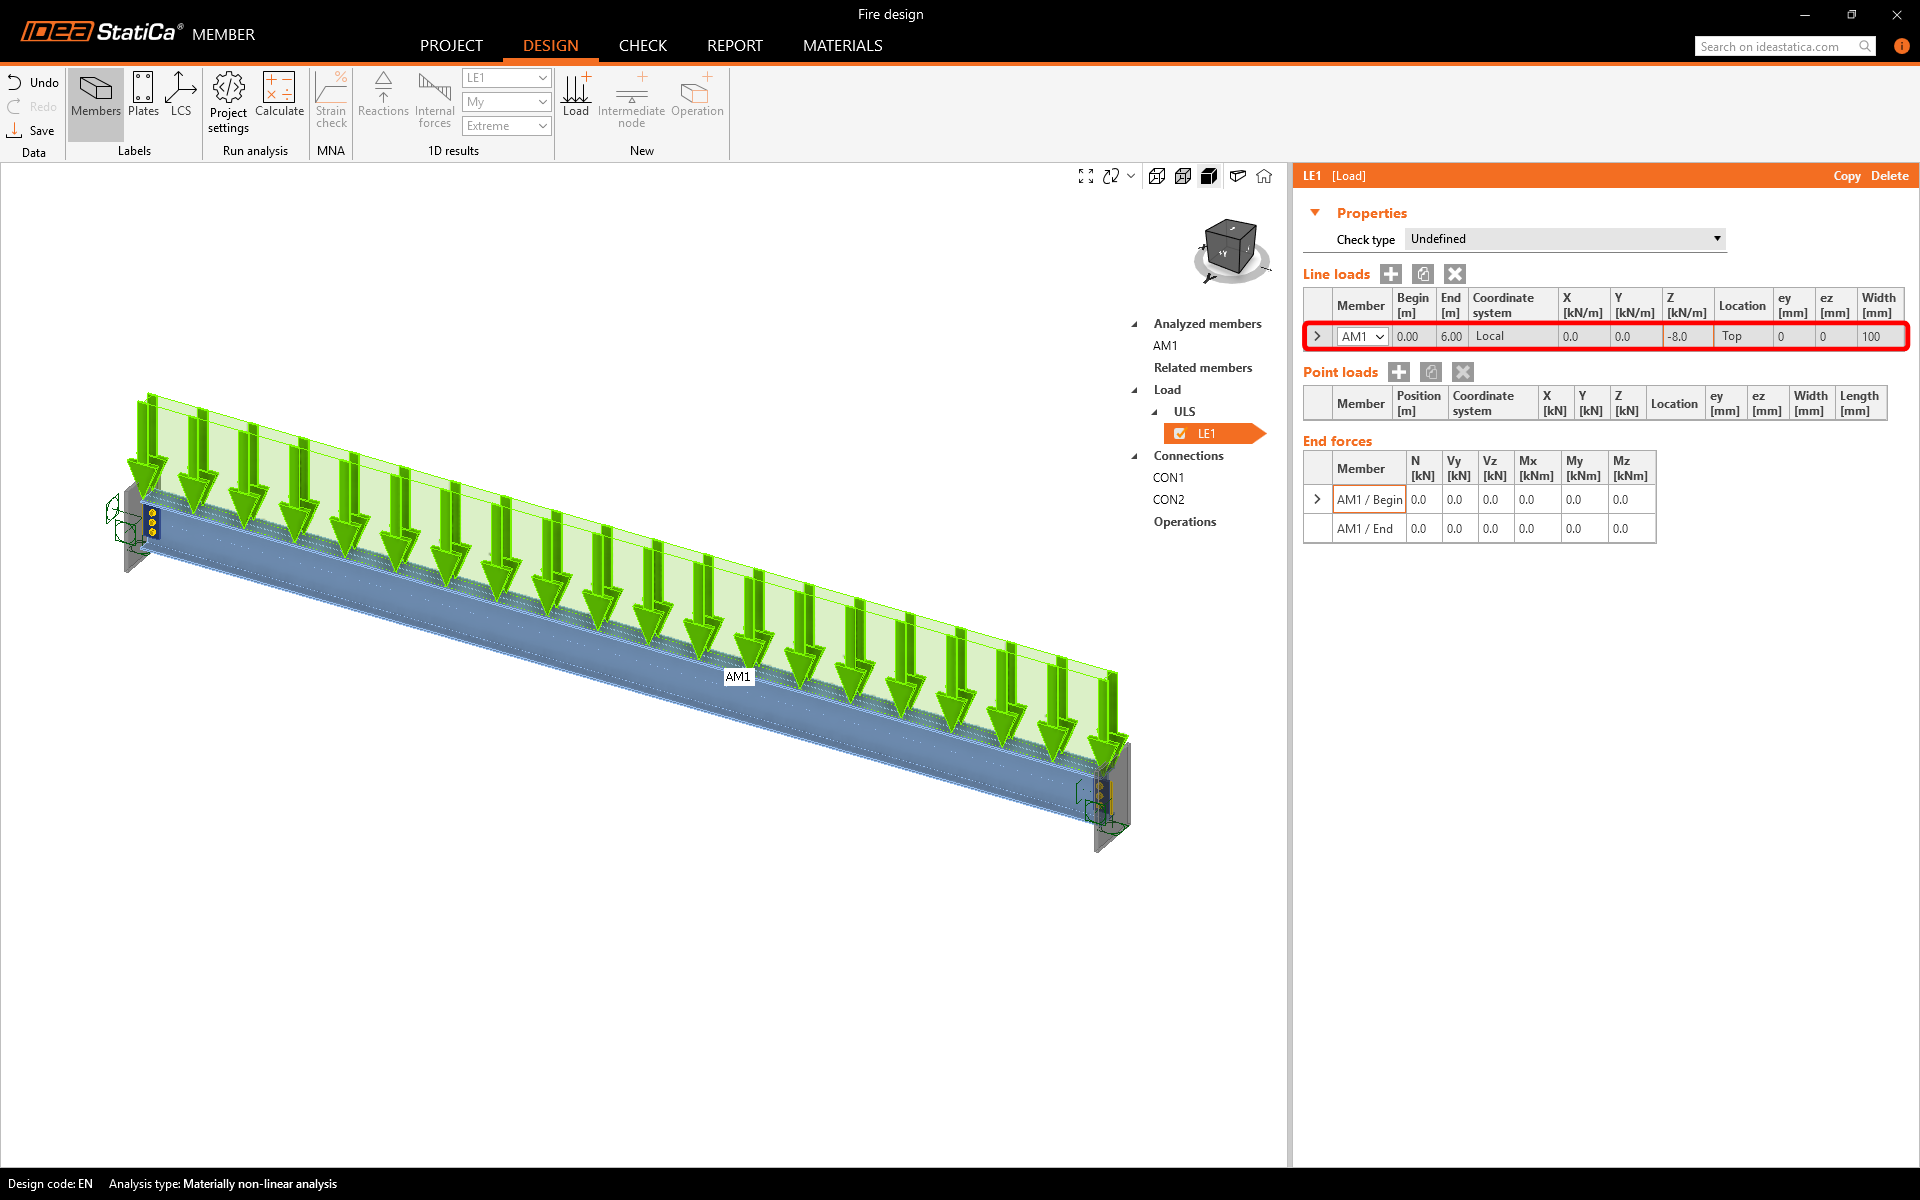
After creating a project, you can start modifying the member model.
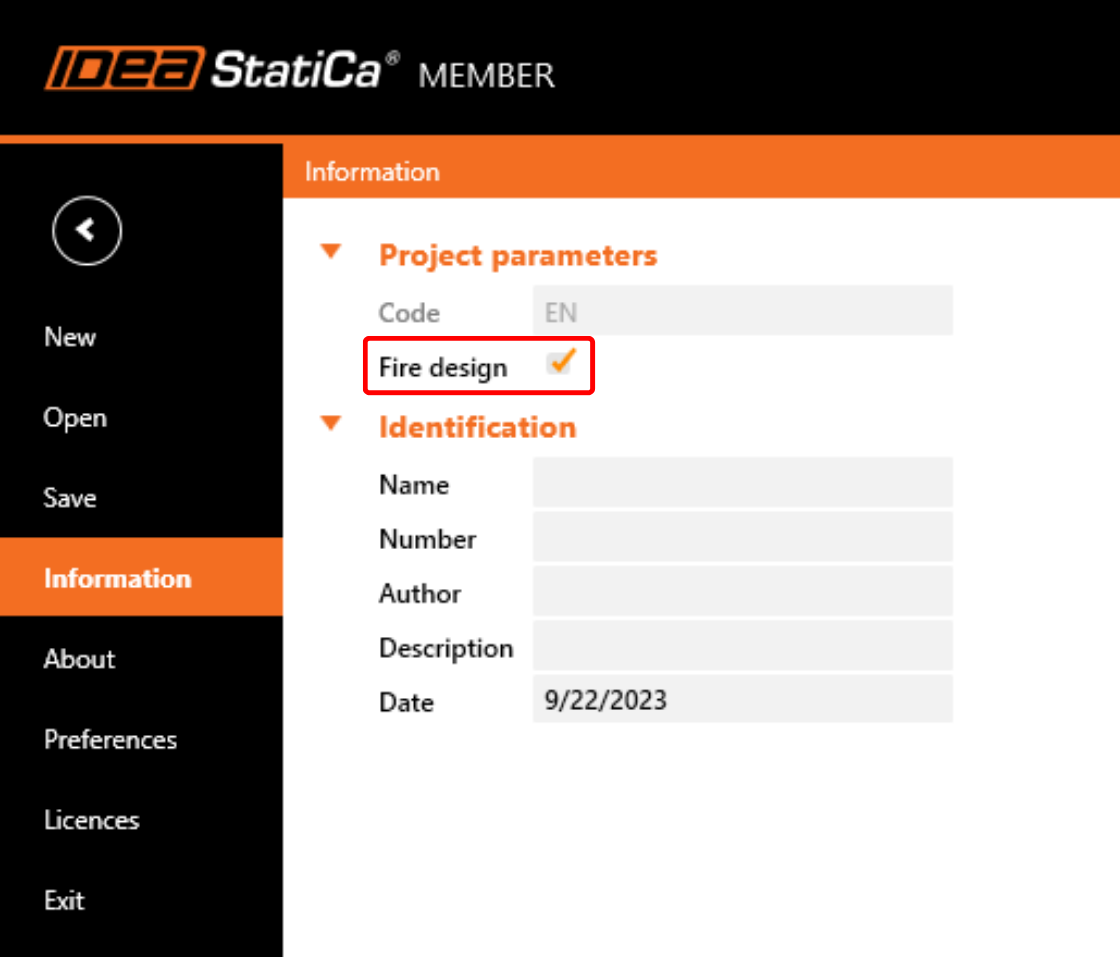
To calculate the Fire design, enable this feature by clicking on the top ribbon Project button and ticking the Fire design checkbox in the information.

2 Fire exposure
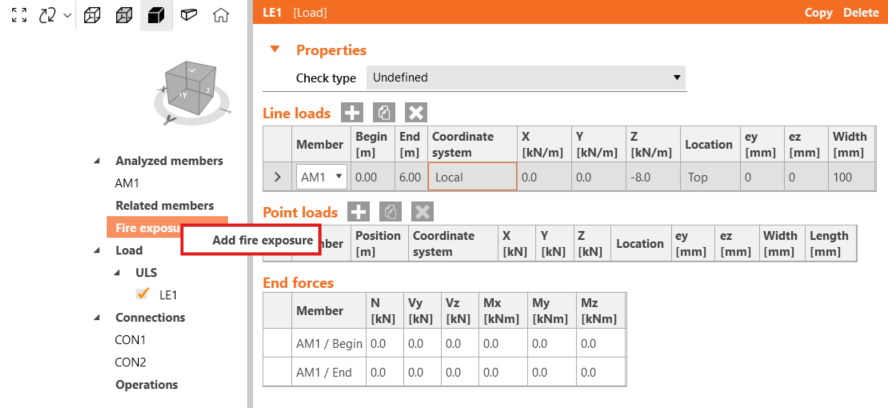
Next, right-click on Fire Exposure and then click on Add fire exposure.
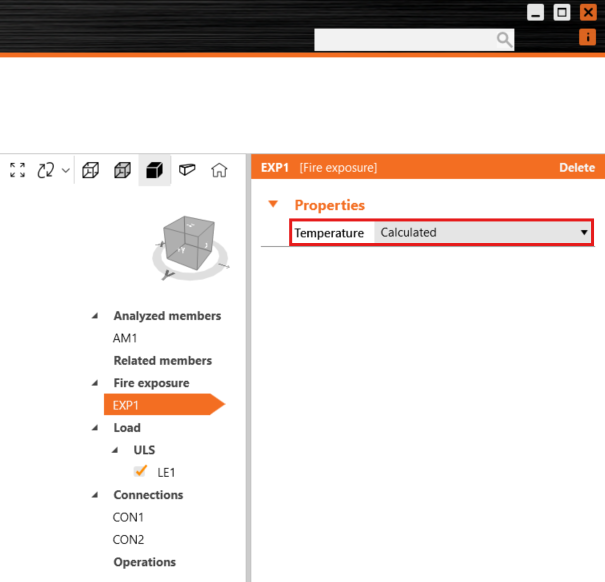
After that in Fire exposure, we can choose how temperature will be calculated either calculated according to EN 1993-1-2 – Cl. 4.2.5 or manually input a temperature for the whole model.
In this tutorial, we will use the Calculated option and consequently, we will set parameters needed for calculation such as the Fire resistant class, etc.
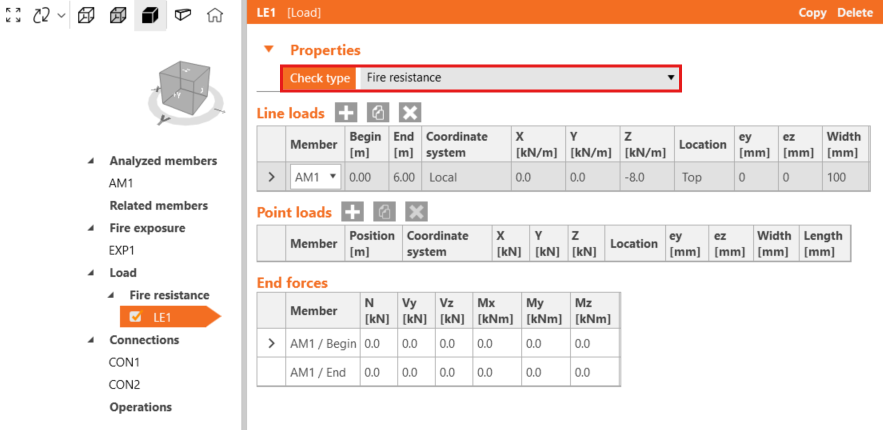
Also, we need to set the Load properties and change the Check type to Fire Resistance.
3 Fire design settings
After that, we can provide the rest of the settings for calculation. Go to the Project Settings.

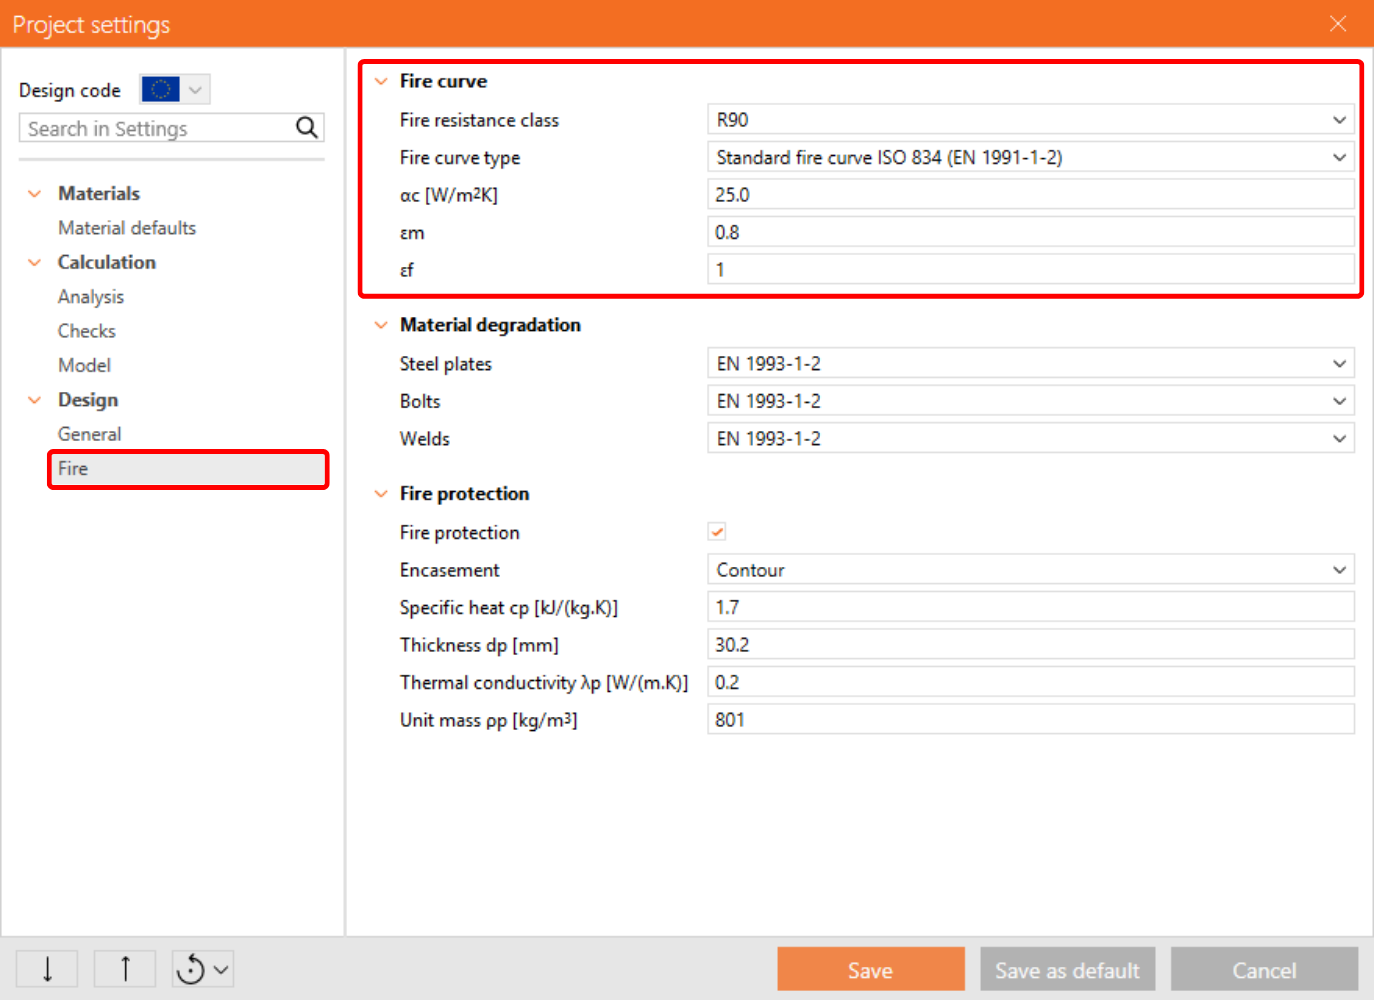
Click on the type Fire and choose Fire curve. Here you can select the Fire resistance class, Fire curve type, etc.
For this example, select parameters according to the following image.
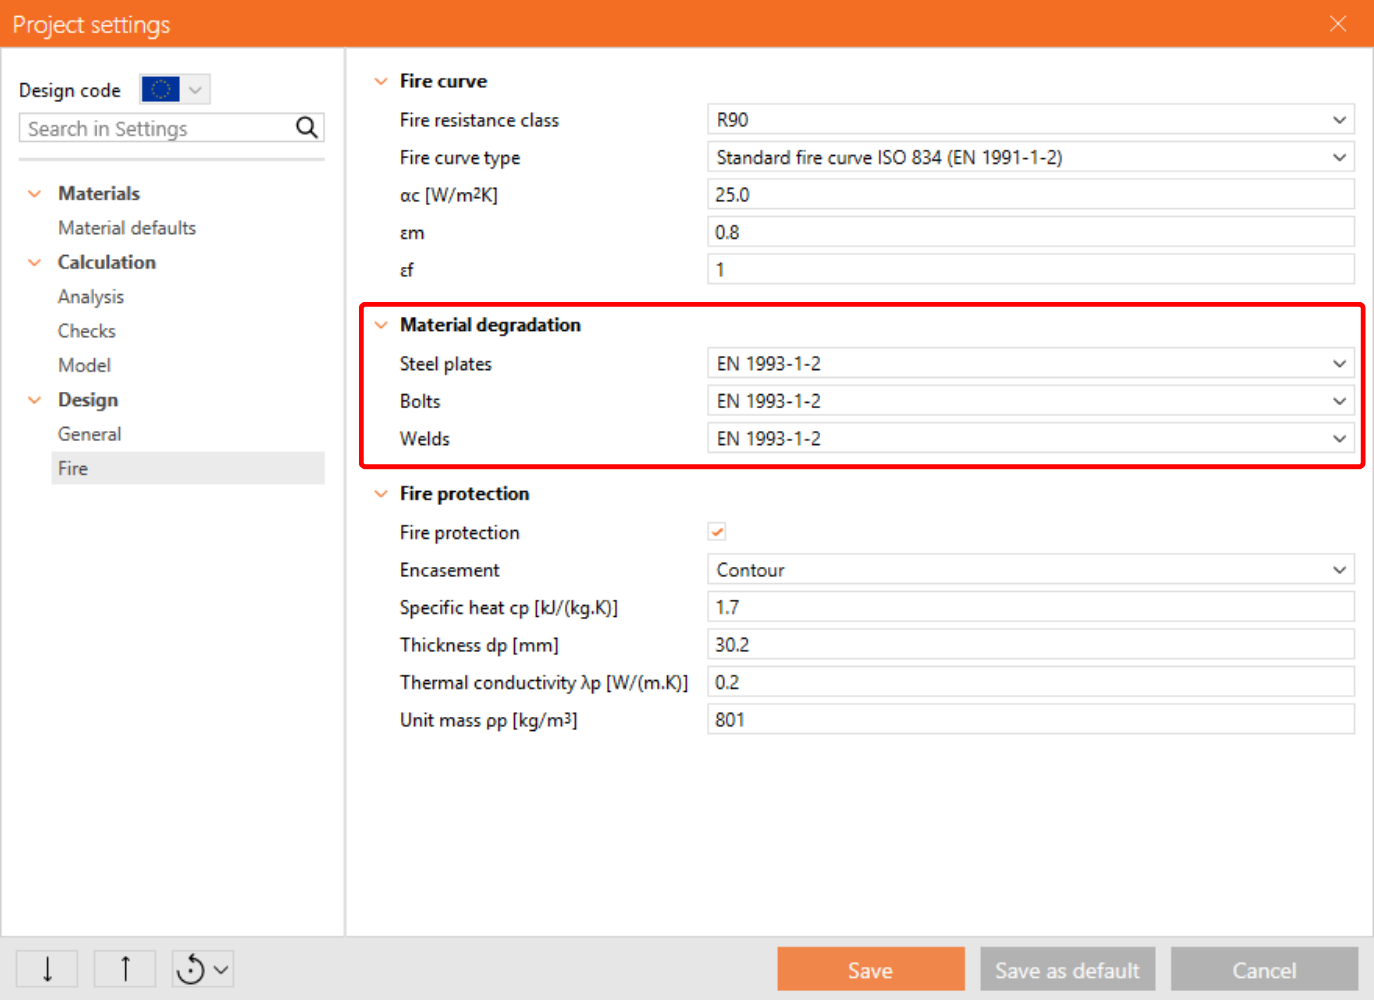
The following setting is Material degradation, where you are able to select material degradation of Steel plates, bolts, and welds according to the code.
There is nothing to set, everything is preset by default as per the code of our project.
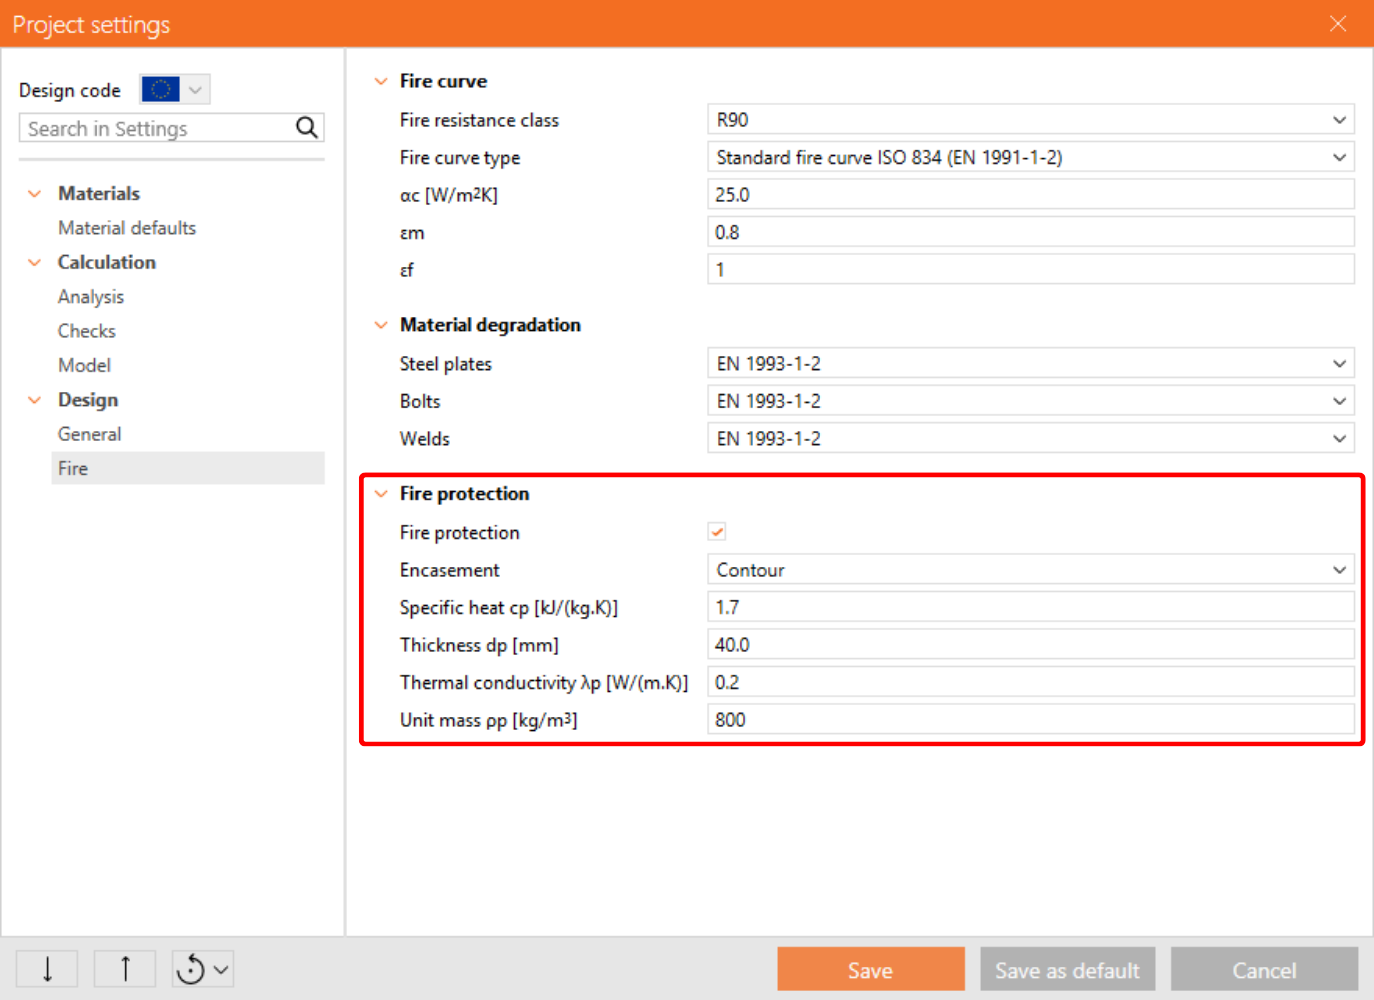
Next is Fire protection, here you can select whether to use fire protection or not. And the following parameters such as encasement type, thickness of fire protection, etc.
For this example select parameters according to the following picture.
4 Calculation results
Now we set all needed parameters, and we can start calculation.

There we have results and we can see the calculated Temperature of Components. Depending on the temperature, reduction coefficients of material were used, more information about this can be found here.
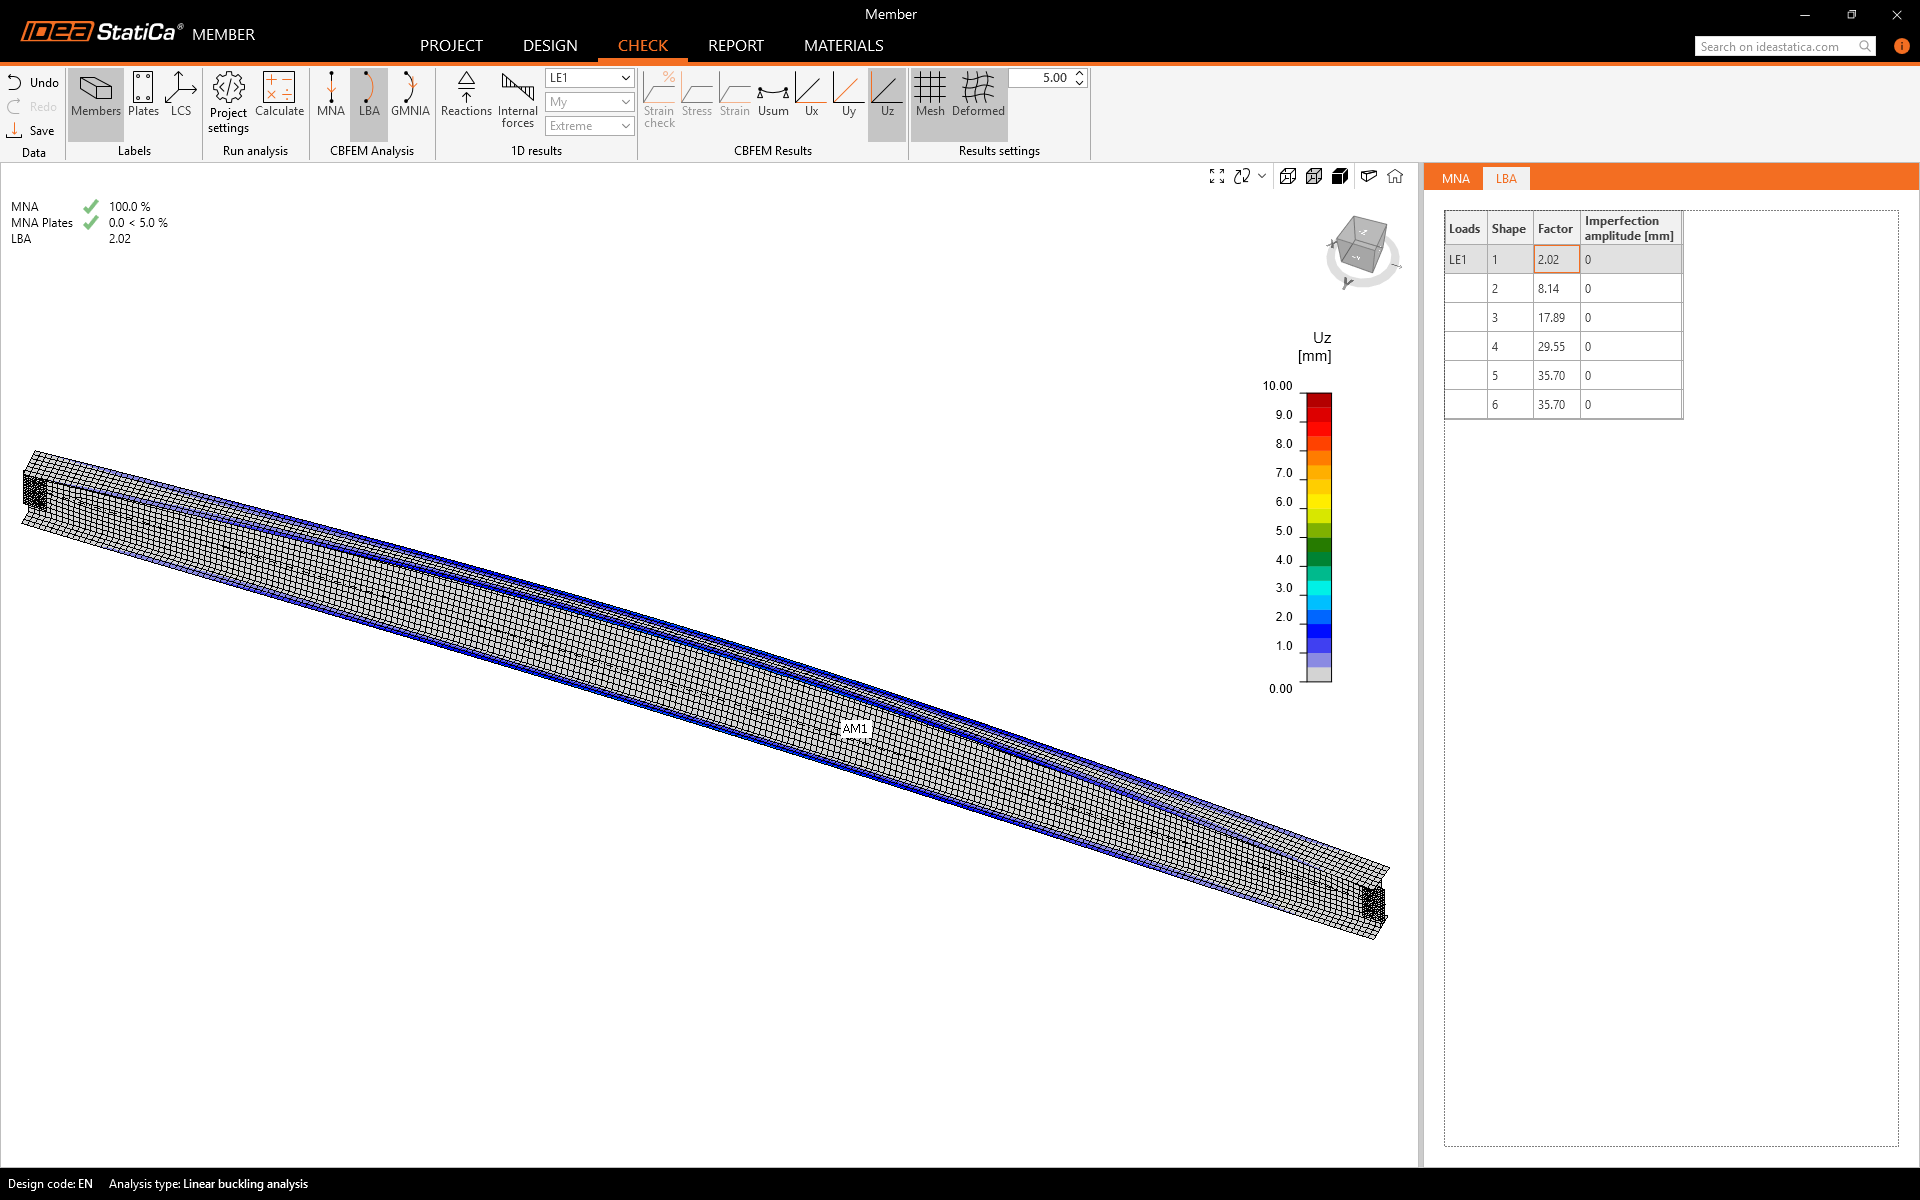
After that select LBA analysis and run the Calculation.
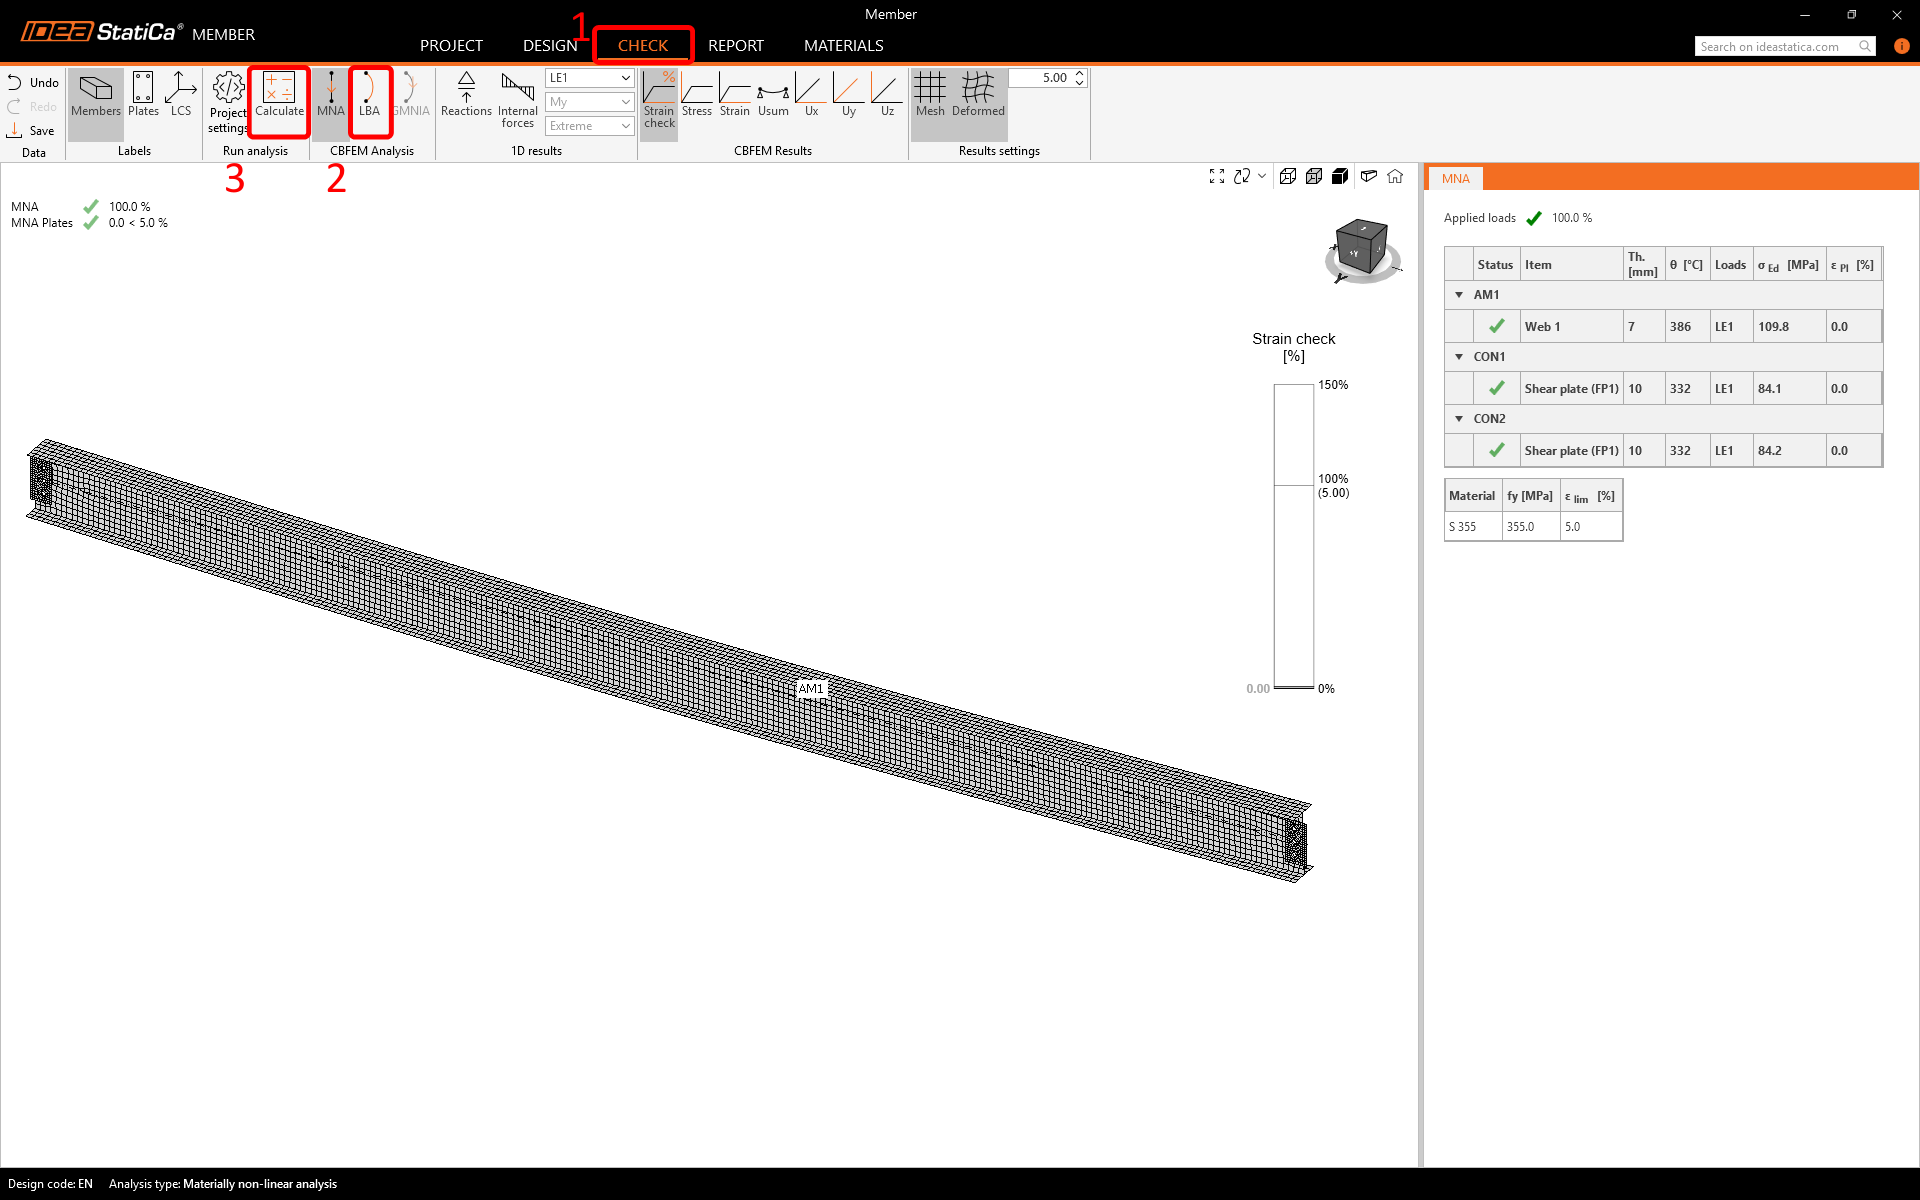
There are LBA calculation results.
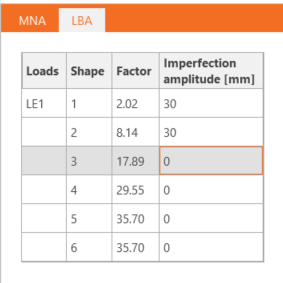
Fill the imperfection fields according to the following image. And run GMNIA calculation.
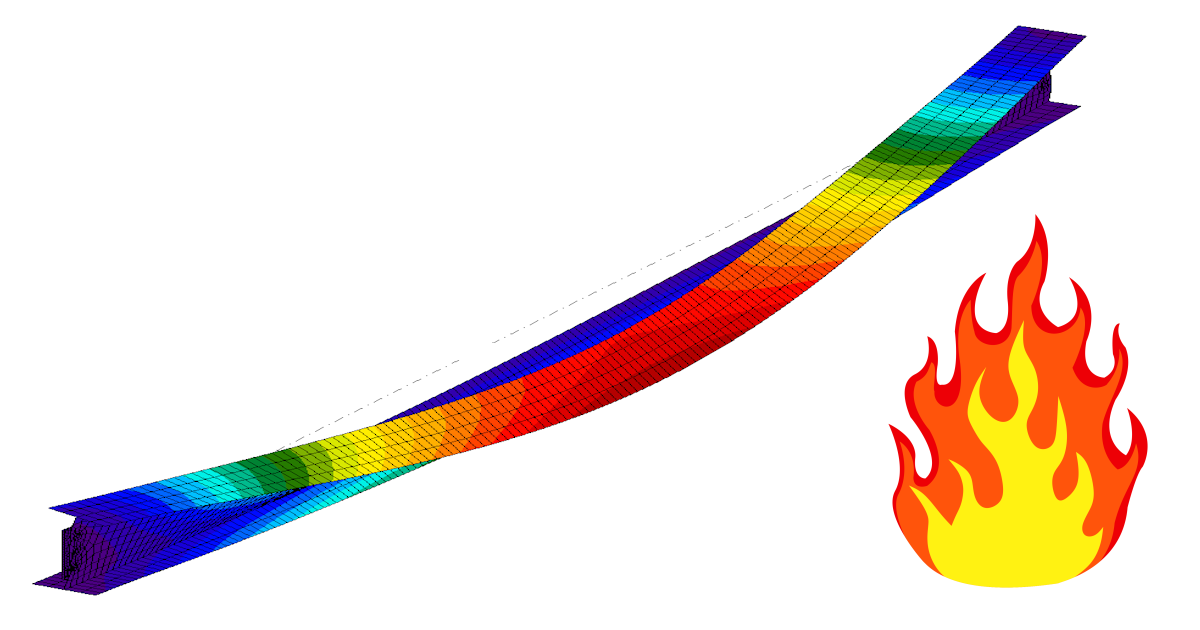
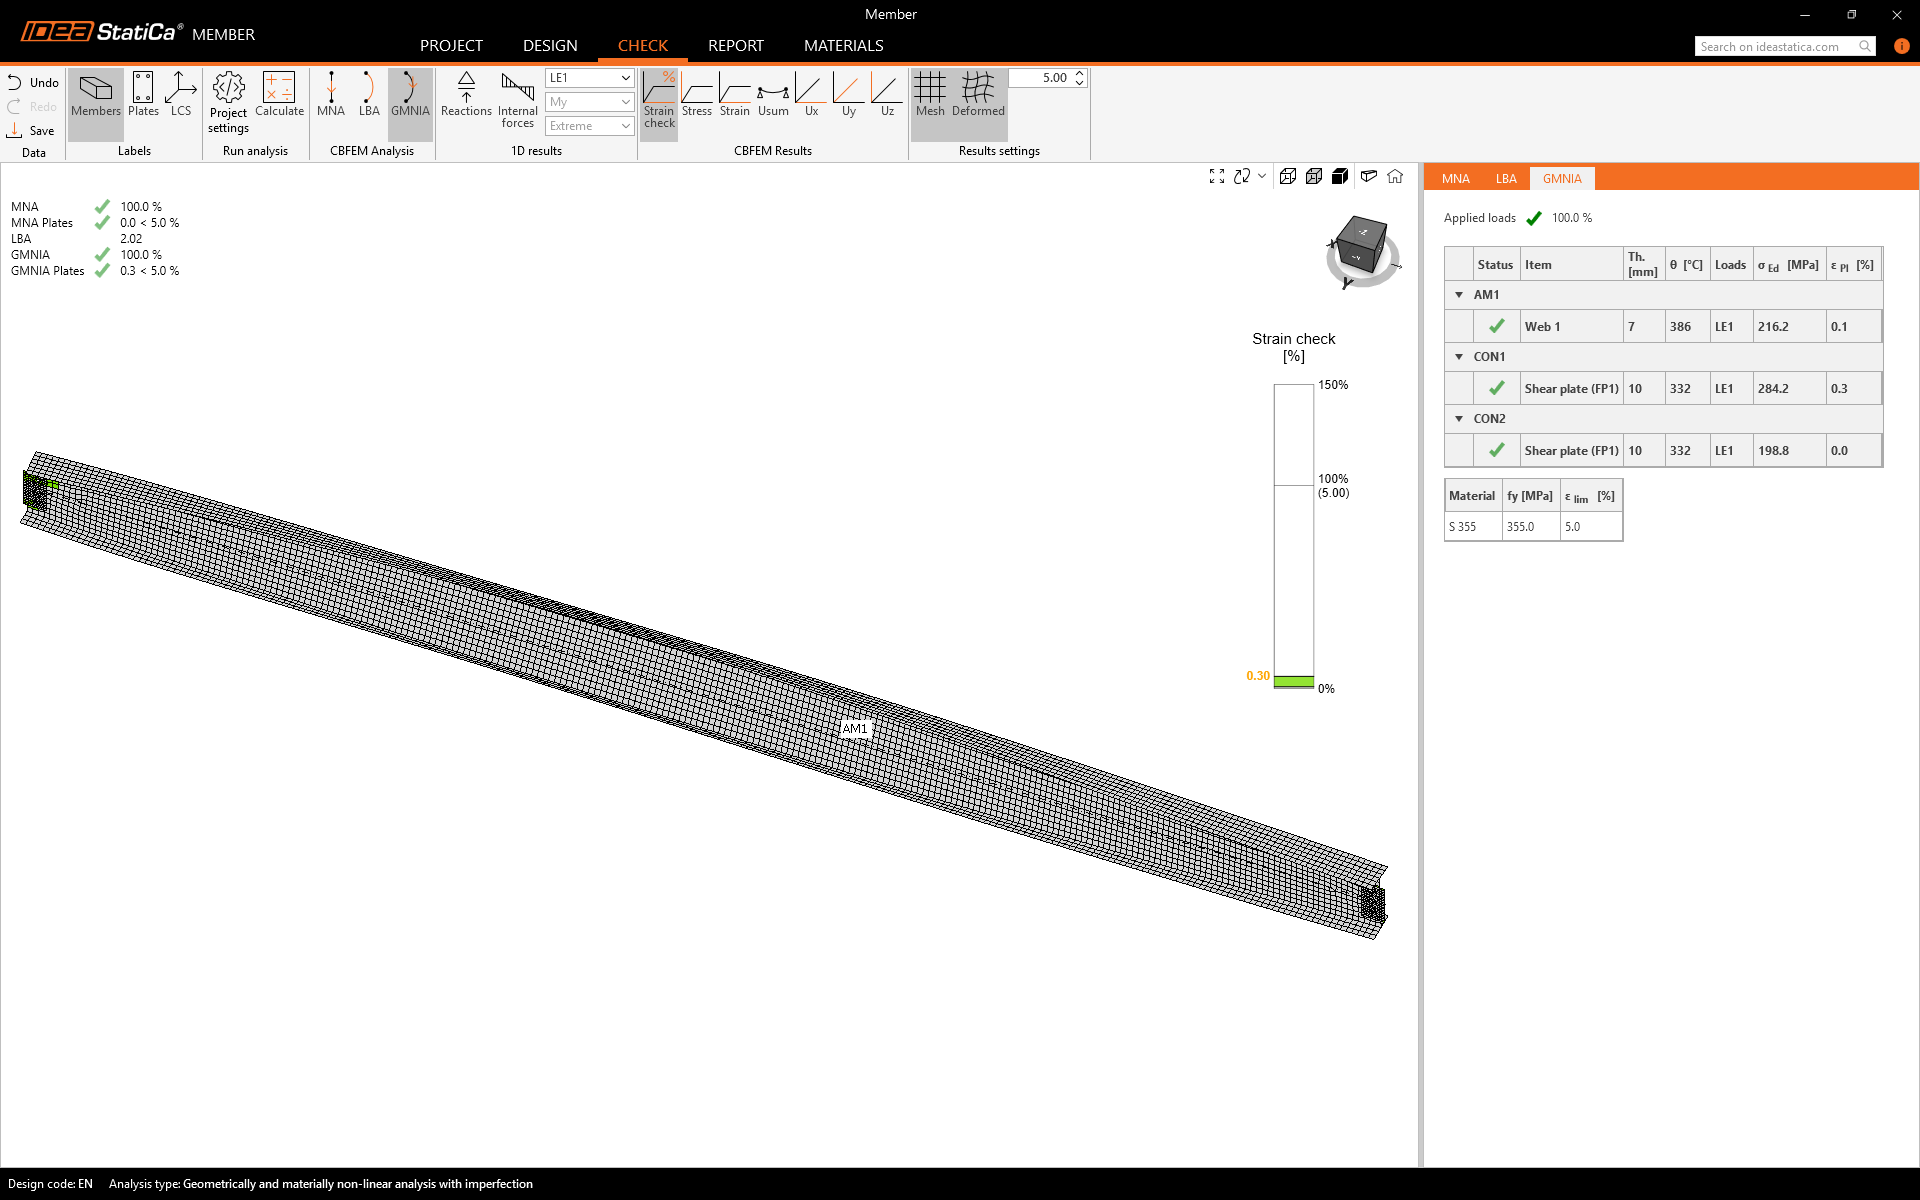
Here you can see the final results of the GMNIA calculation. Calculated stresses and strains with reduced material properties, according to the calculated temperature and set imperfections, are satisfactory. This means our design is safe for these conditions.
5 Report
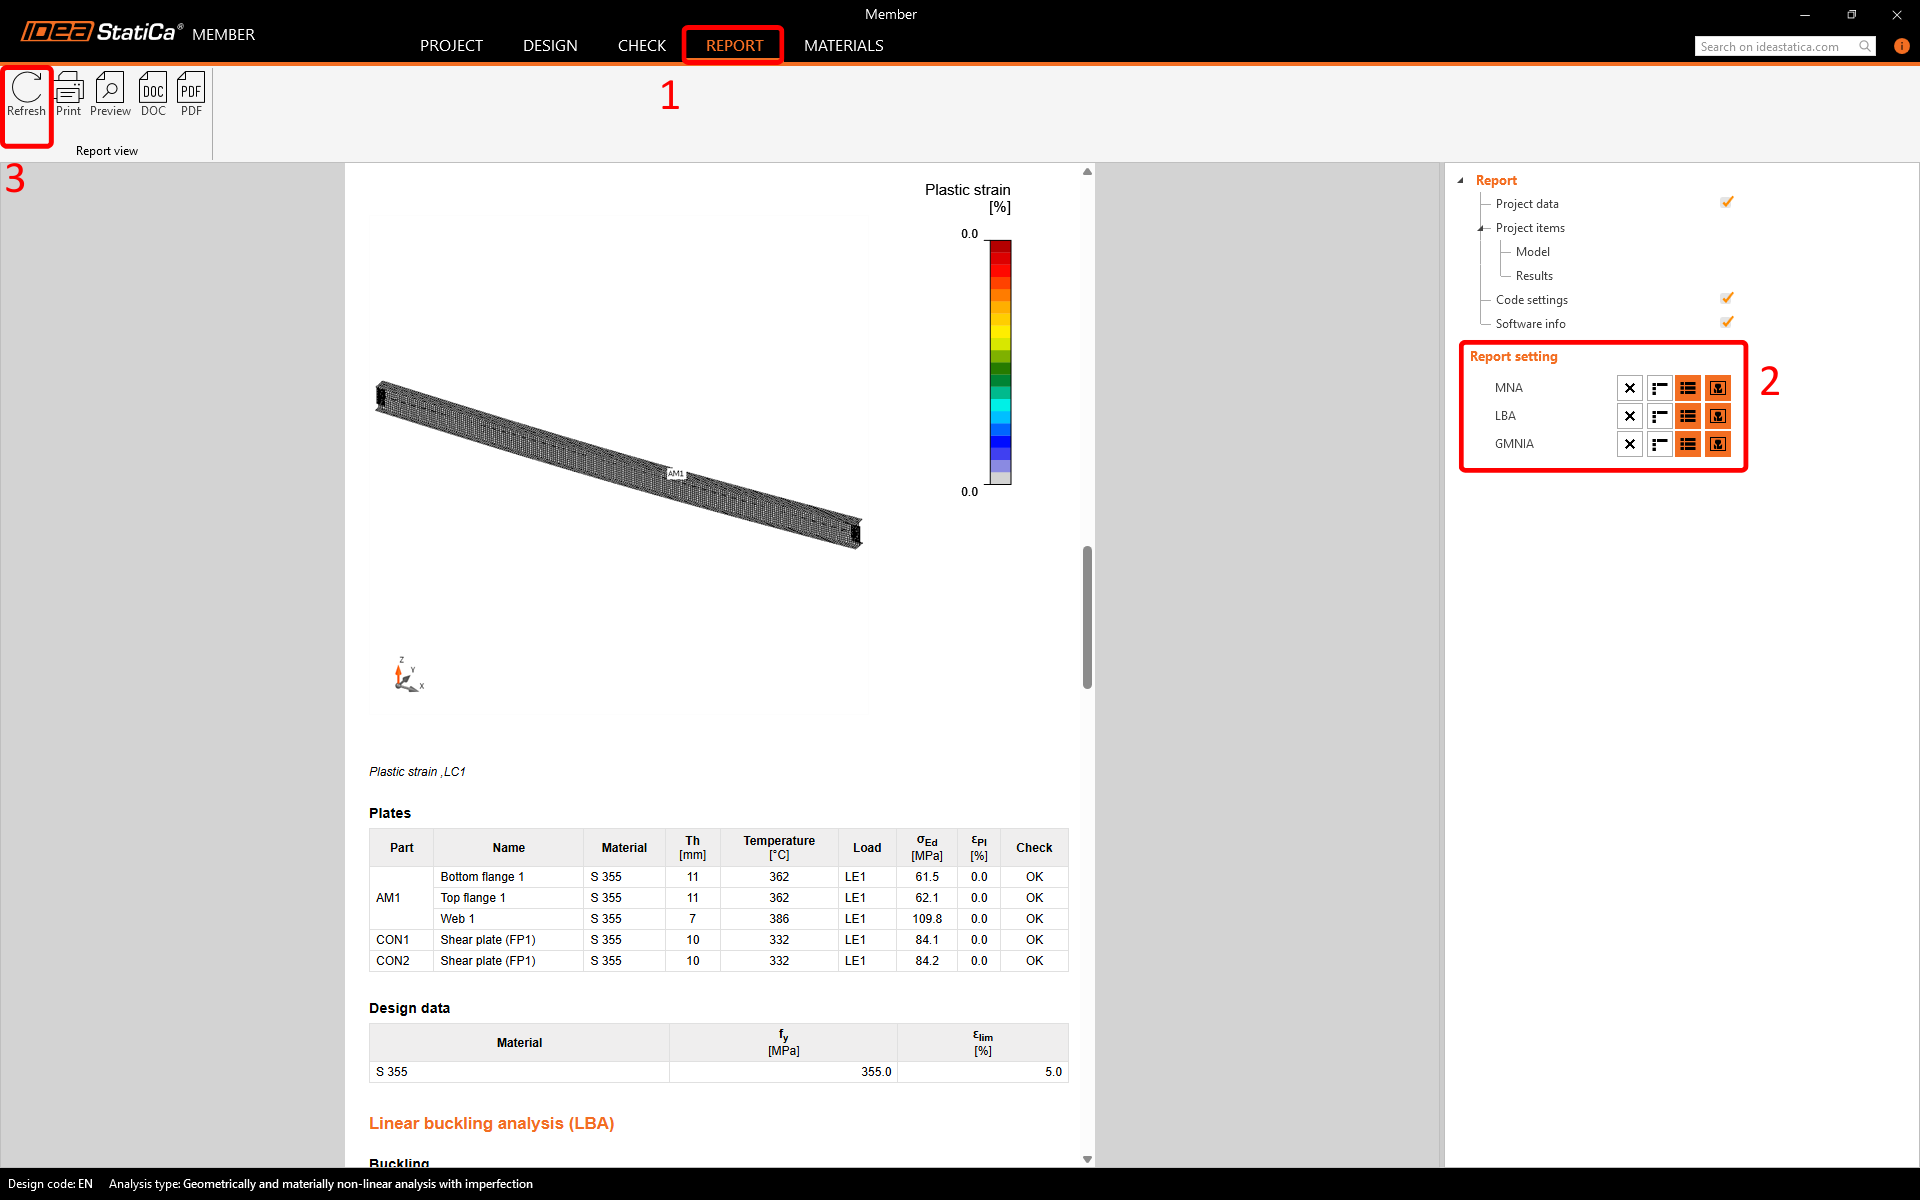
At last, go to the tab Report. IDEA StatiCa offers a fully customizable report to print out or save in an editable format.
You have designed and code-checked a steel member subjected to fire exposure according to Eurocode (EN).