The wizard provides a starting point for your new model, offering solutions for a junior and advanced user of the Connection app. It provides a set of new parametric templates covering standard connections of all different geometries and types. The company and personal sets are incorporated into the wizard so that the user can start right away with their custom template.
The new style wizard will help you with:
- Finding your preferred geometry and design. This means speeding up the modeling phase and skipping straight to the analysis of the connection. The filtering and search helps with this.
- Starting the design with a template from the Personal and/or Company sets from the Connection Library. No need to create the necessary geometry first. It is easy to load the template directly.
- Using the proper model settings. All the predefined templates were created and set to have the correct model settings. This will help the junior users start and be confident about their projects. A set of standard geometries with predefined parametric templates offers a safe and effective solution for standard connections.
Create the project in the wizard
The creation of a new model follows three simple steps:
- Define the geometry
- Choose the design
- Define the materials and create a new model
For that reason, the wizard is divided into three sections.
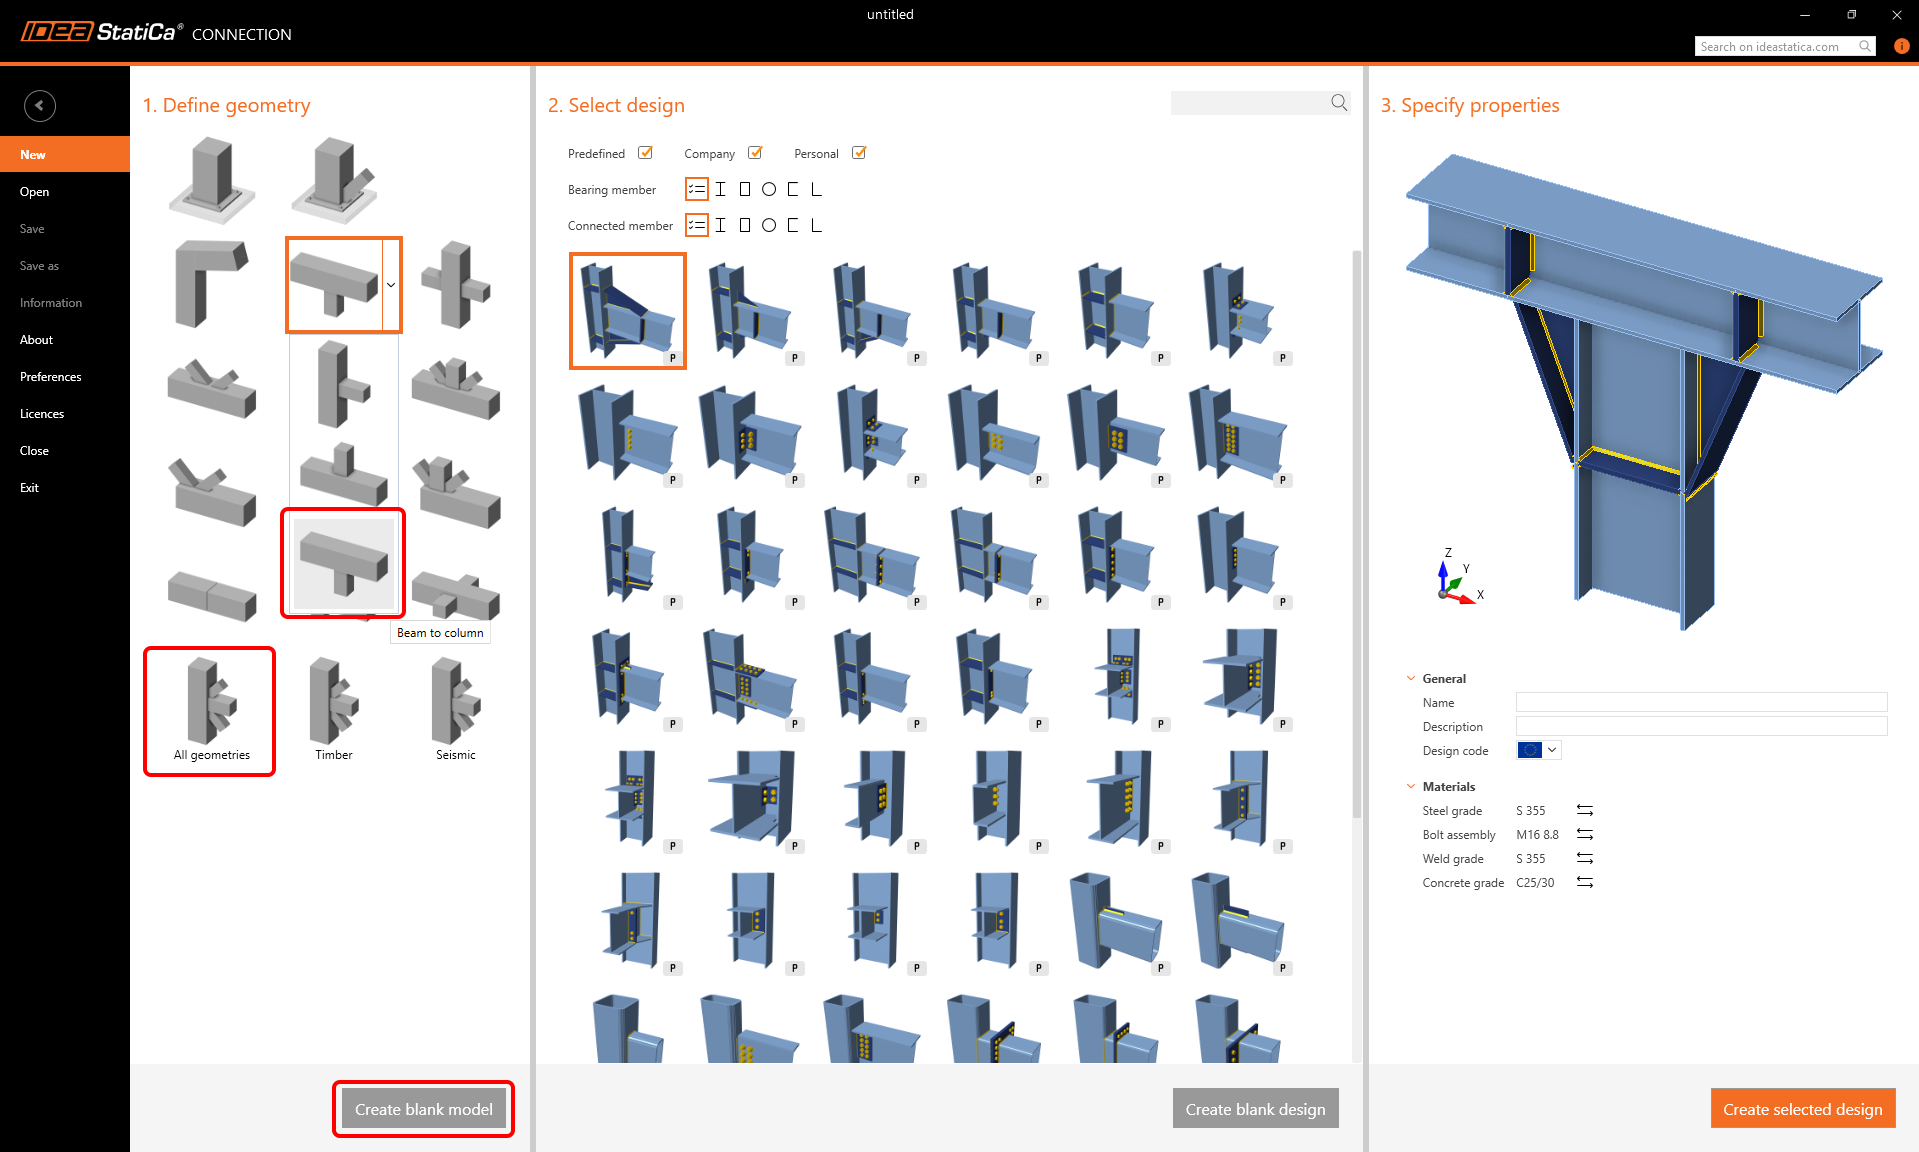
1 Define geometry
In the first section, you can define the geometry of the model. The new drop-downs control the spatial orientation of the model.
In case you don't find the required geometry in the predefined items, you can use one of the bottom options: All geometries
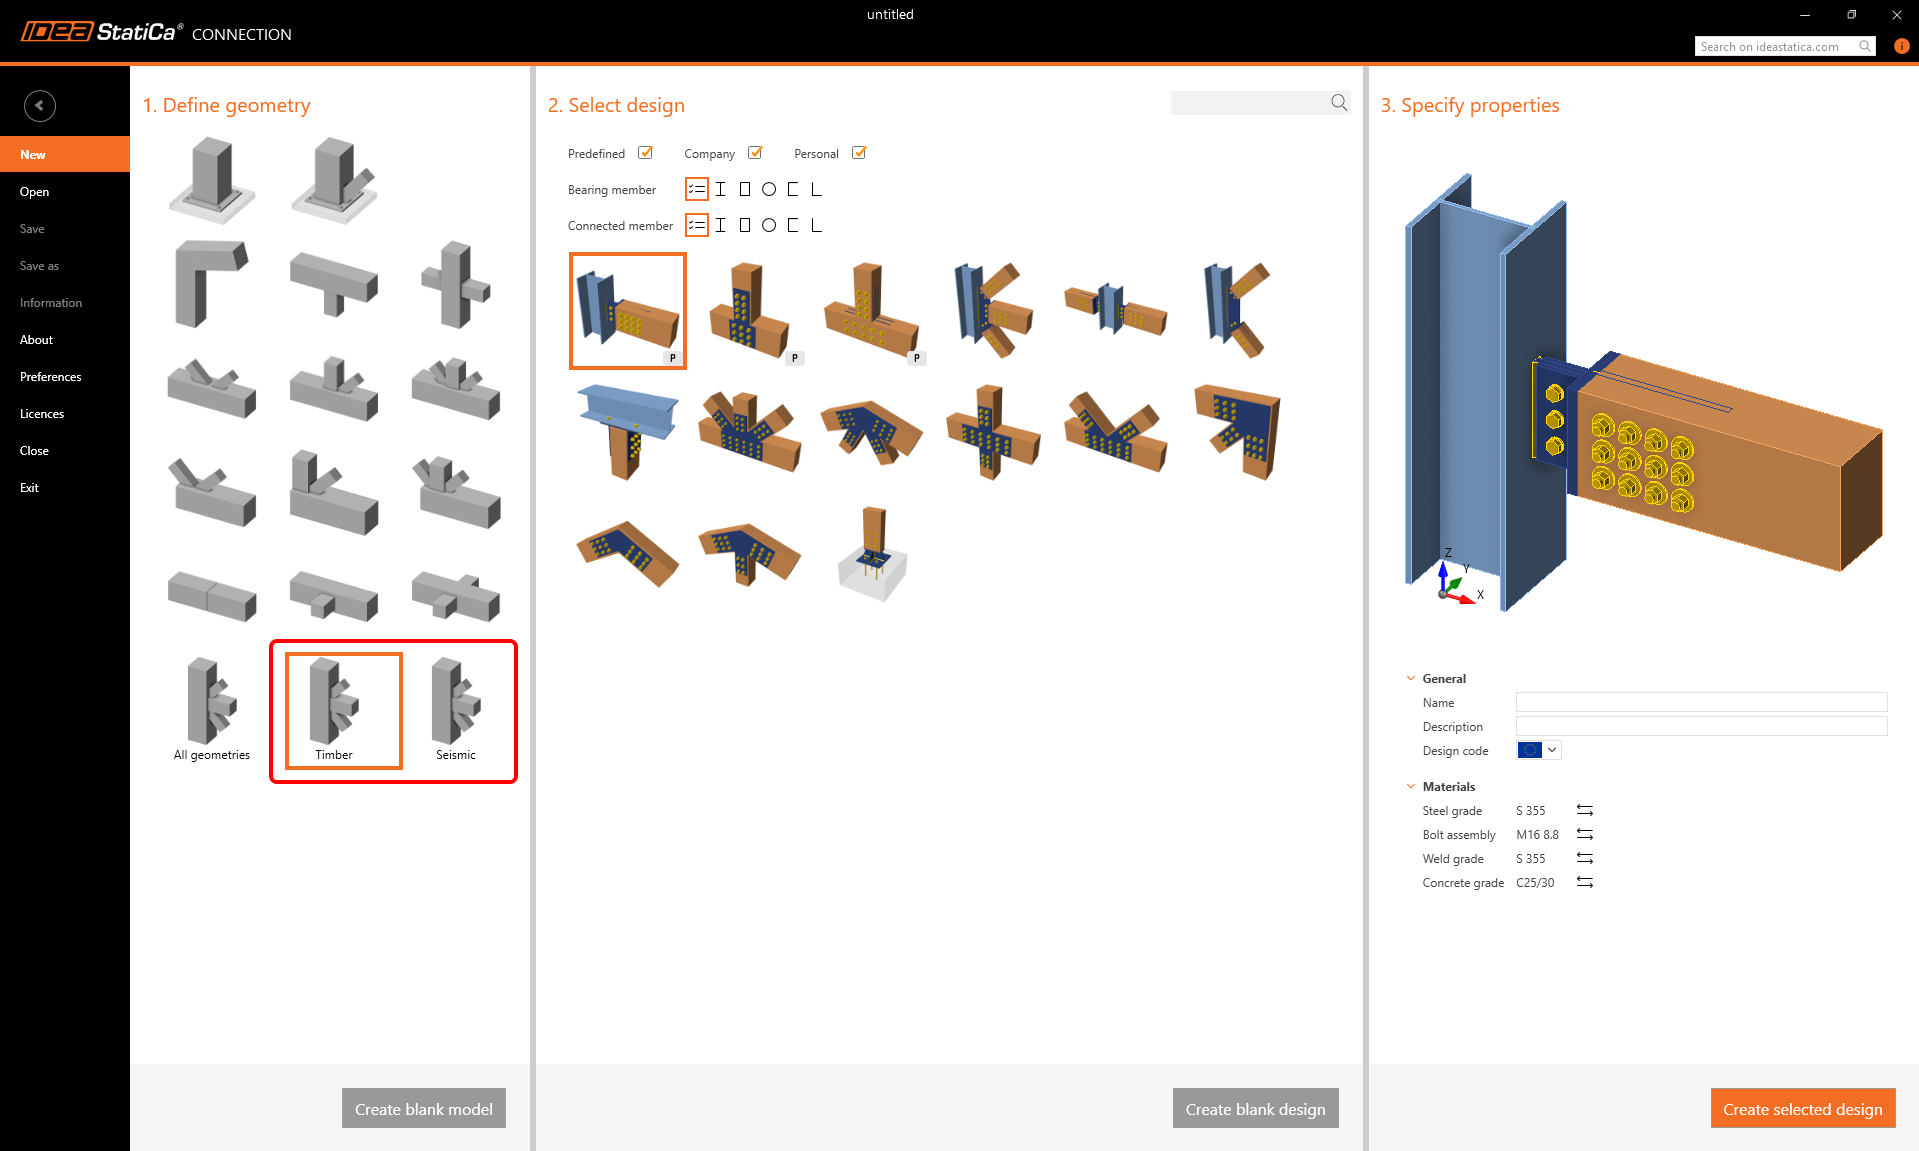
Templates for Timber connections or for Seismic design are special, therefore, they are listed in specific categories.
2 Select design
Based on the chosen geometry, the available templates are displayed in the second section of the wizard.
You can filter these templates based on the cross-section of the bearing member and/or the connected members.

You can also turn on/off the three different sets of templates – in the Predefined set, the templates prepared by IDEA StatiCa are available. The Company and Personal are the sets where you can save your custom templates.

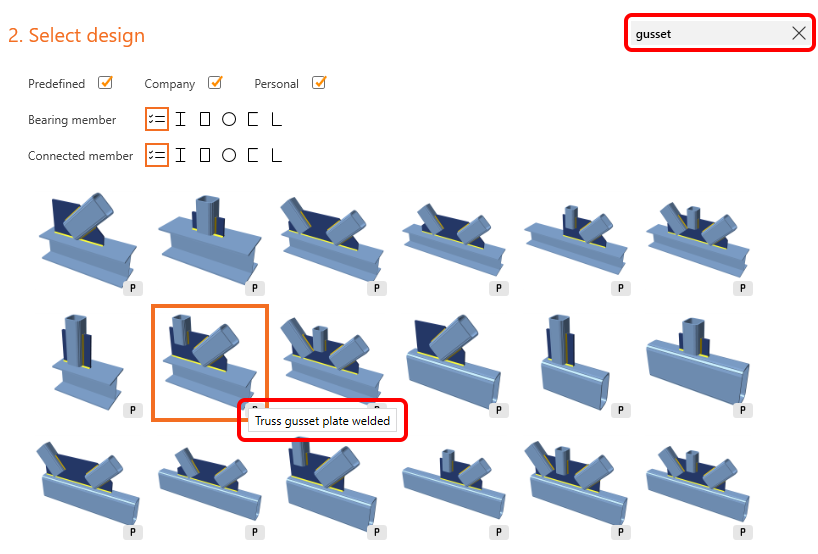
For a faster search of the requested template, a search box is available. The Search logic is the same as is used in the Propose dialog in the Connection application. The written term is searched for in the name of the template – the name of the template is shown in the tooltip.
Again, to create an empty design project (with the given geometry), you can use the Create blank design button at the bottom of this section.
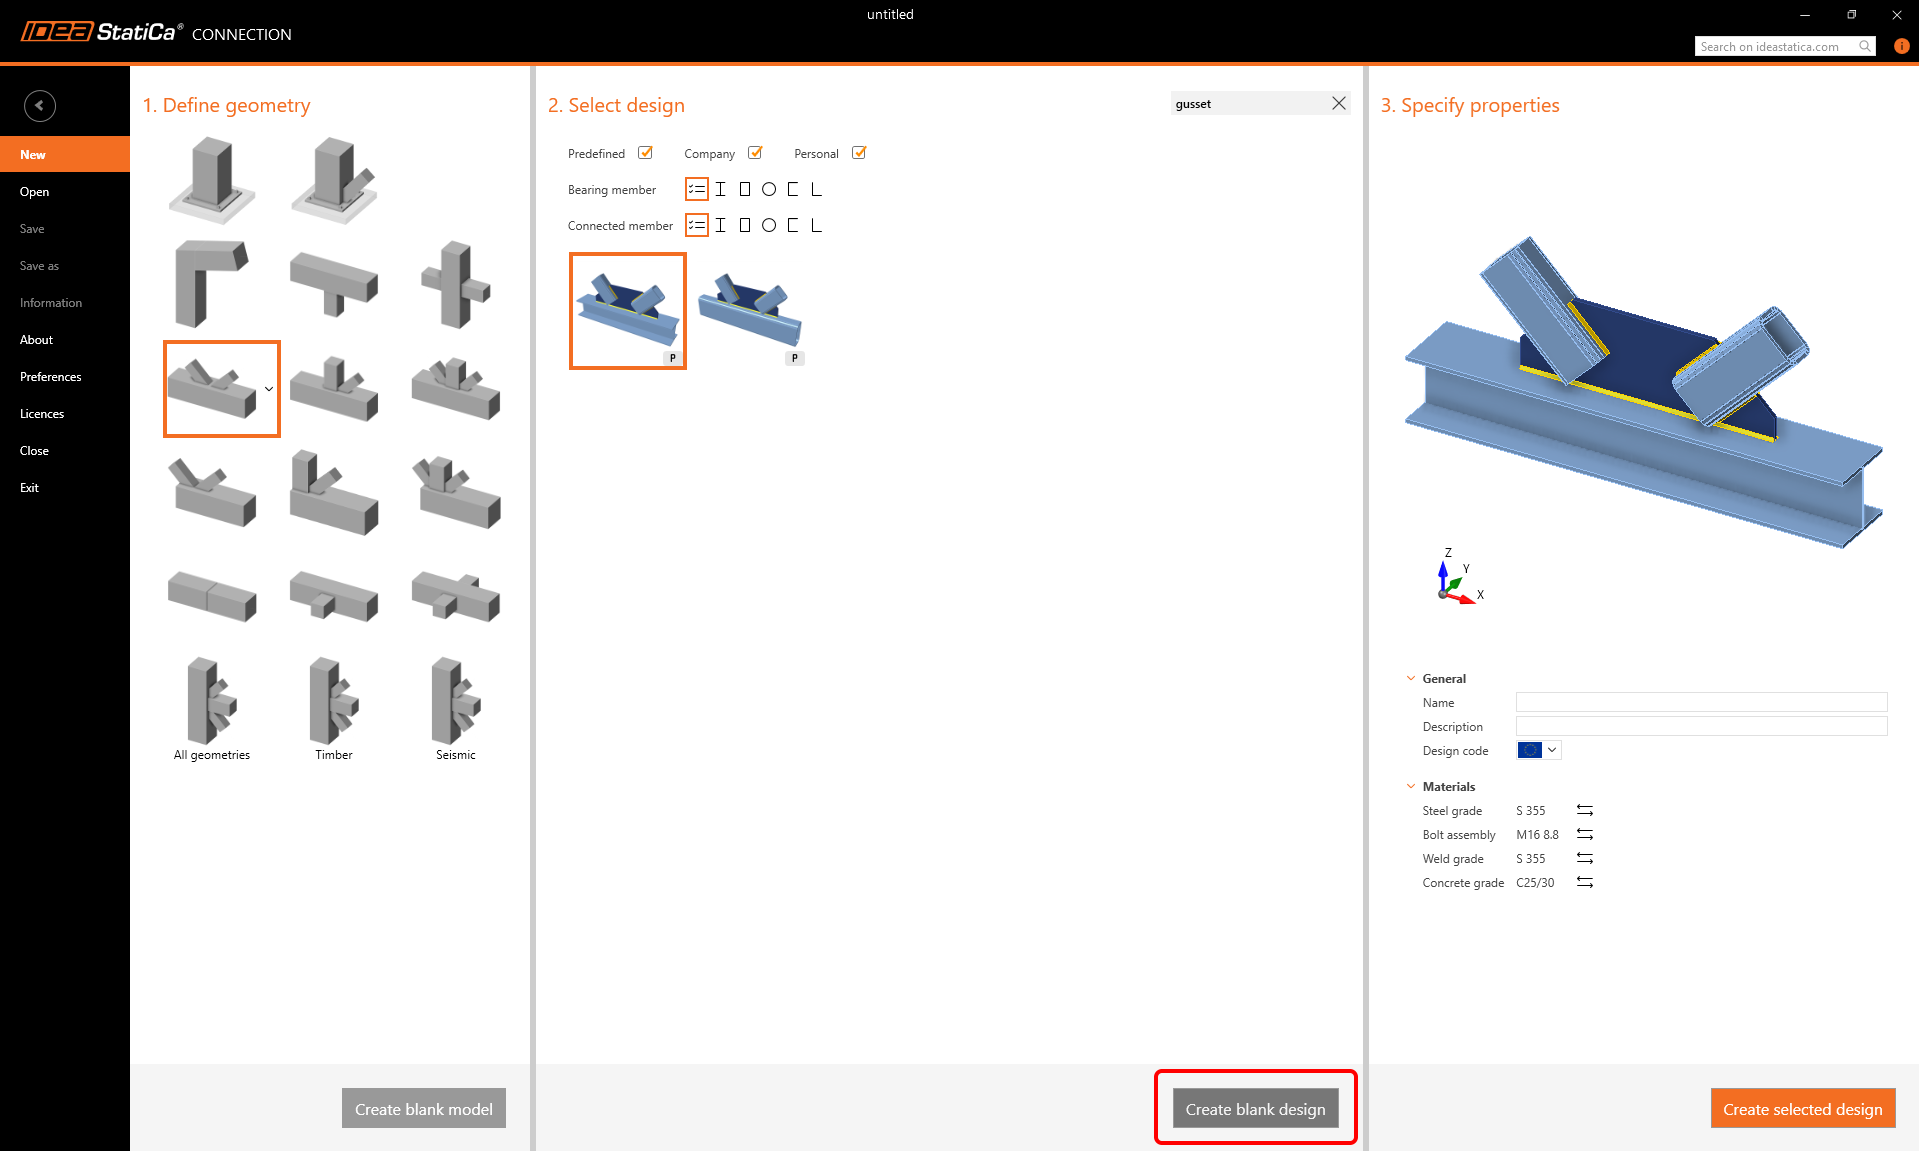
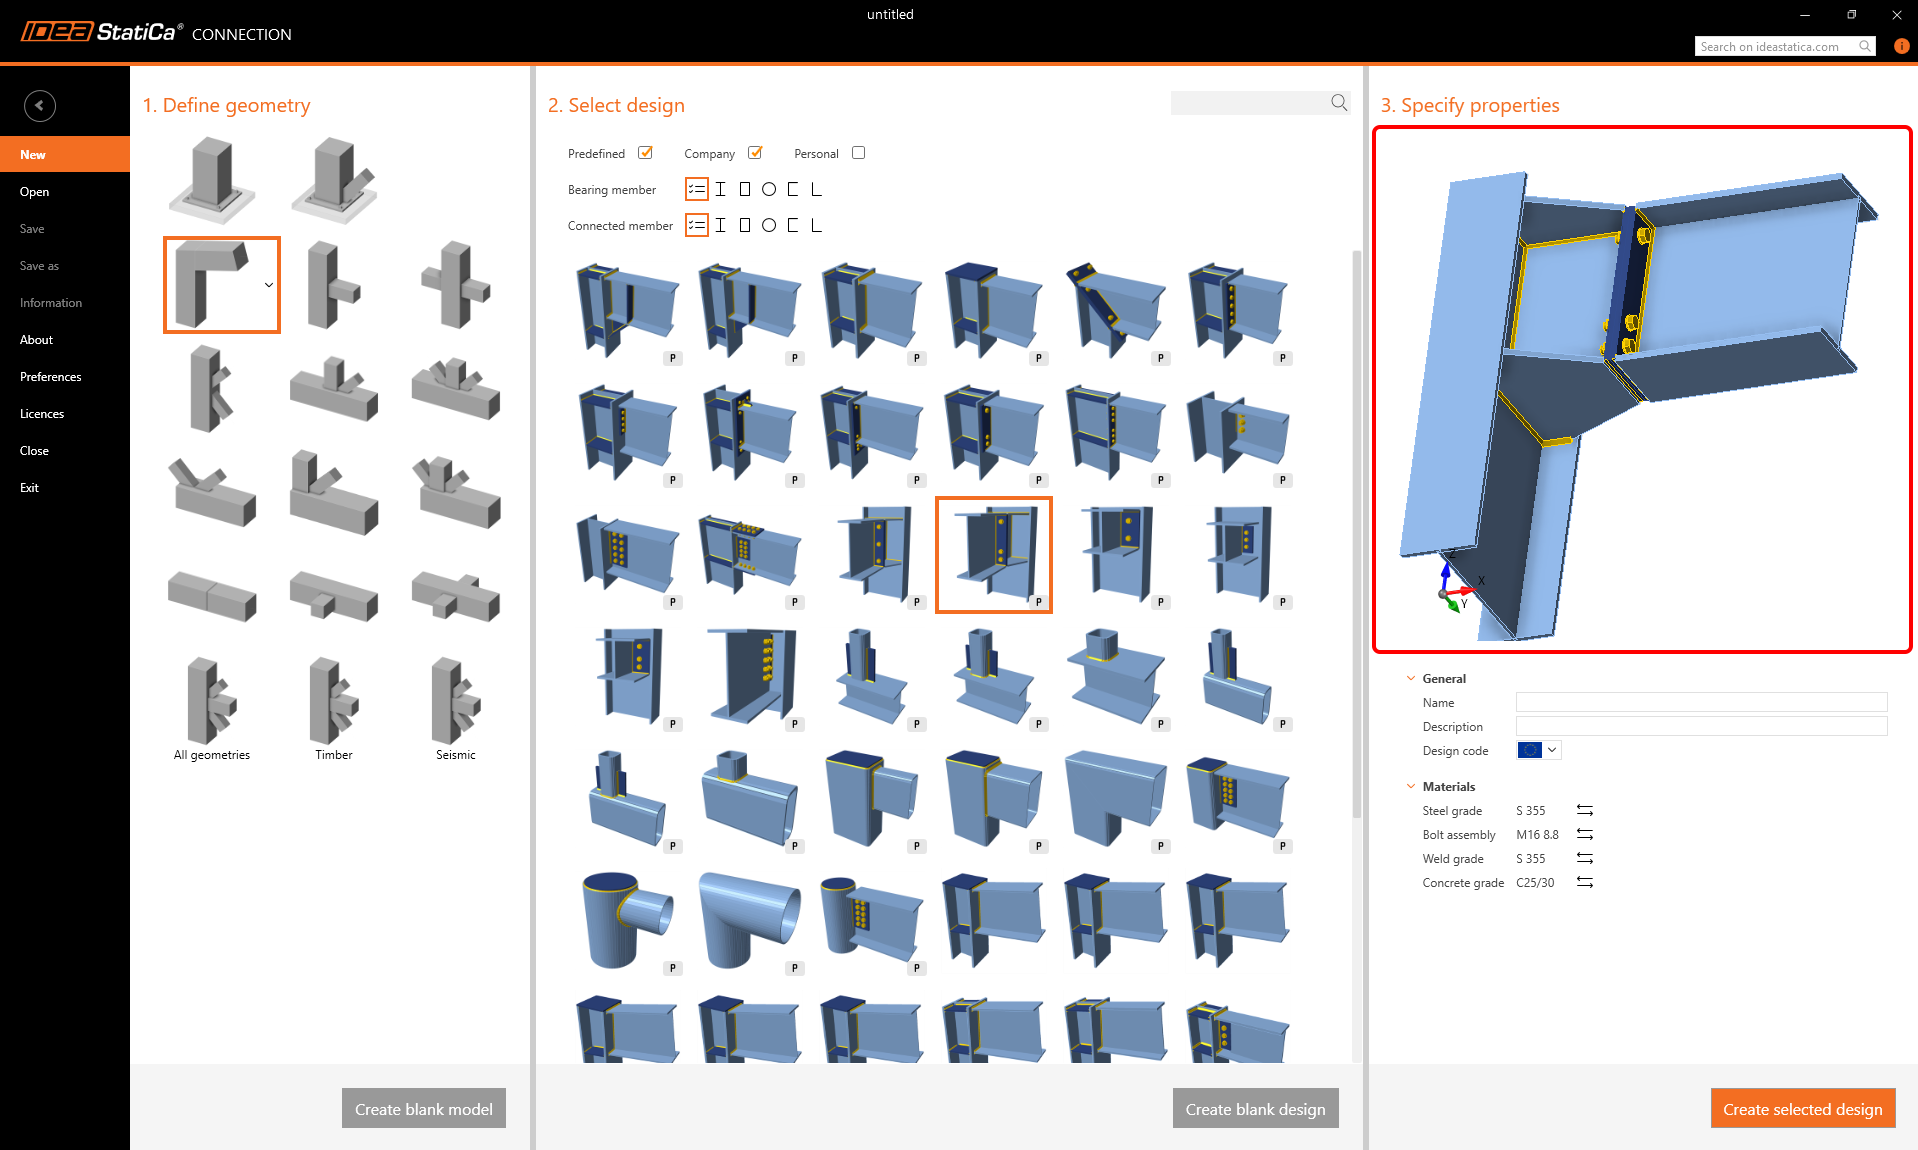
3 Specify properties
All options, such as model info, the used code, and the default materials, can be set in the third section.
A real preview of the model is shown in the 3D window. You can see what the created model looks like – the applied template on the selected geometry. The model can be rotated or zoomed for investigation of all details.